Vegan Black Bean Stew Recipe
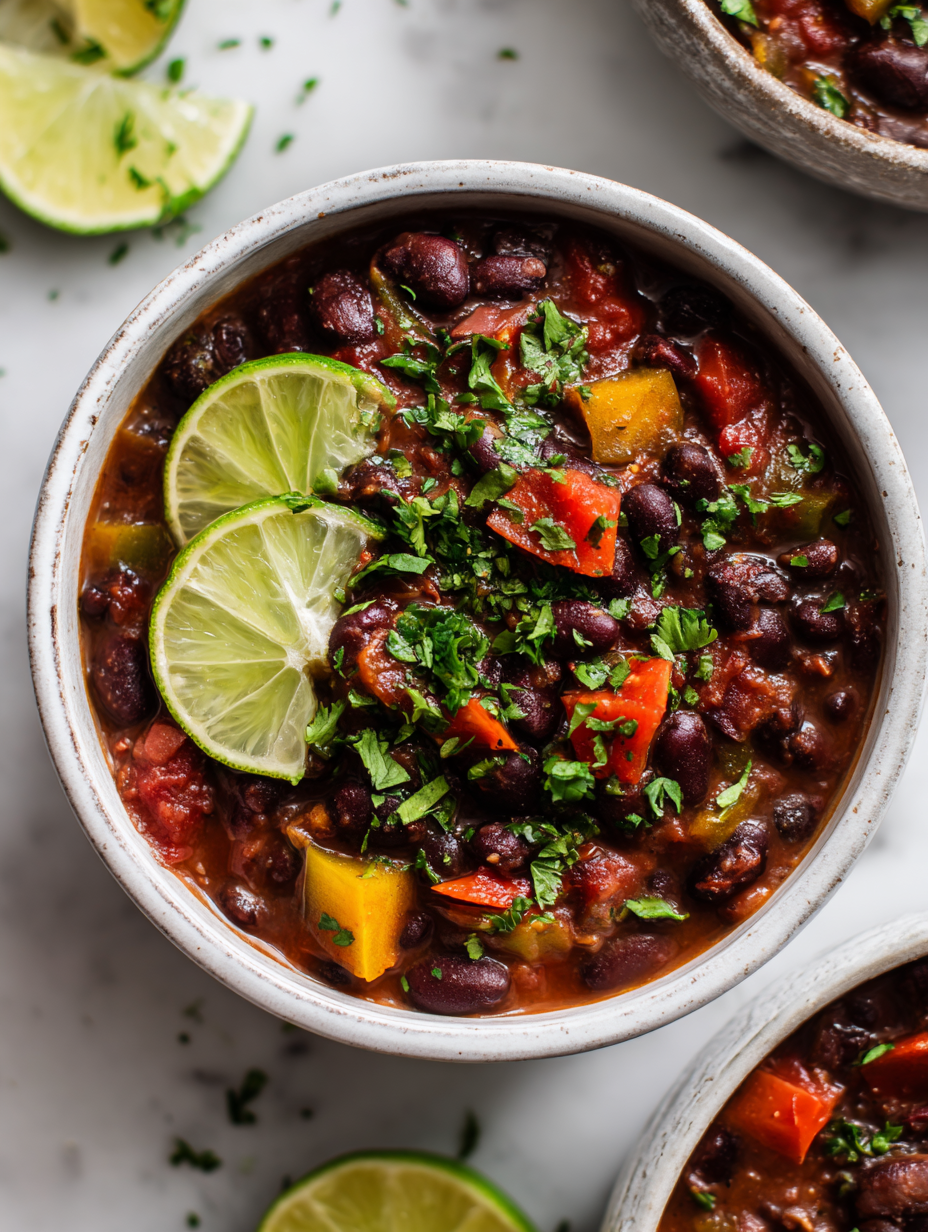
This stew is my way of reclaiming comfort food without relying on traditional meat-based broths or ingredients. It’s about finding richness and warmth in plant-based staples that seem humble but pack a punch when you know how to coax out their best flavors. There’s something deeply satisfying about slow-cooking black beans until they’re meltingly tender, … Read more