Skip to content
Trying Something Crazy
Breakfast
Main Course
Beverages
Desserts
Side Dishes
Appetizers
Pinterest
Search
Toggle Menu
Appetizers
Appetizers
Stuffed Mushrooms Recipe
Appetizers
Spinach Artichoke Dip Recipe
Appetizers
Spicy Roasted Tofu Recipe
Appetizers
Air Fryer Roasted Green Beans Recipe
Appetizers
Cranberry Brie Bites Recipe
Appetizers
Crispy Baked Tofu Nuggets Recipe
Appetizers
Spooky Delight: Halloween Mummy Meatballs for the Perfect Ghoulish Feast
Appetizers
Spooky Sweetness: Halloween Jack-o’-Lantern Stuffed Bell Peppers
Appetizers
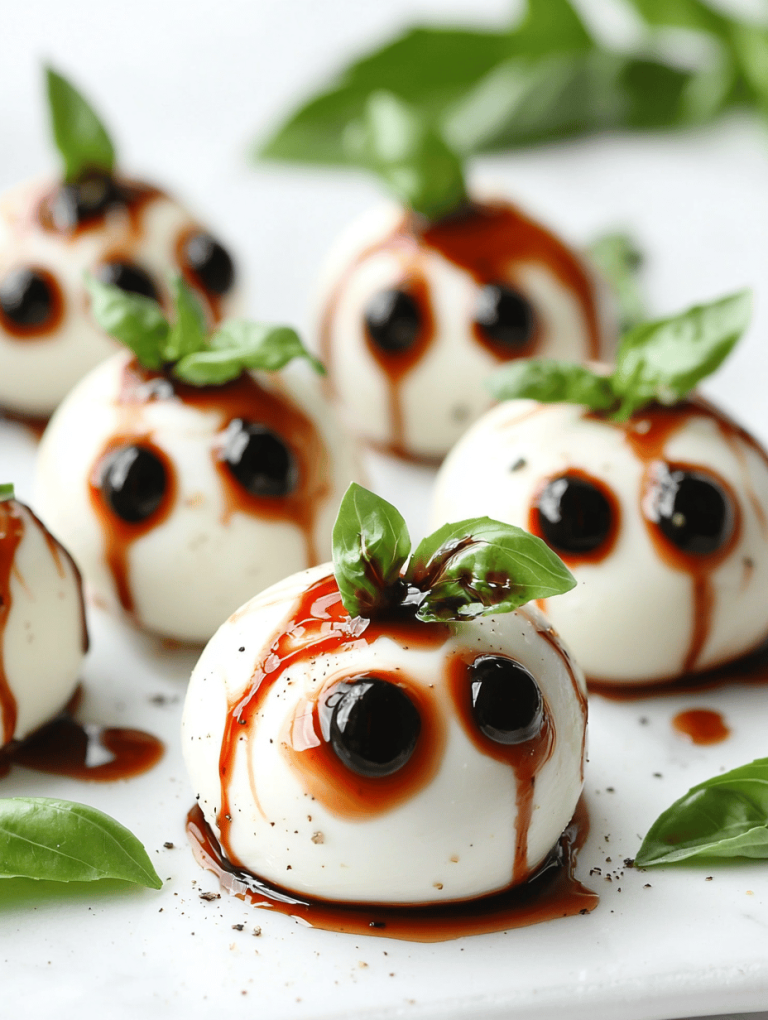
Spooktacular Halloween Eyeball Caprese Bites
Appetizers
Spooky & Crispy: Halloween Mummy Hot Dogs for a Ghoulish Feast
Page navigation
1
2
Next Page
Next
Scroll to top
Scroll to top
Breakfast
Main Course
Beverages
Desserts
Side Dishes
Appetizers
Toggle Menu Close
Search for:
Search