Skip to content
Trying Something Crazy
Breakfast
Main Course
Beverages
Desserts
Side Dishes
Appetizers
Pinterest
Search
Toggle Menu
Beverages
Beverages
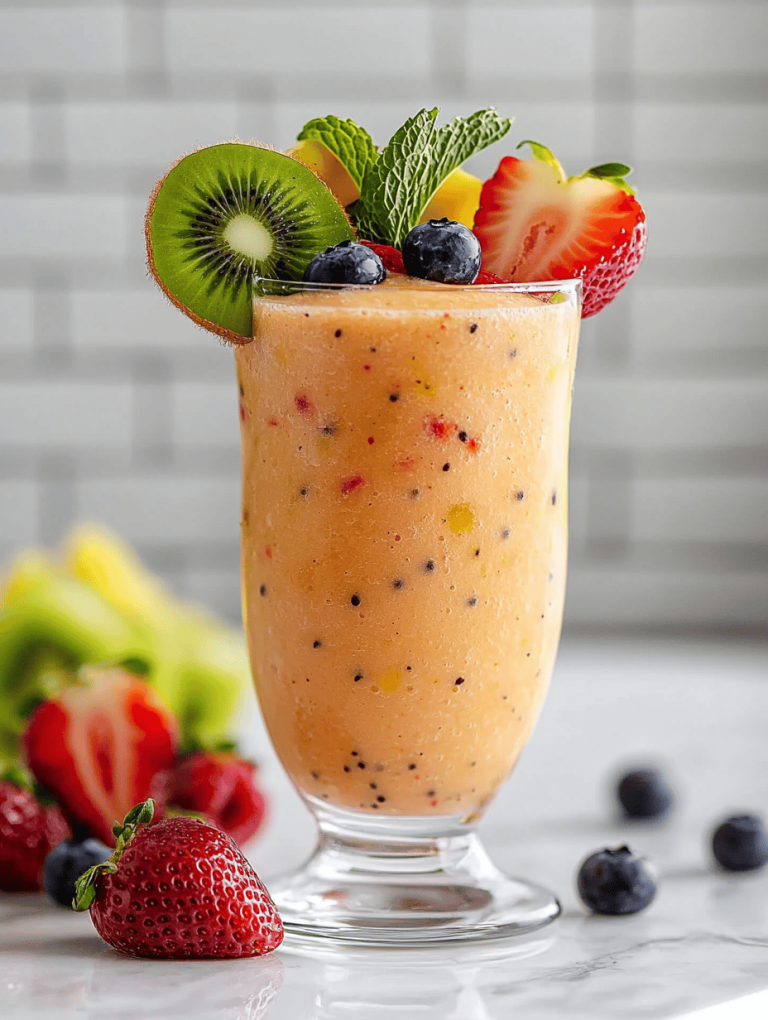
Peanut Butter Smoothies Recipe
Beverages
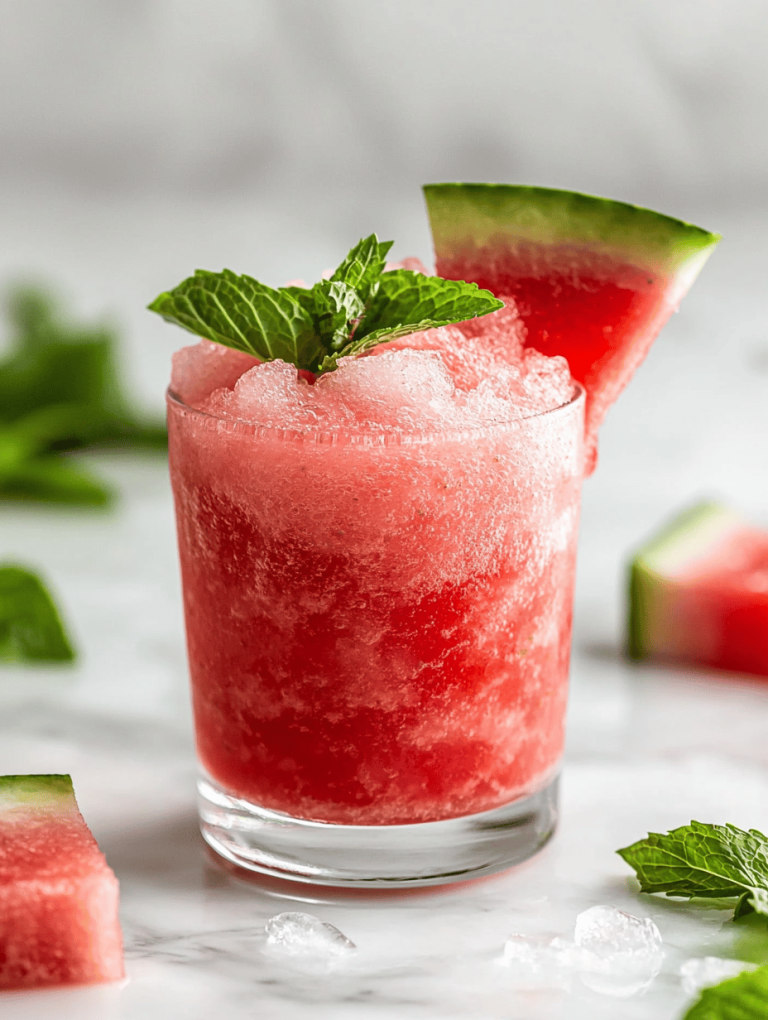
Chill Out with Watermelon Slushie: The Unexpected Cooler You Need
Beverages
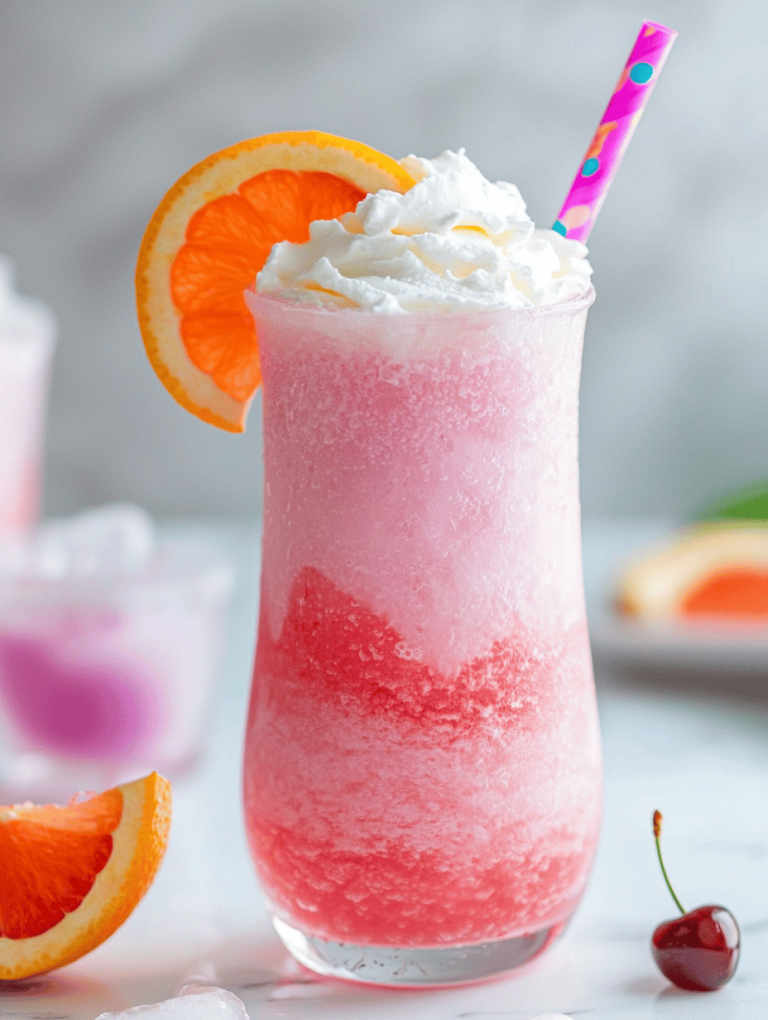
Sparkling Secrets: The Art of Crafting the Perfect Champagne Slushie
Beverages
Unusual Charm of Kool Aid Slushie: A Nostalgic Freeze
Beverages
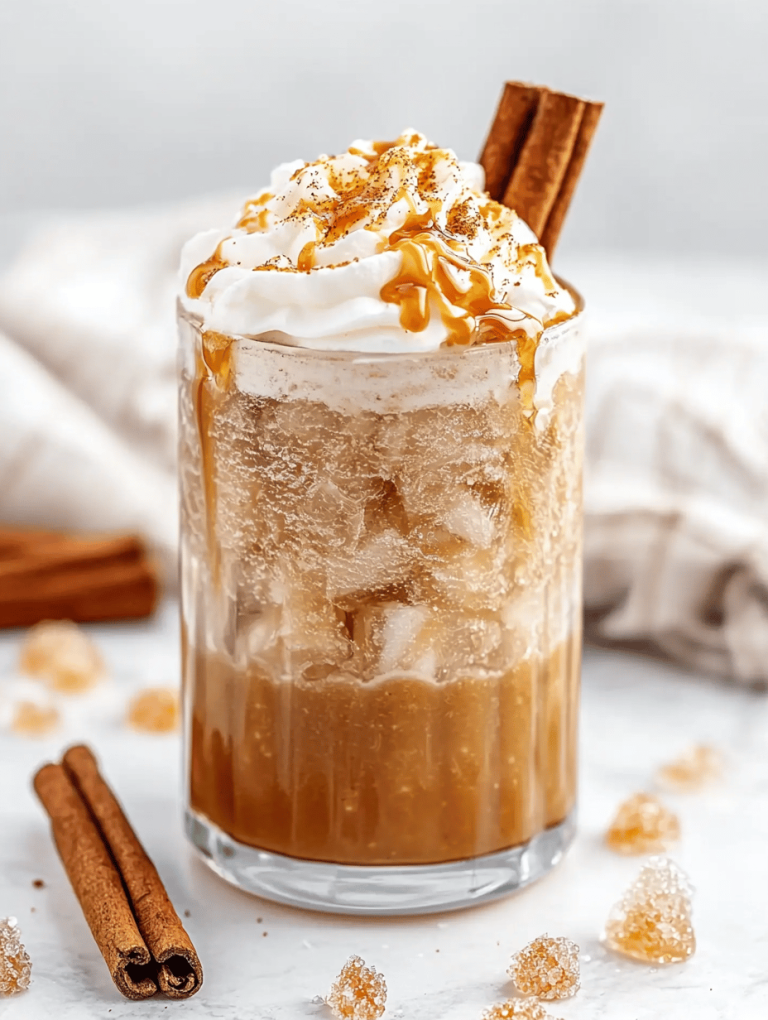
Chill Out with a Caramel Slushie: A Nostalgic Summer Treat
Beverages
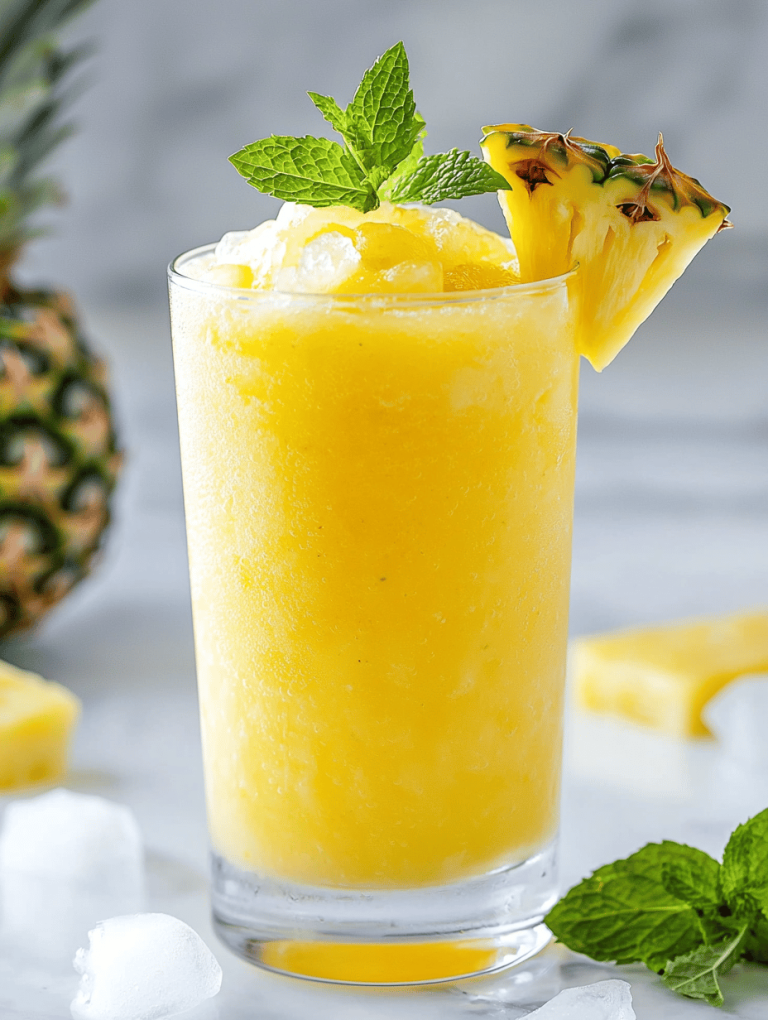
Tropical Chill: Reinventing the Pineapple Slushie
Beverages
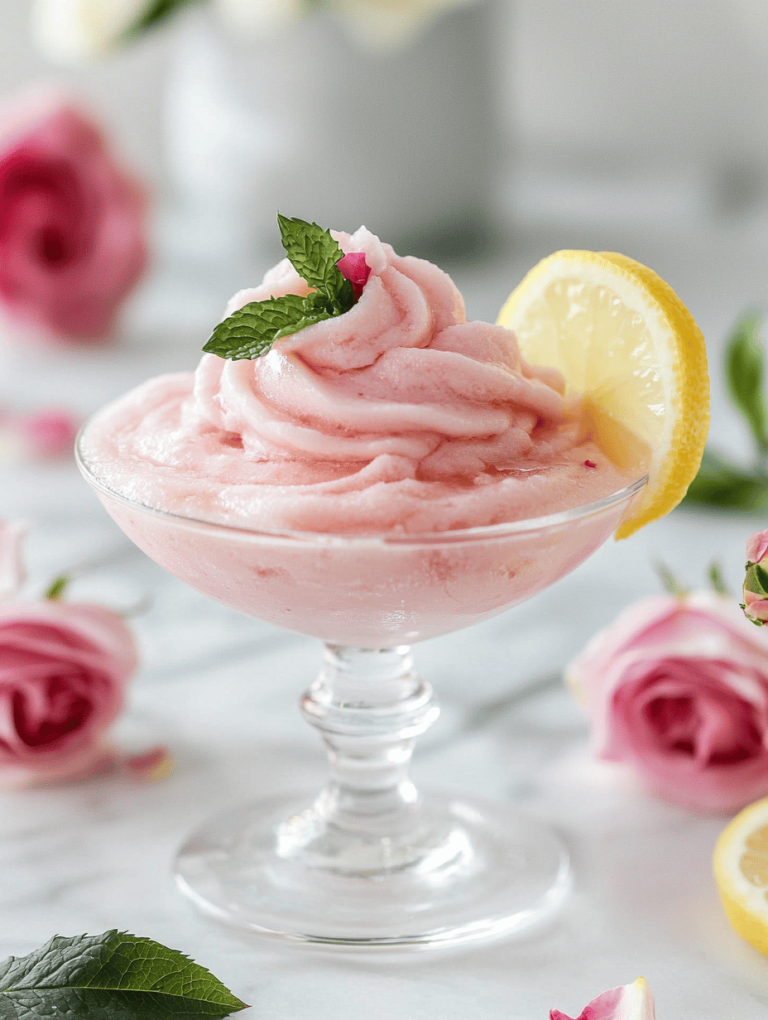
Chill Out with the Unconventional Rosé Wine Slushie
Beverages
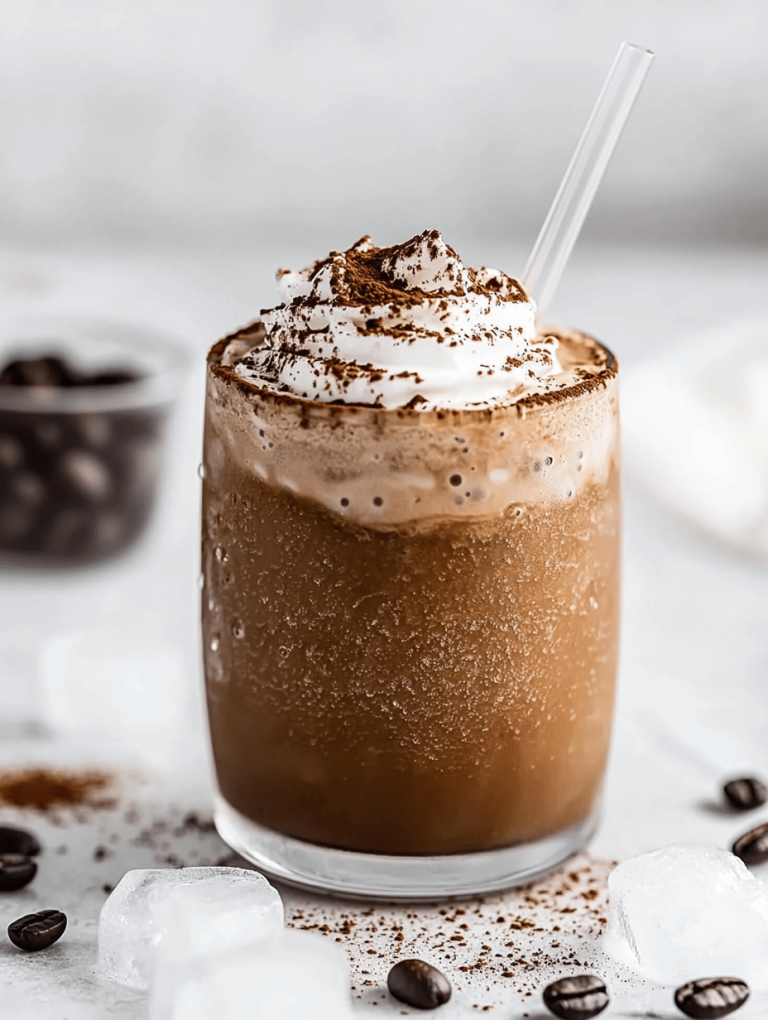
Chill Out with the Coolest Coffee Slushie Ever!
Beverages
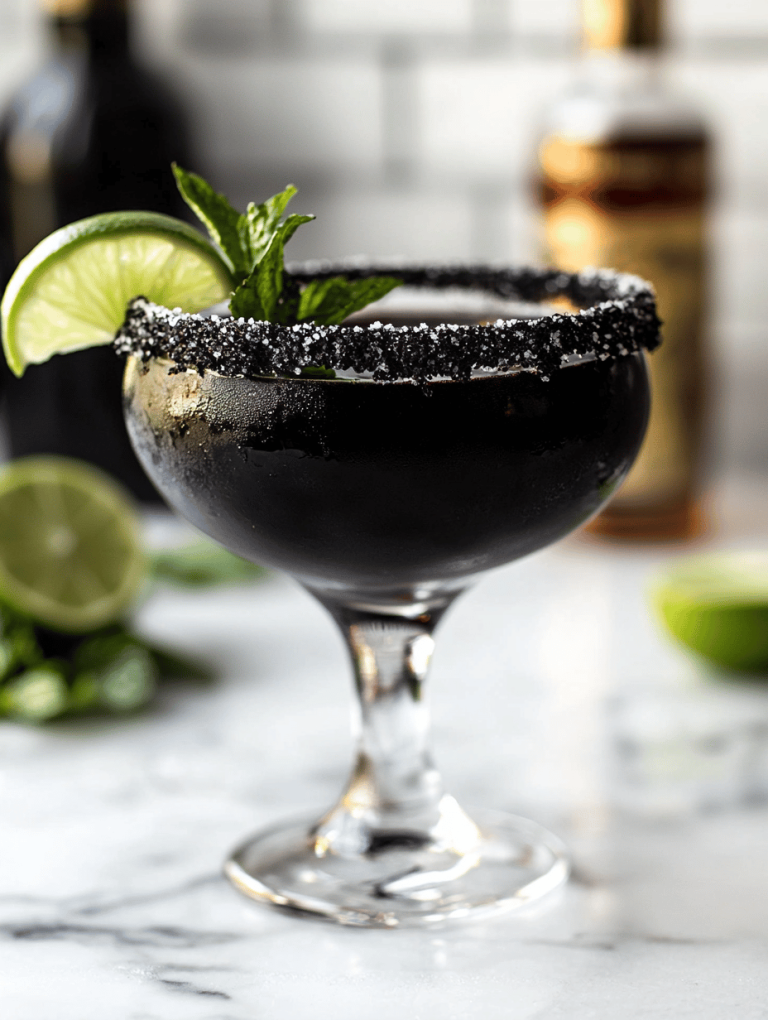
Enchanted Black Magic Margarita for a Spooky Night
Beverages
Chill Out with an All-Natural Milkshake Slushie
Page navigation
1
2
3
4
Next Page
Next
Scroll to top
Scroll to top
Breakfast
Main Course
Beverages
Desserts
Side Dishes
Appetizers
Toggle Menu Close
Search for:
Search