Skip to content
Trying Something Crazy
Breakfast
Main Course
Beverages
Desserts
Side Dishes
Appetizers
Pinterest
Search
Toggle Menu
Beverages
Beverages
Spook-tacular Skeleton Sipper: The Halloween Monster Mash Punch
Beverages
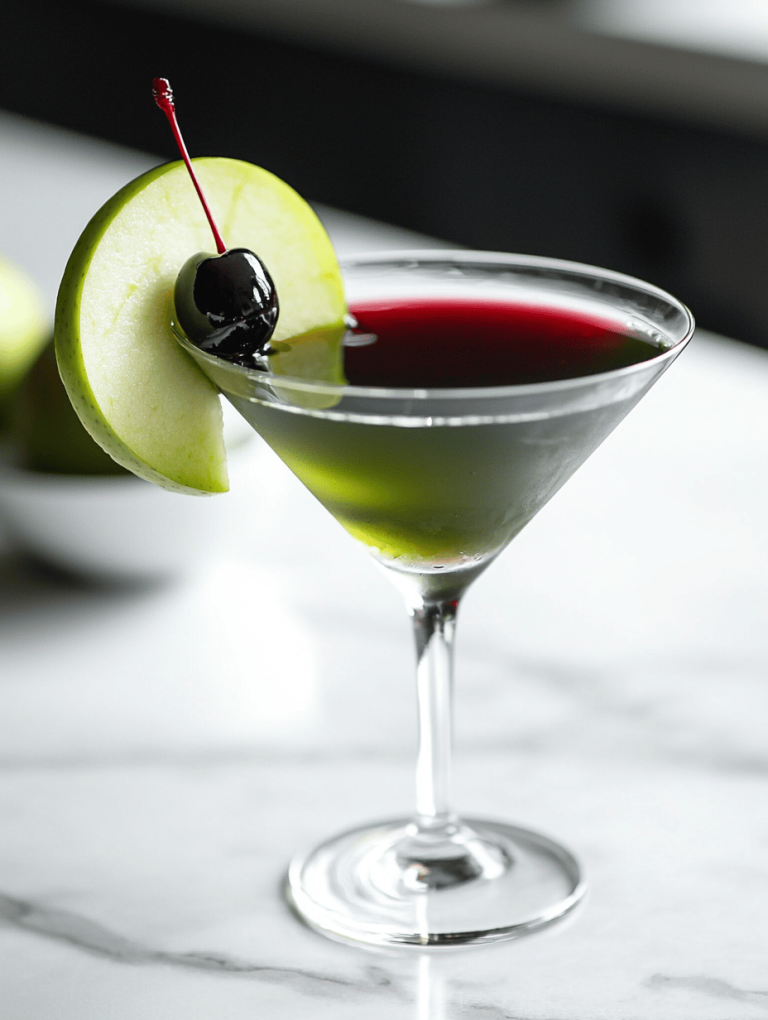
Enchanted Poison Apple Martini: A Spooky Sip for Halloween
Beverages
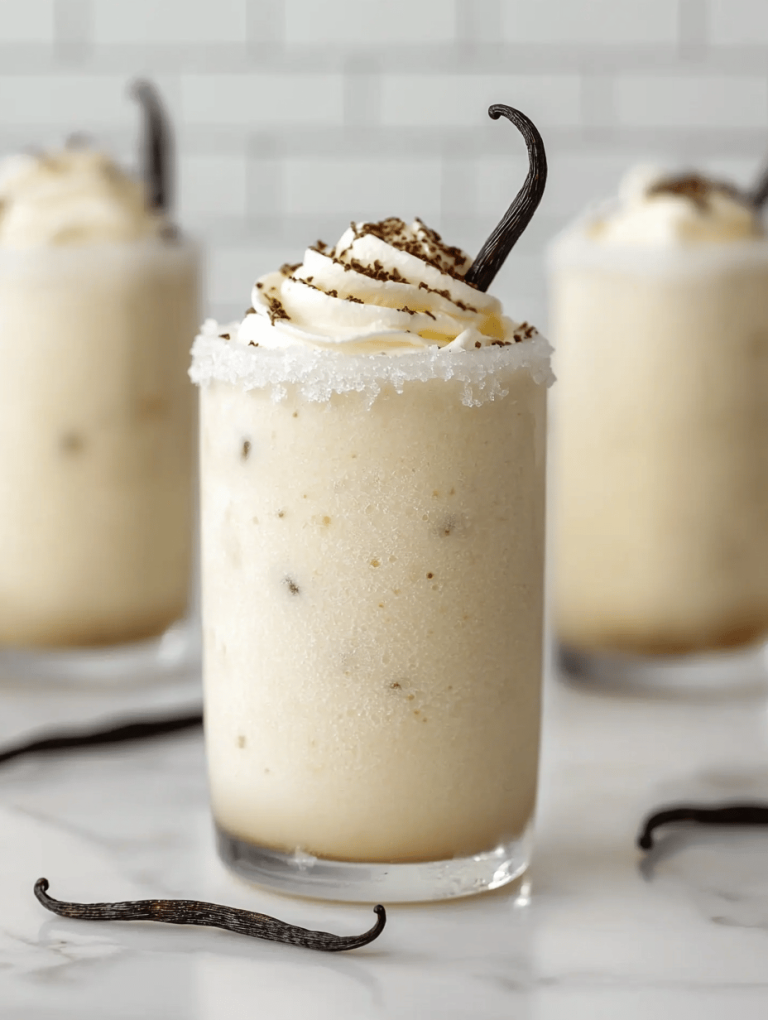
The Secret Art of Crafting the Perfect Vanilla Slushie
Beverages
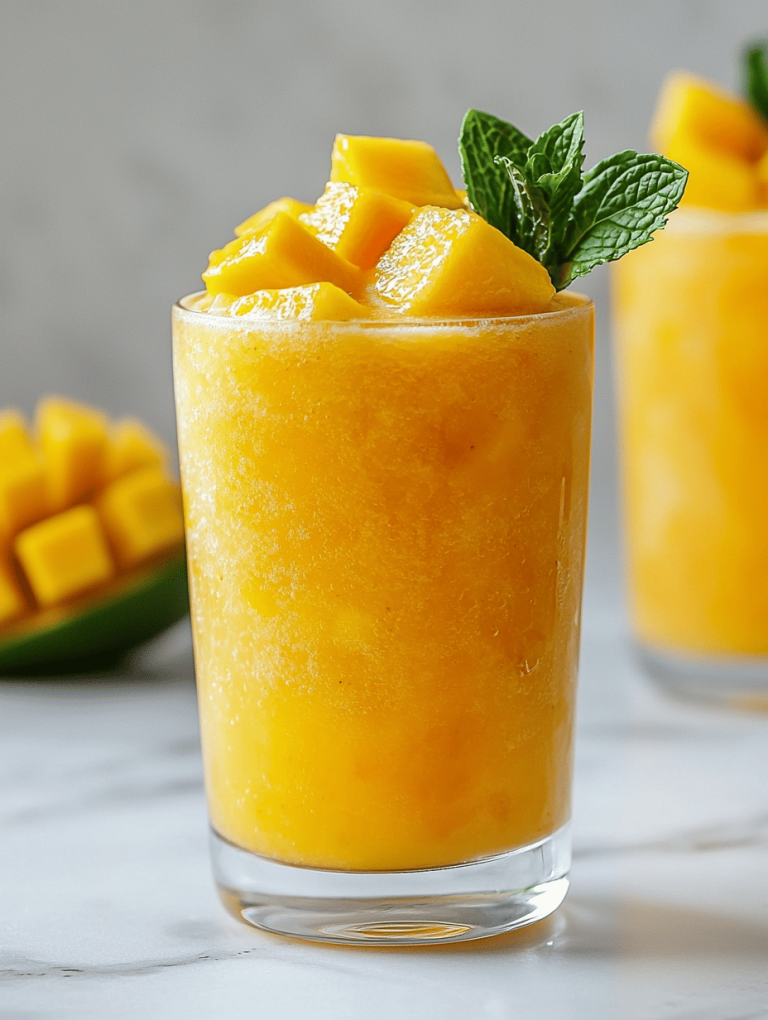
Alchemy of Mango: The Frozen Treasure You Didn’t Know You Needed
Beverages
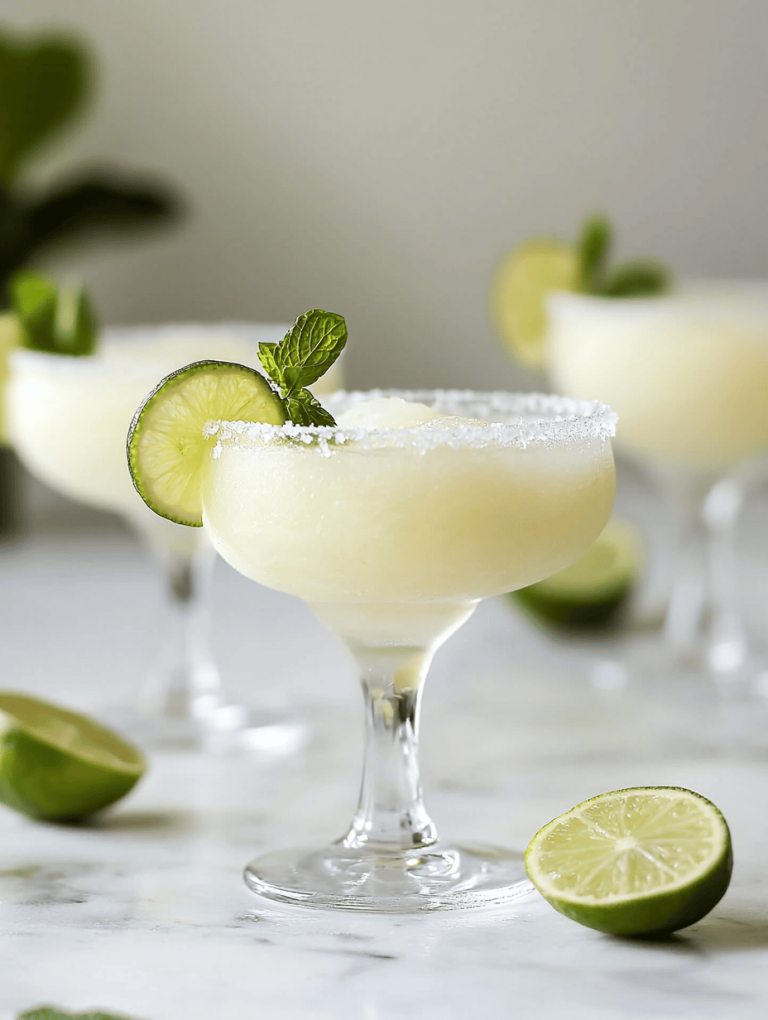
Chill Out: The Frozen Margarita Slushie Adventure
Beverages
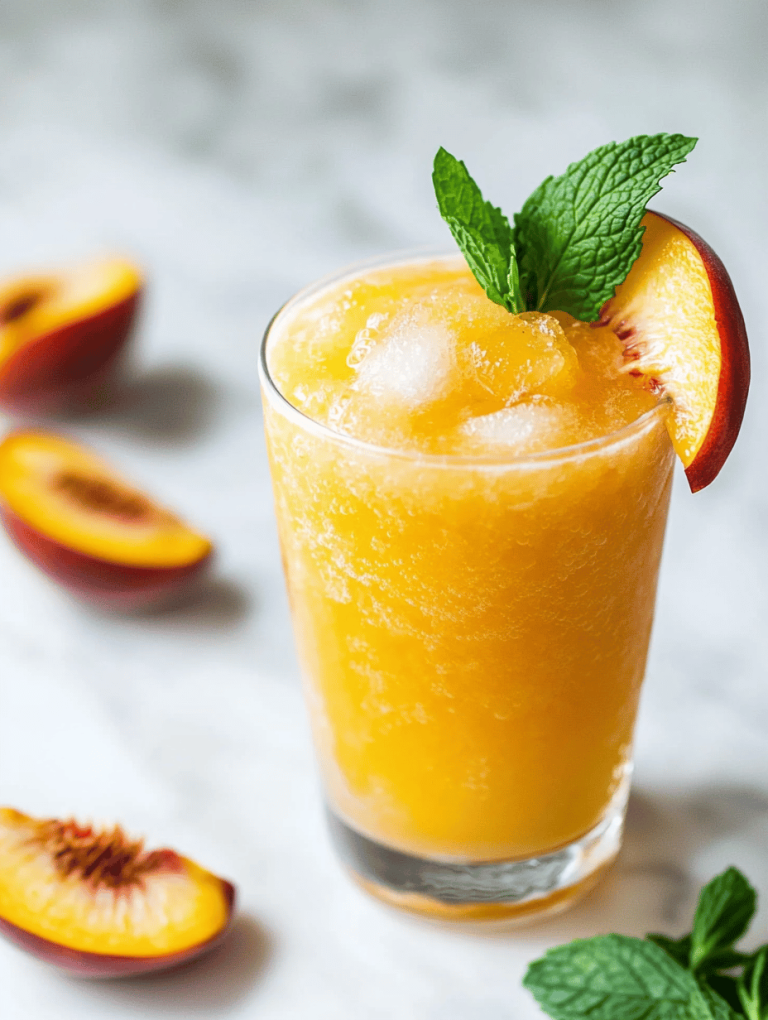
The Unexpected Charm of Peach Slushie: A Frozen Daydream
Beverages
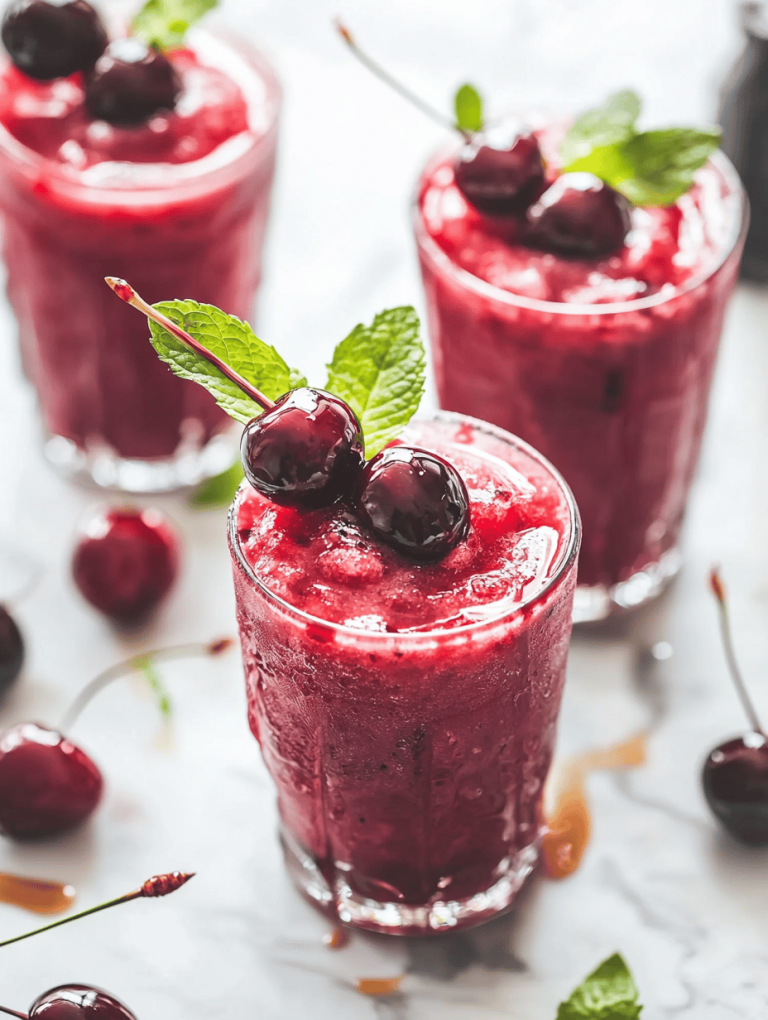
Cherry Bliss: The Secret Ingredient to a Perfect Slushie
Beverages
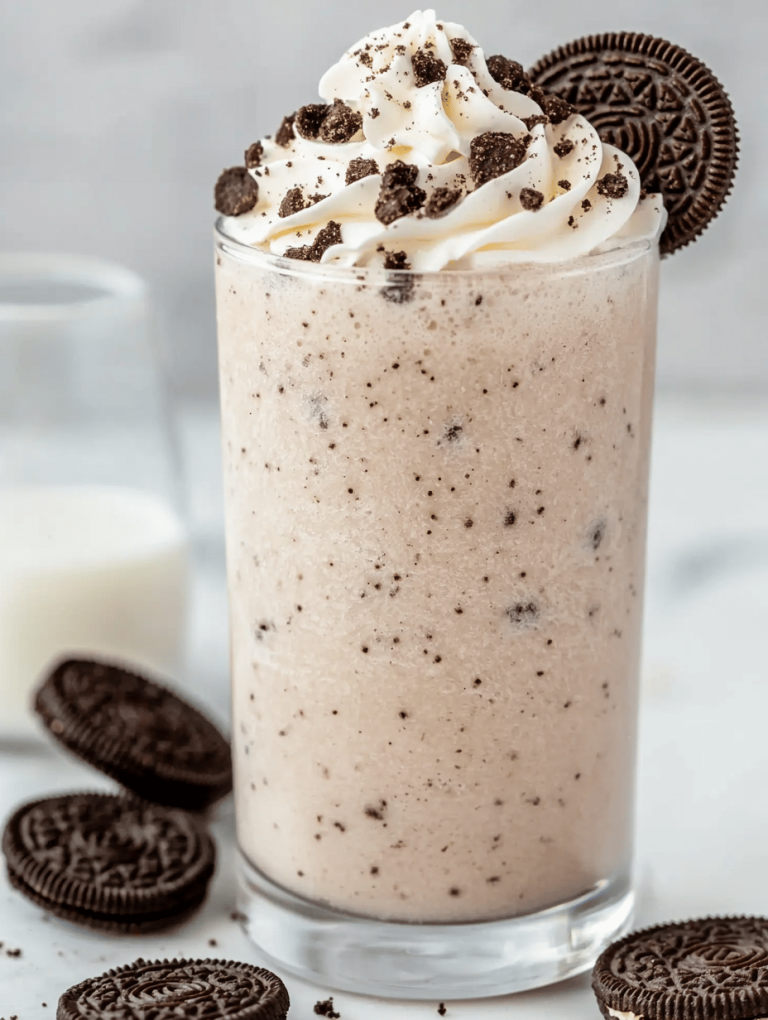
Chill Your Soul: The Unexpected Magic of Oreo Slushie
Beverages
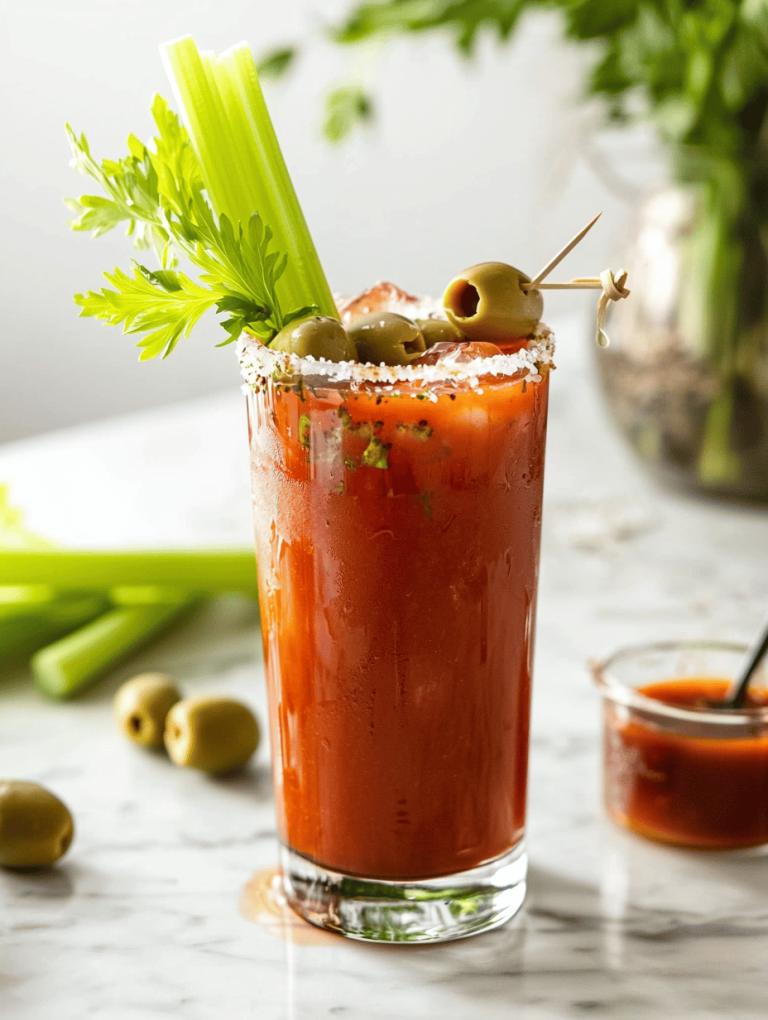
The Haunted Mix: Spooky Blood-Red Bloody Mary for Halloween
Beverages
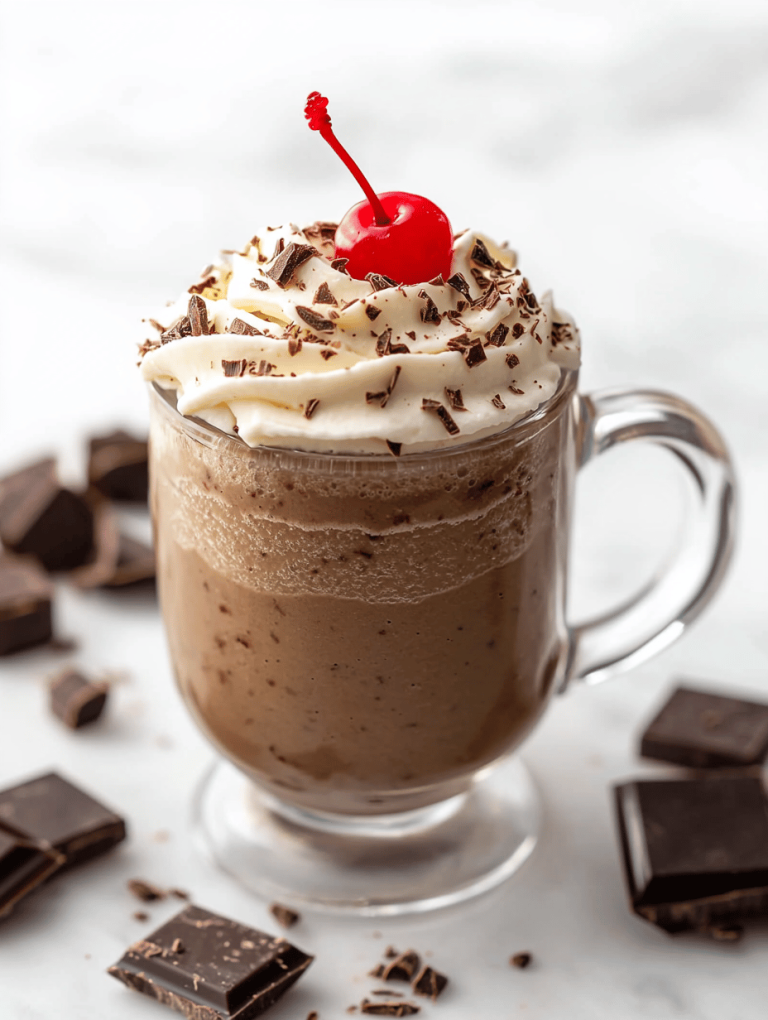
Chill Out with the Unusual: The Art of Making a Lush Chocolate Slushie
Page navigation
Previous Page
Previous
1
2
3
4
Next Page
Next
Scroll to top
Scroll to top
Breakfast
Main Course
Beverages
Desserts
Side Dishes
Appetizers
Toggle Menu Close
Search for:
Search