Skip to content
Trying Something Crazy
Breakfast
Main Course
Beverages
Desserts
Side Dishes
Appetizers
Pinterest
Search
Toggle Menu
Desserts
Desserts
Peanut Butter Chocolate Chip Cookies
Desserts
Chocolate Peanut Butter Truffles Recipe
Desserts
Peanut Butter Muffins Recipe
Desserts
Pineapple Mint Popsicles Recipe
Desserts
Peanut Butter Chocolate Chip Chewy Bars Recipe
Desserts
Chocolate Peanut Butter Tart Recipe
Desserts
Peanut Butter Cups Recipe
Desserts
Peanut Butter & Jelly Smoothie Bowl Recipe
Desserts
No-bake Peanut Butter Bars Recipe
Desserts
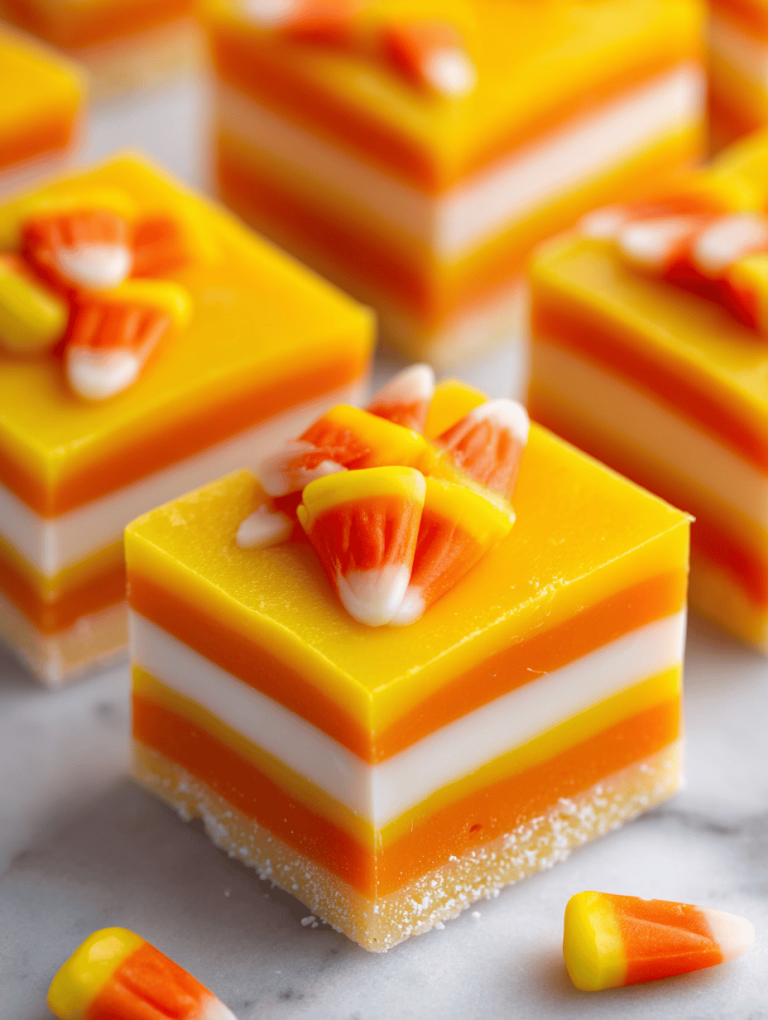
Candy Corn Fudge: A Nostalgic Twist for Fall Gatherings
Page navigation
1
2
3
…
6
Next Page
Next
Scroll to top
Scroll to top
Breakfast
Main Course
Beverages
Desserts
Side Dishes
Appetizers
Toggle Menu Close
Search for:
Search