Skip to content
Trying Something Crazy
Breakfast
Main Course
Beverages
Desserts
Side Dishes
Appetizers
Pinterest
Search
Toggle Menu
Desserts
Desserts
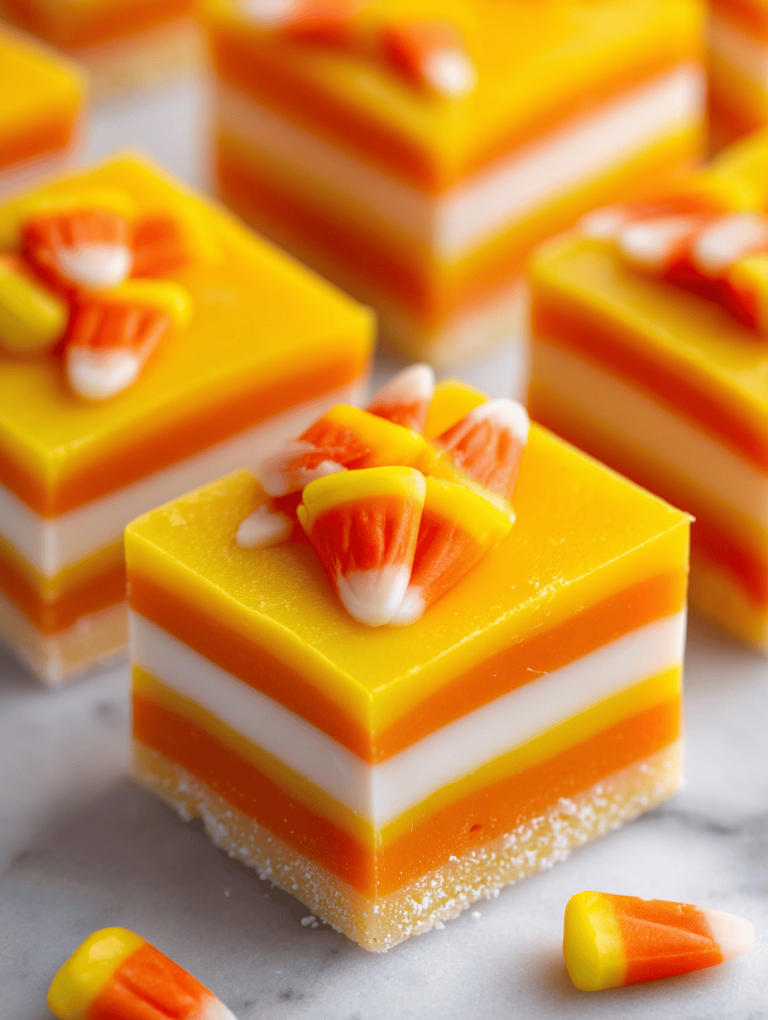
Candy Corn Fudge: A Nostalgic Twist for Fall Gatherings
Desserts
Candy Corn Fudge: A Nostalgic Twist for Fall Gatherings
Desserts
Unearthing the Rustic Charm of Pumpkin Whoopie Pies
Desserts
Unearthing the Rustic Charm of Pumpkin Whoopie Pies
Desserts
Unearthing the Rustic Charm of Pumpkin Whoopie Pies
Desserts
Unearthing the Rustic Charm of Pumpkin Whoopie Pies
Desserts
Unearthing the Rustic Charm of Pumpkin Whoopie Pies
Desserts
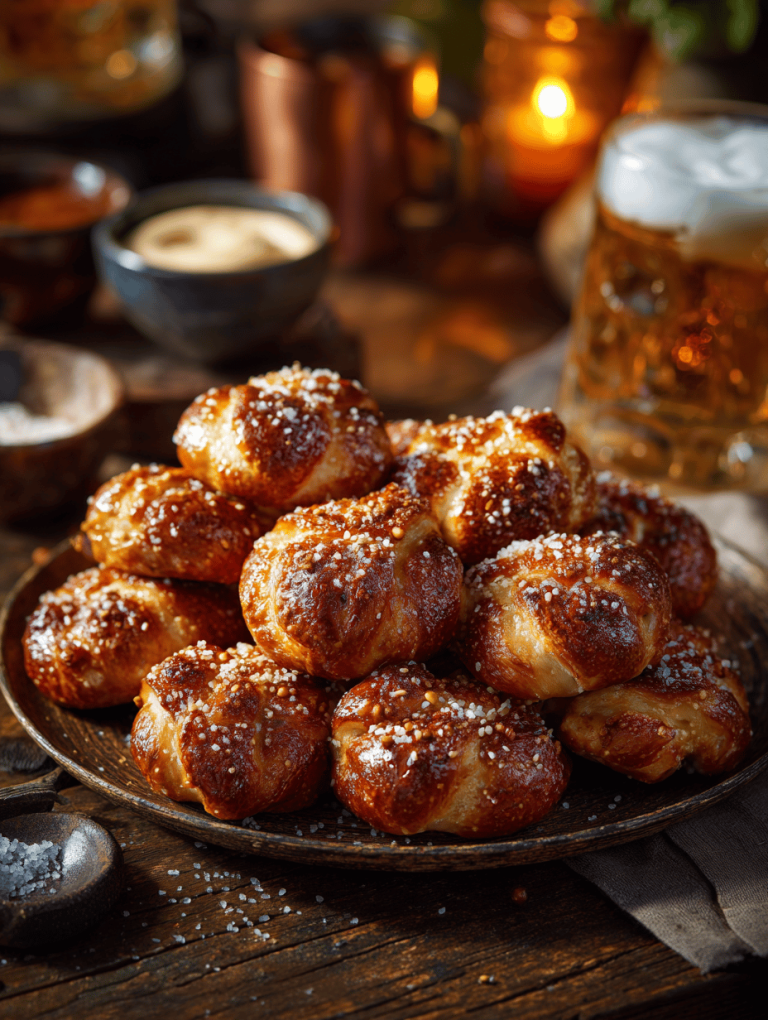
Monster Pretzel Bites: A Chewy, Salty, Slightly Sweet Snack That Packs a Punch
Desserts
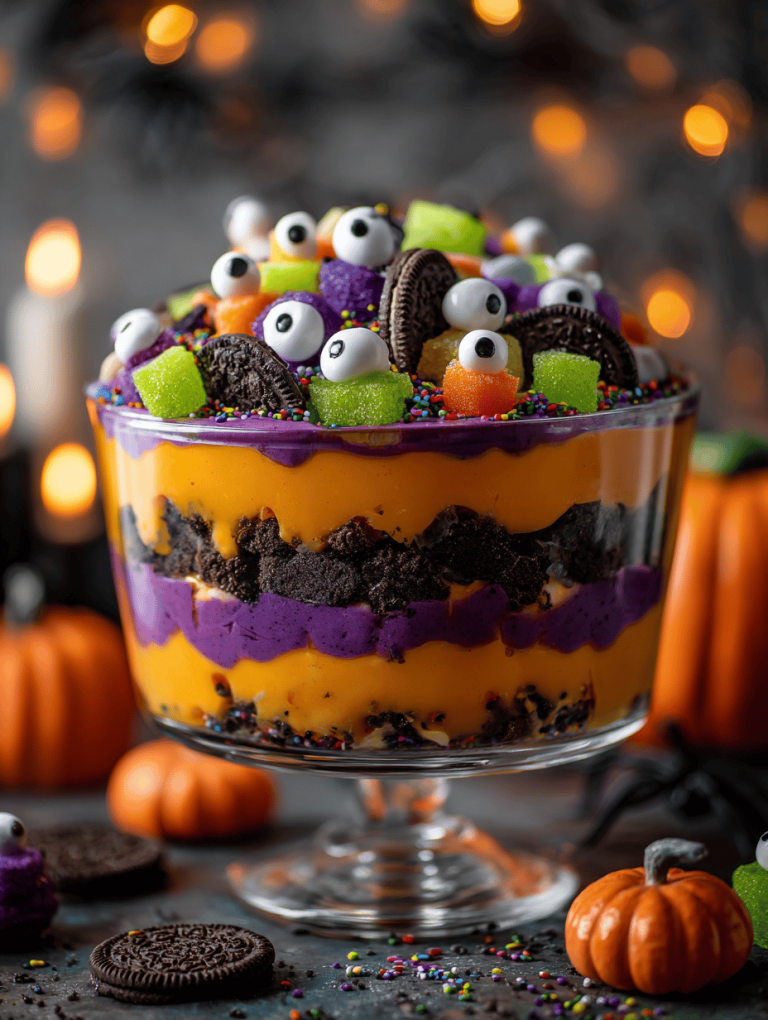
Halloween Trifle: A Spooky Layered Delight with a Twist
Desserts
Mummy Brownies: Nostalgic Comfort with a Savory Twist
Page navigation
Previous Page
Previous
1
2
3
4
…
6
Next Page
Next
Scroll to top
Scroll to top
Breakfast
Main Course
Beverages
Desserts
Side Dishes
Appetizers
Toggle Menu Close
Search for:
Search