Skip to content
Trying Something Crazy
Breakfast
Main Course
Beverages
Desserts
Side Dishes
Appetizers
Pinterest
Search
Toggle Menu
Desserts
Desserts
Bloody Red Velvet Cake: A Dark, But Delightful Celebration of Contrast
Desserts
Monster Pretzel Bites: An Unexpected Snack with a Chewy, Salty Kick
Desserts
Black Velvet Cupcakes: A Deep, Rich Take on a Classic
Desserts
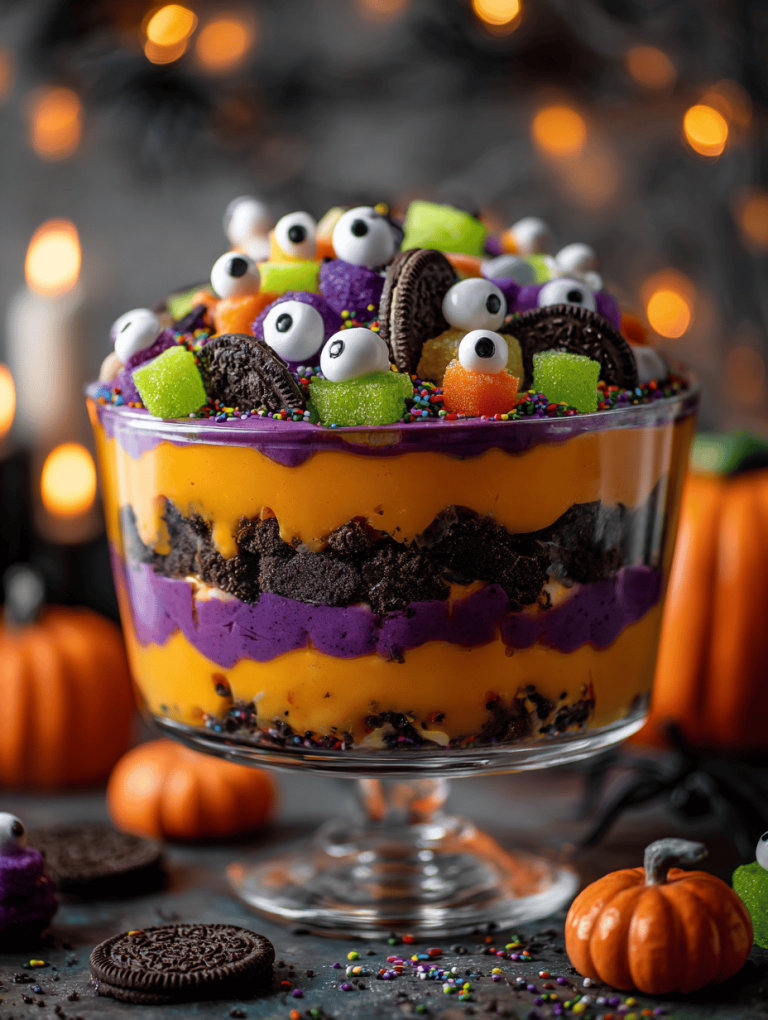
Halloween Trifle: A Playful Twist on Spooky Sweetness
Desserts
Halloween Trifle: A Playful Twist on Spooky Sweetness
Desserts
Halloween Trifle: A Playful Twist on Spooky Sweetness
Desserts
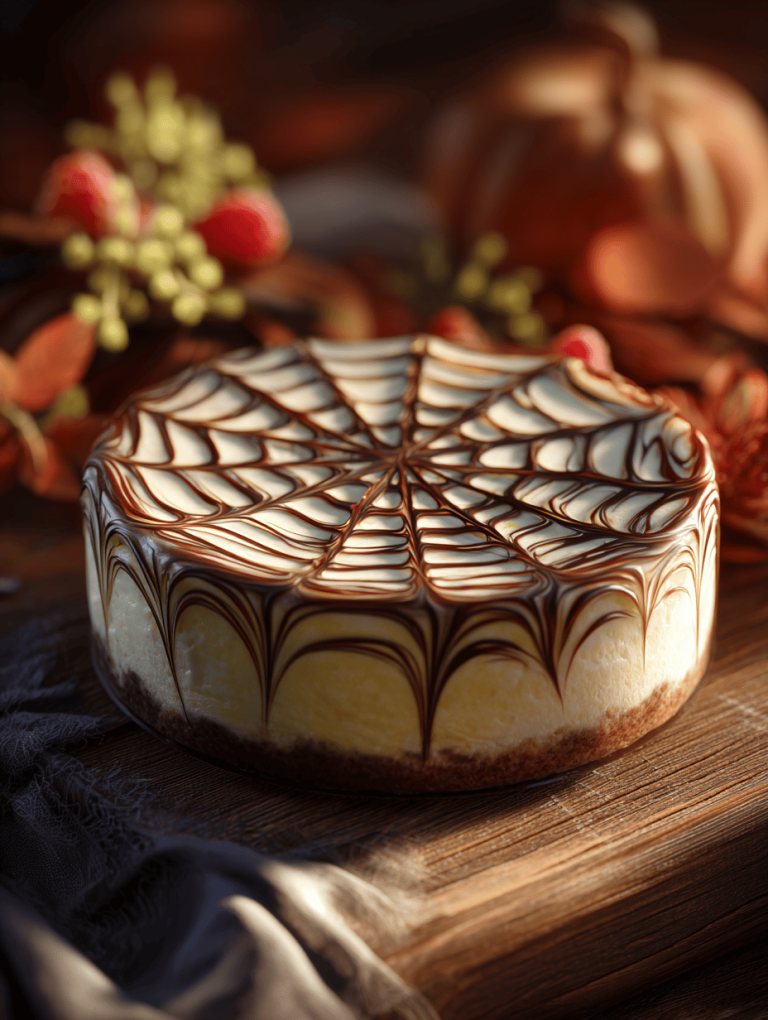
Spiderweb Cheesecake: The Deliciously Chaotic Dessert You Didn’t Know You Needed
Desserts
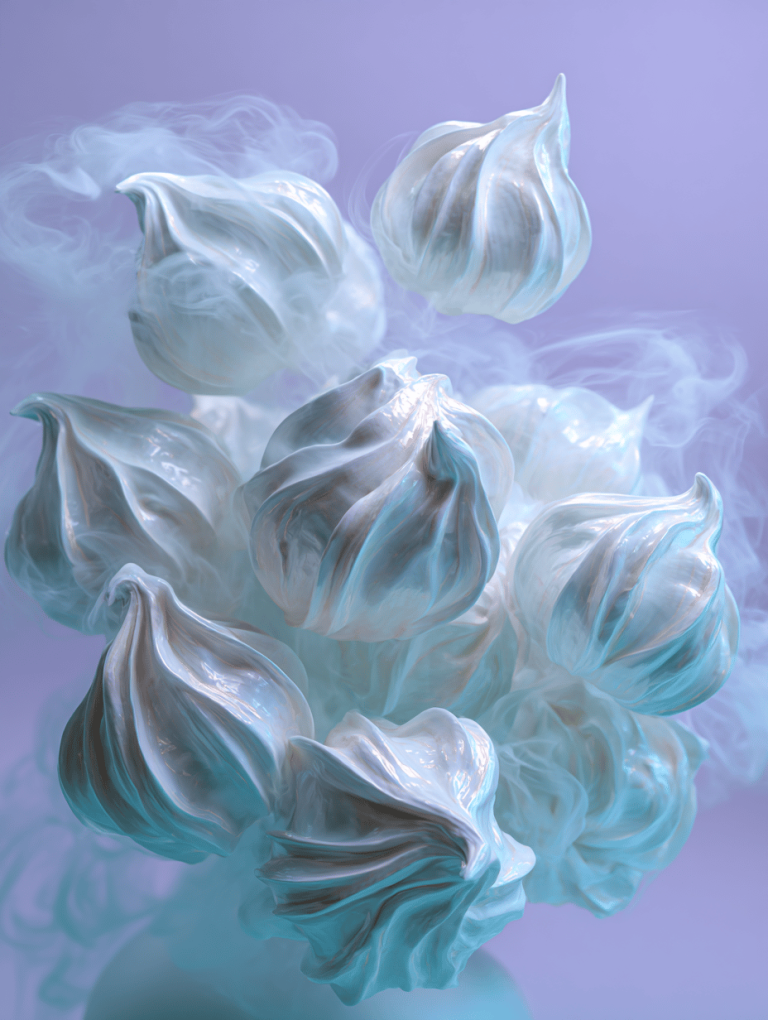
Ghost Meringues: An Ethereal Twist on a Classic Treat
Desserts
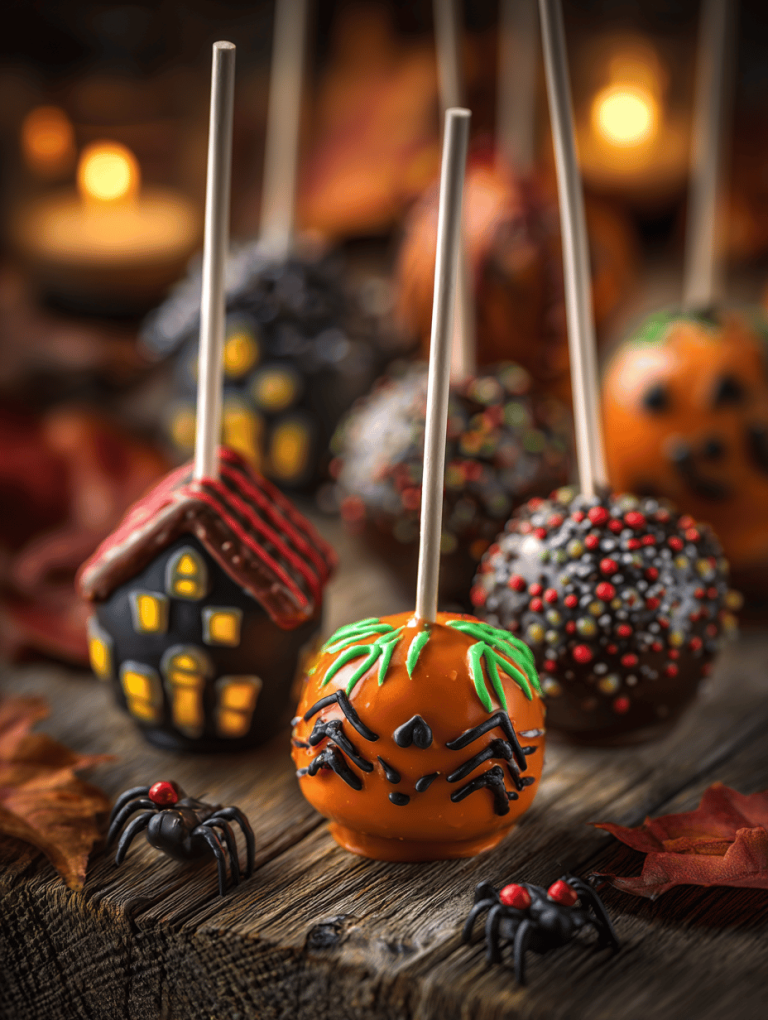
Spooky Charm: Halloween Cake Pops That Surprise and Delight
Desserts
Pumpkin Spice Cookies: A Cozy Fall Ritual with a Twist
Page navigation
Previous Page
Previous
1
2
3
4
5
6
Next Page
Next
Scroll to top
Scroll to top
Breakfast
Main Course
Beverages
Desserts
Side Dishes
Appetizers
Toggle Menu Close
Search for:
Search