Skip to content
Trying Something Crazy
Breakfast
Main Course
Beverages
Desserts
Side Dishes
Appetizers
Pinterest
Search
Toggle Menu
Desserts
Desserts
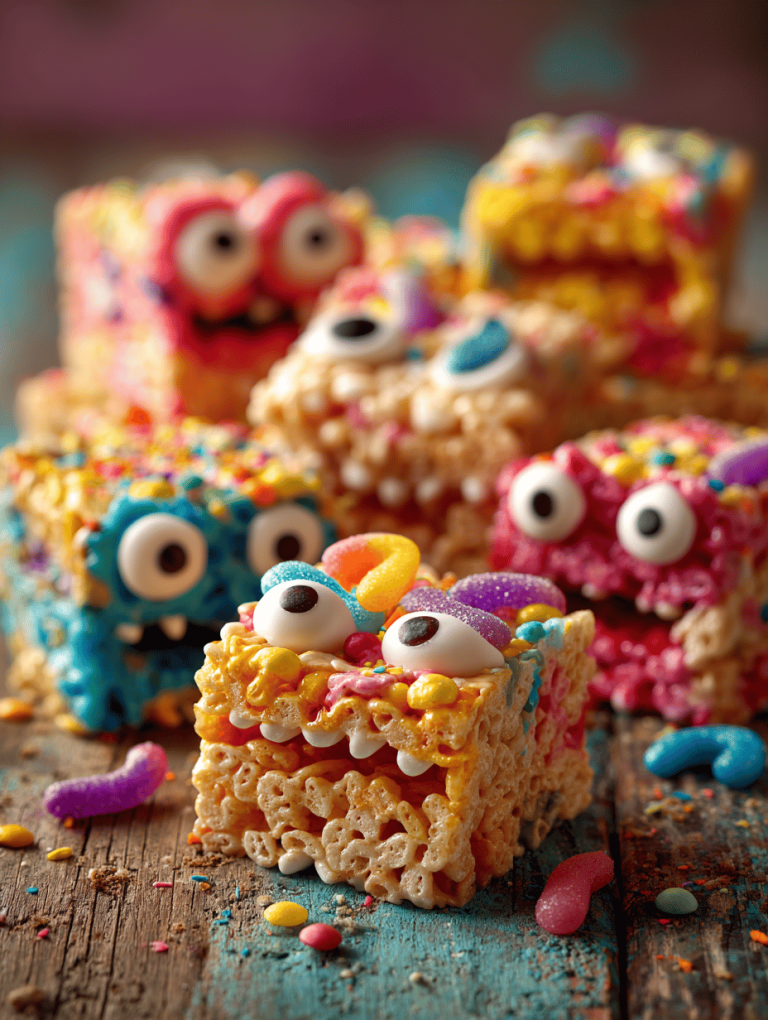
Monster Rice Krispie Treats: A Crunchy, Gooey Monster Mashup
Desserts
Spooky Sweetness: Halloween Brownies with a Twist
Desserts
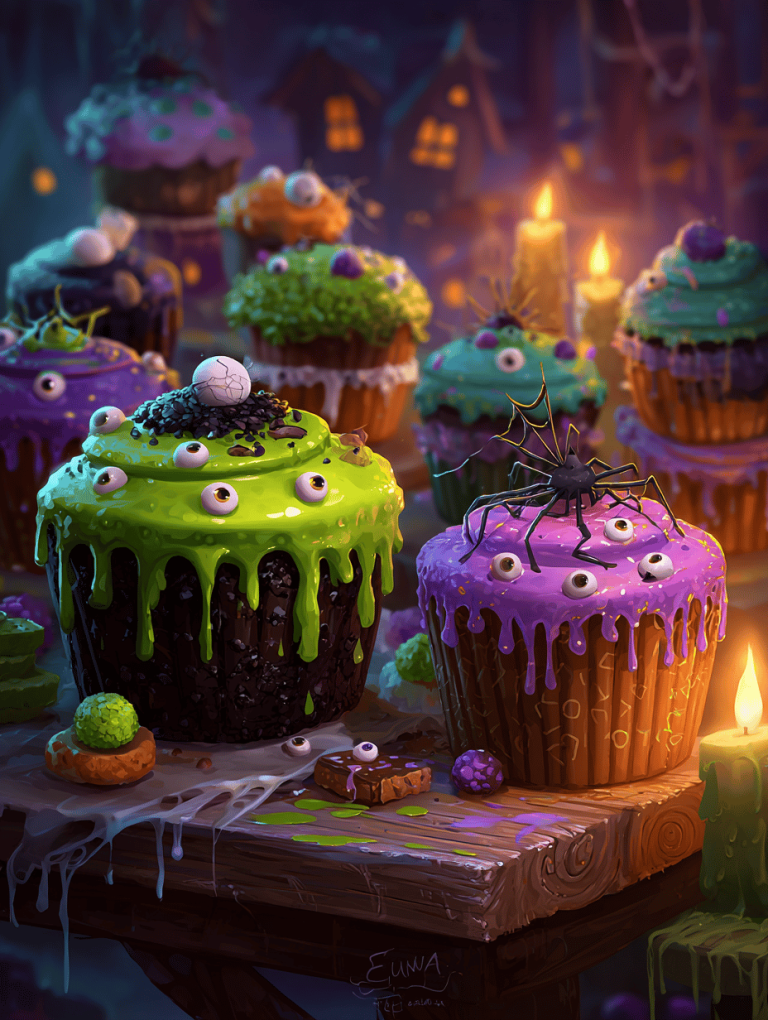
Spooky Cupcakes: A Ghoulishly Fun Baking Adventure
Desserts
Spooky-Sweet Halloween Sugar Cookies with a Twist
Desserts
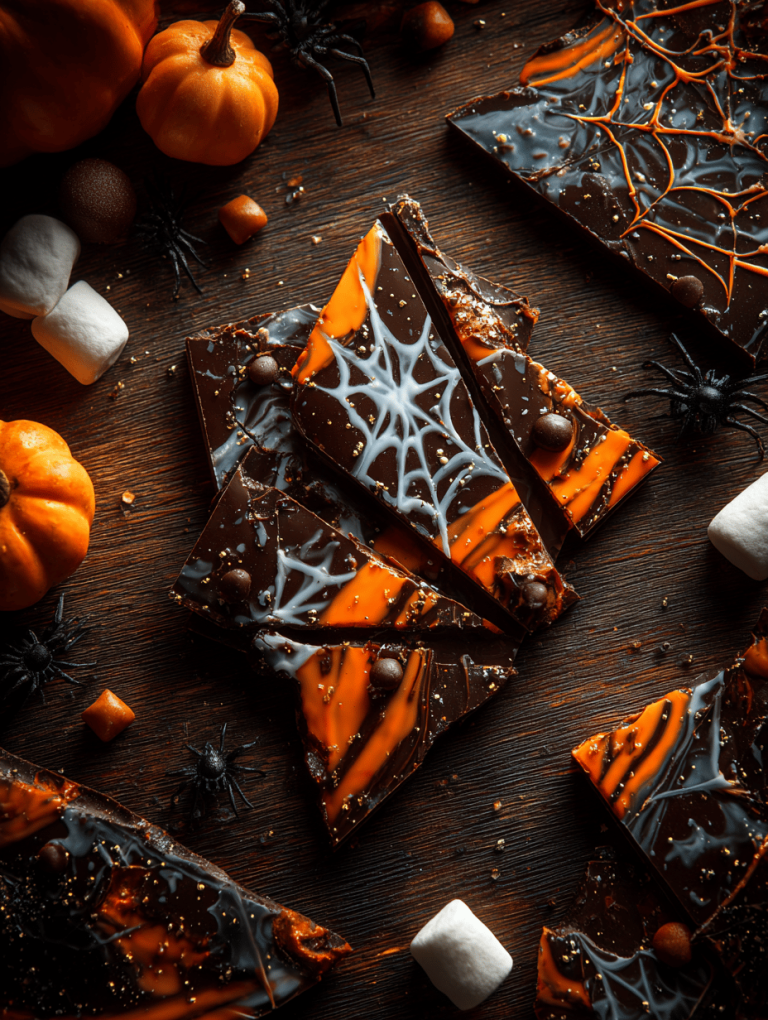
Spooky Sophistication: A Halloween Bark That Turns Trick Into Treat
Desserts
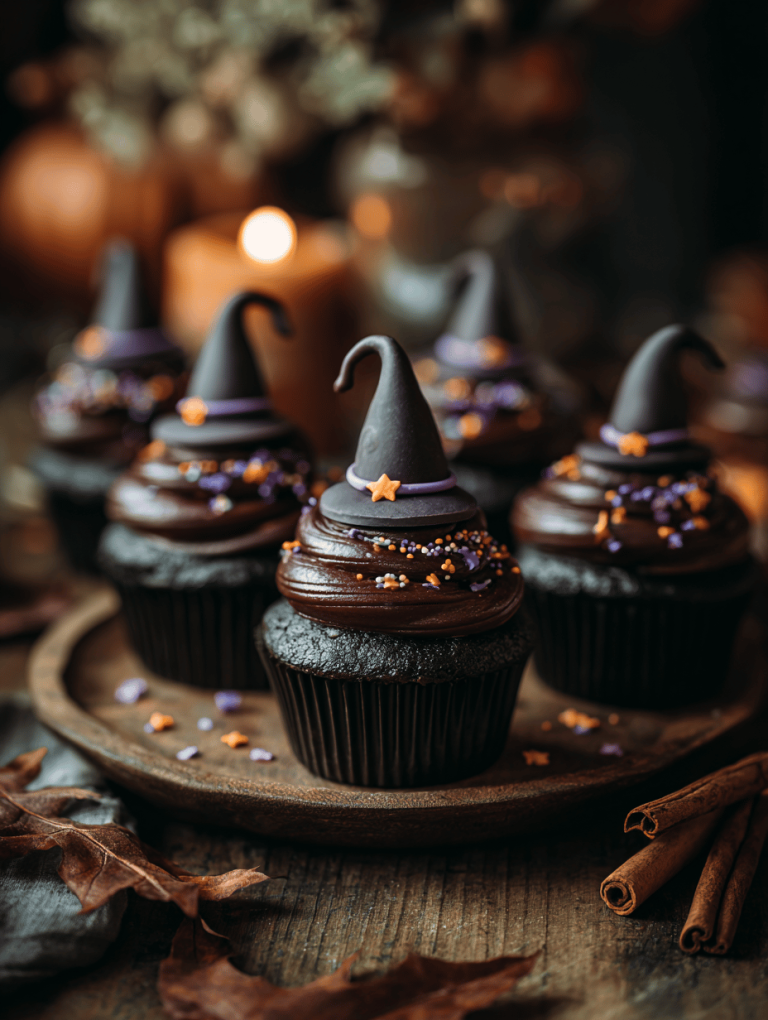
Witch Hat Cupcakes: A Spooky Sweet Trick for Your Baking Arsenal
Desserts
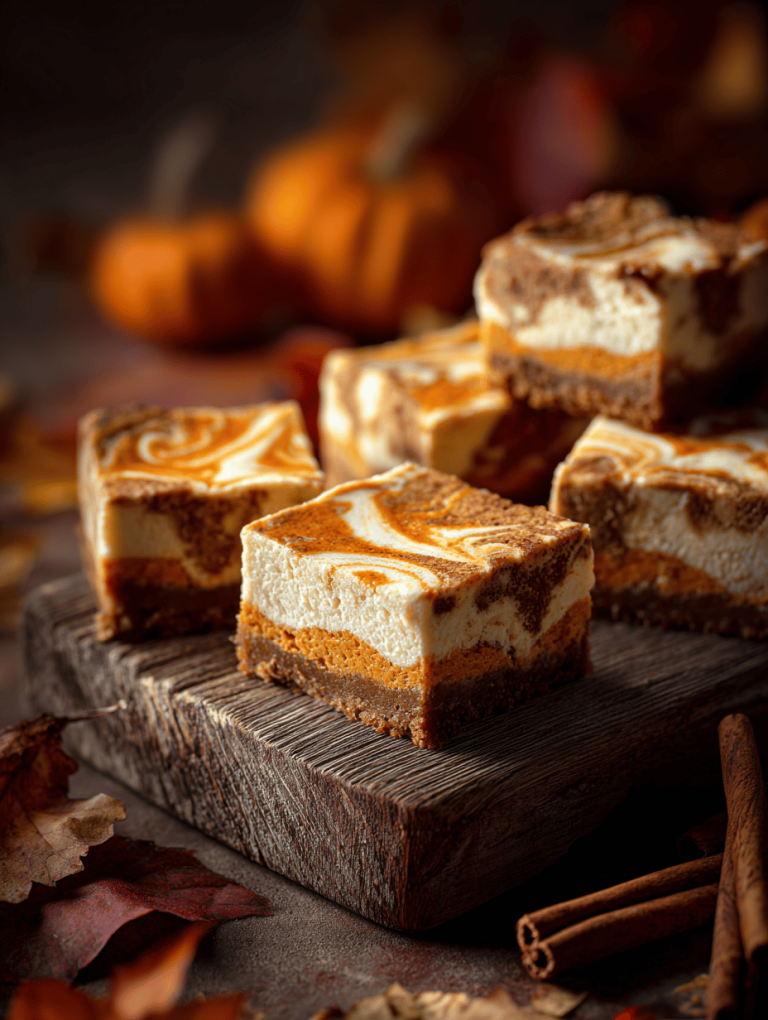
Pumpkin Cheesecake Bars: A Cozy Fall Treat with a Twist
Desserts
Pumpkin Cheesecake Bars: A Cozy Fall Treat with a Twist
Desserts
Haunted House Cookies: A Spooky Bite with a Secret Twist
Desserts
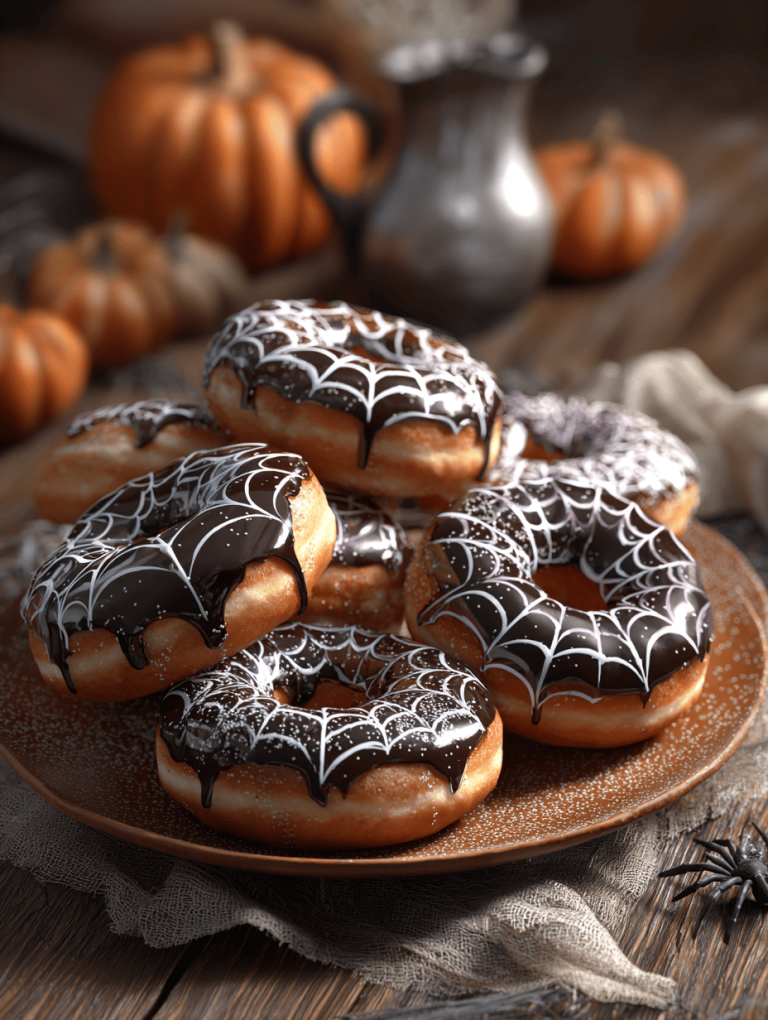
Spiderweb Donuts: A Tangled Twist on a Classic Treat
Page navigation
Previous Page
Previous
1
2
3
4
5
6
Next Page
Next
Scroll to top
Scroll to top
Breakfast
Main Course
Beverages
Desserts
Side Dishes
Appetizers
Toggle Menu Close
Search for:
Search