Skip to content
Trying Something Crazy
Breakfast
Main Course
Beverages
Desserts
Side Dishes
Appetizers
Pinterest
Search
Toggle Menu
Desserts
Desserts
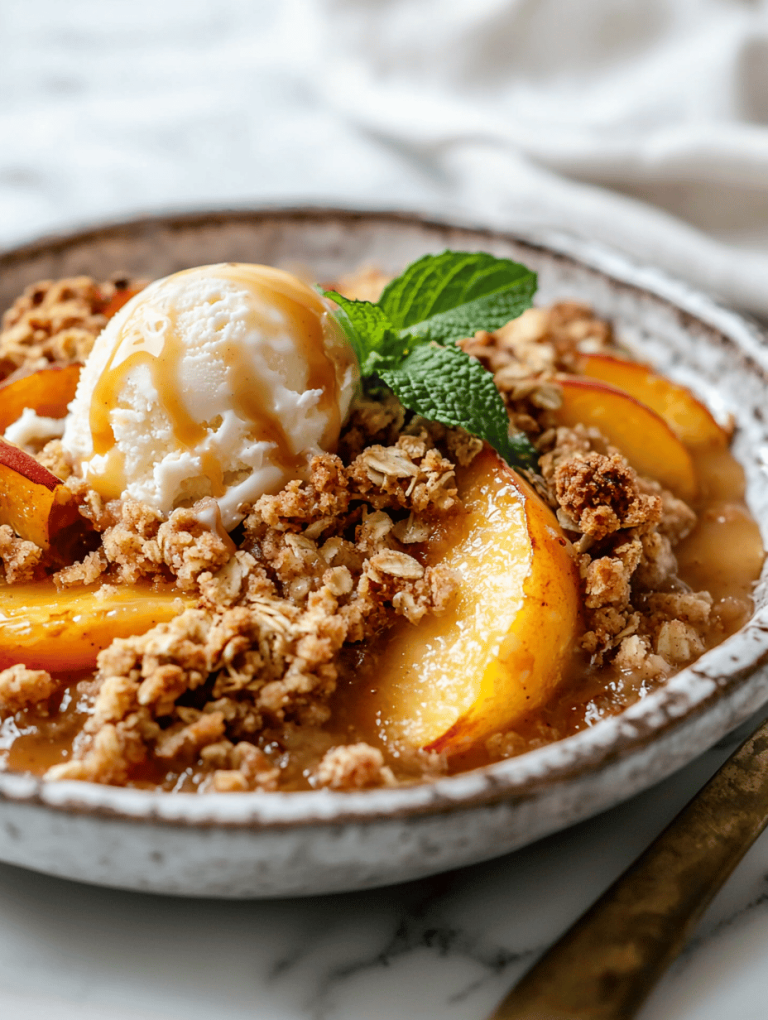
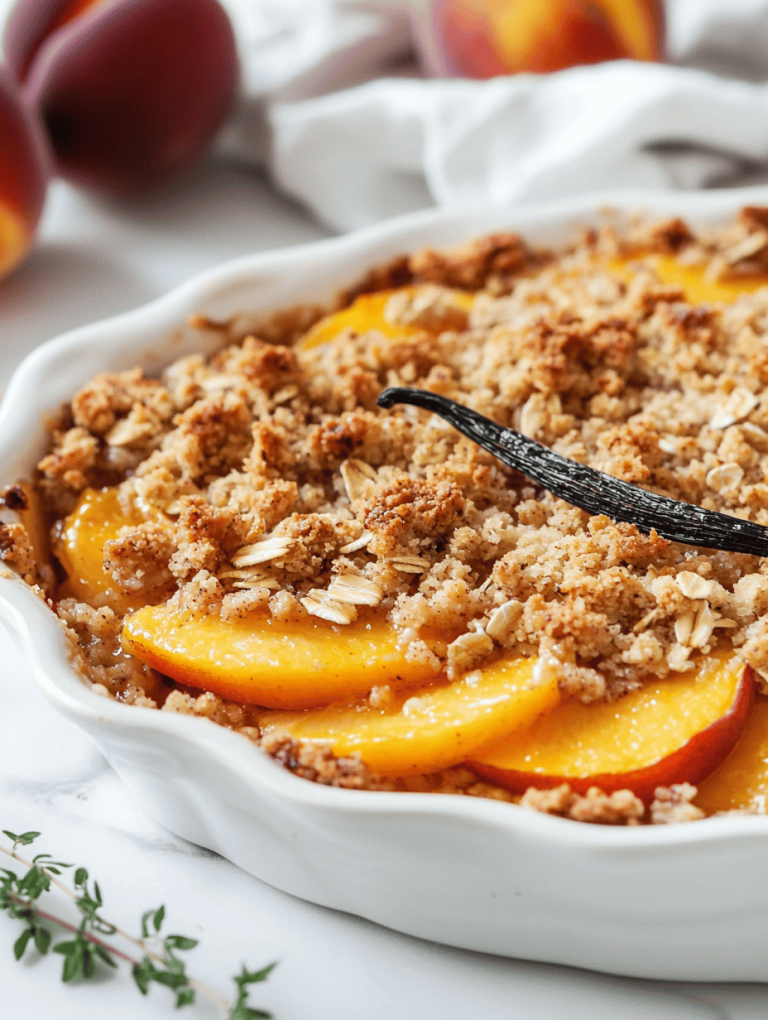
The Secret Society of Peach Crumble Enthusiasts
Desserts
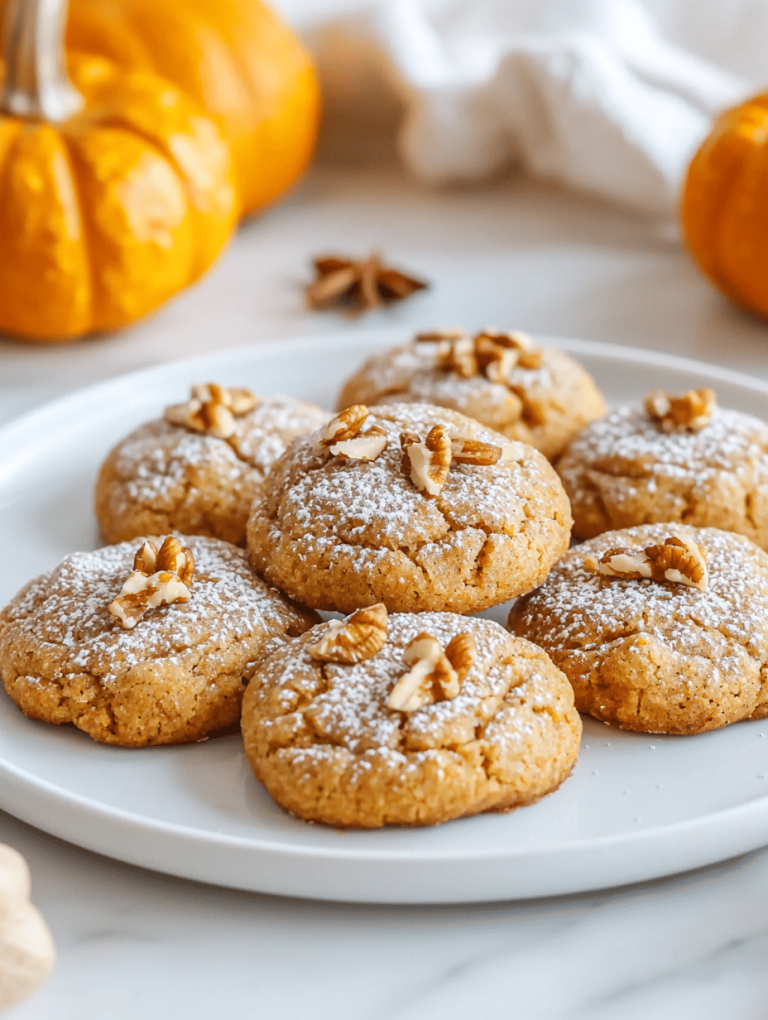
Spice Up Fall: Almond-Encrusted Pumpkin Cookies for Cozy Celebrations
Desserts
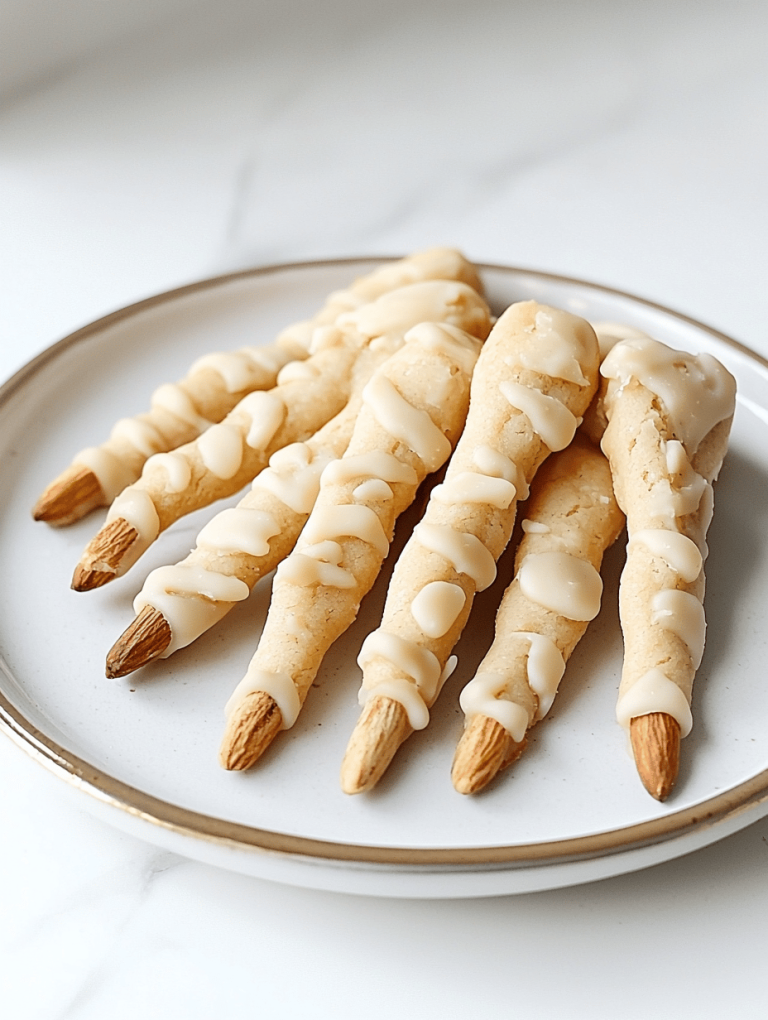
Wickedly Fun Halloween Witch Finger Cookies
Desserts
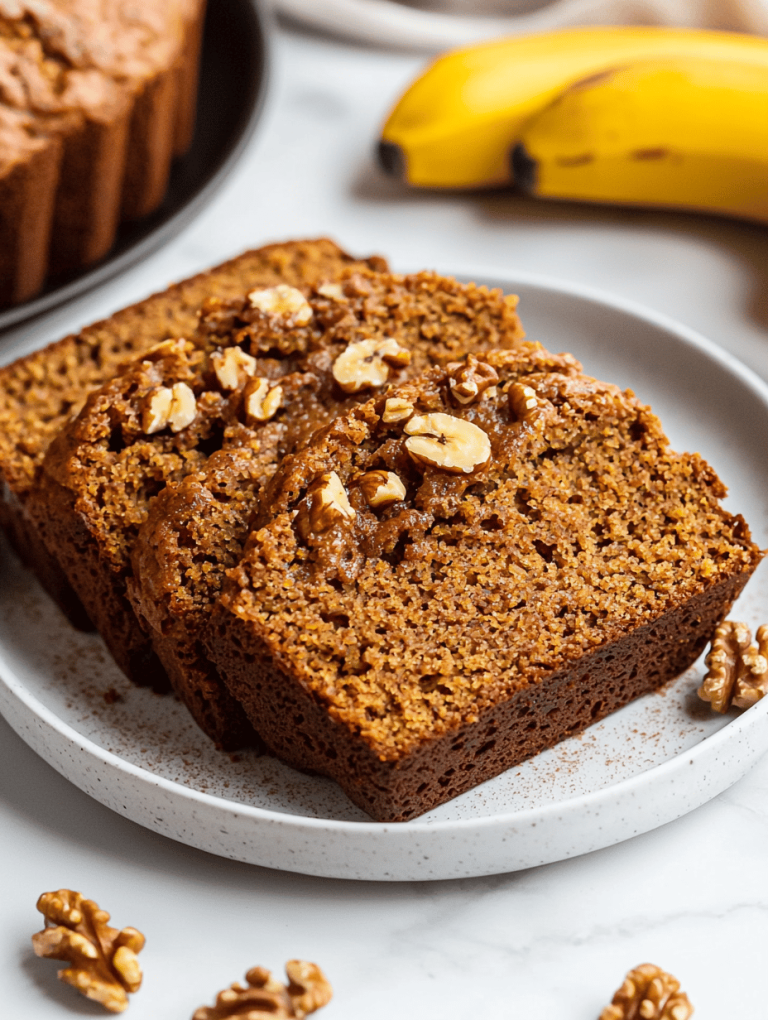
Hidden Spice: The Pumpkin Bread That Whispers Fall Secrets
Desserts
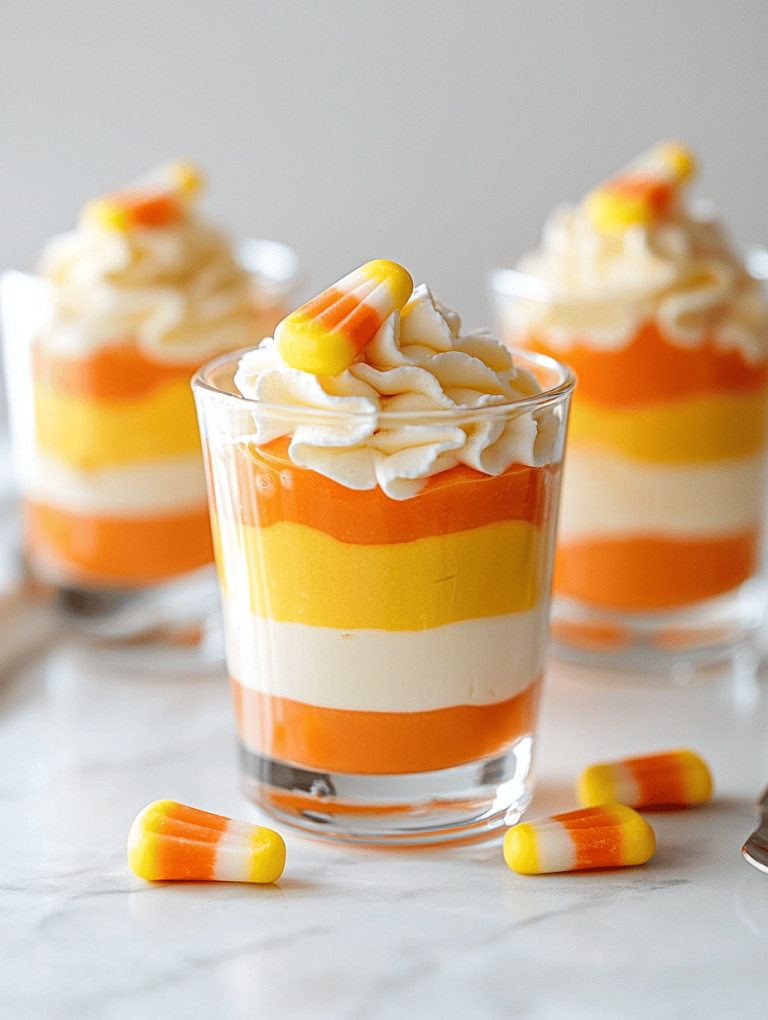
Spooky Sweet: Halloween Candy Corn Parfaits That Charm and Surprise
Desserts
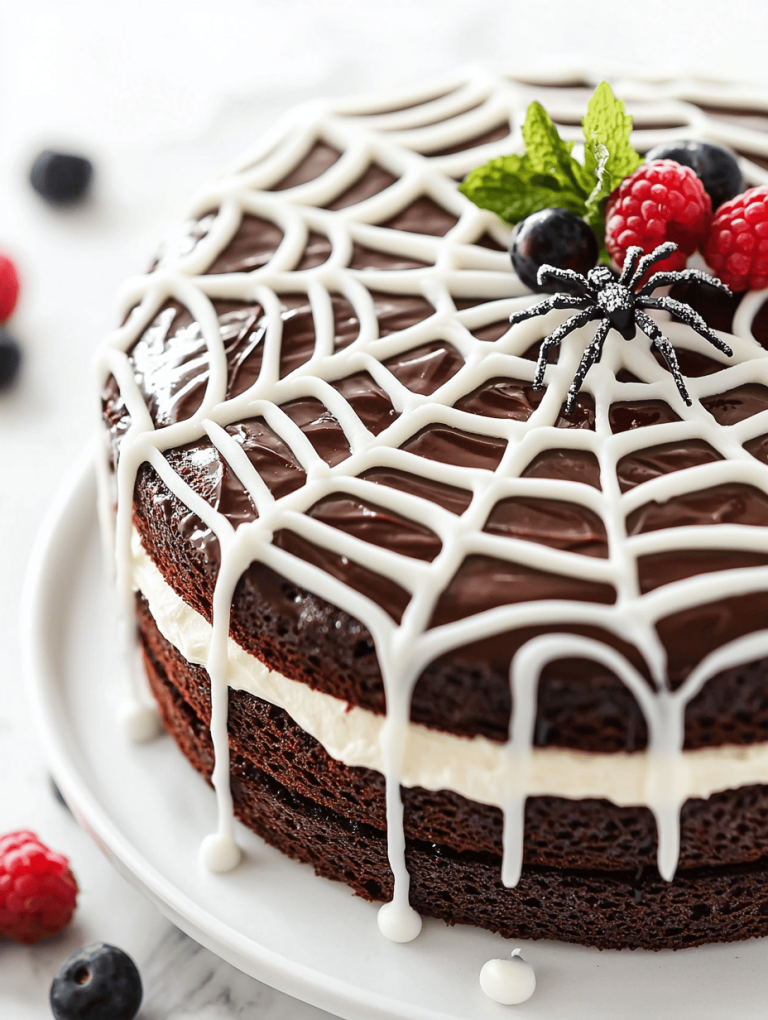
Spooky Spectacle: The Halloween Spider Web Cake
Desserts
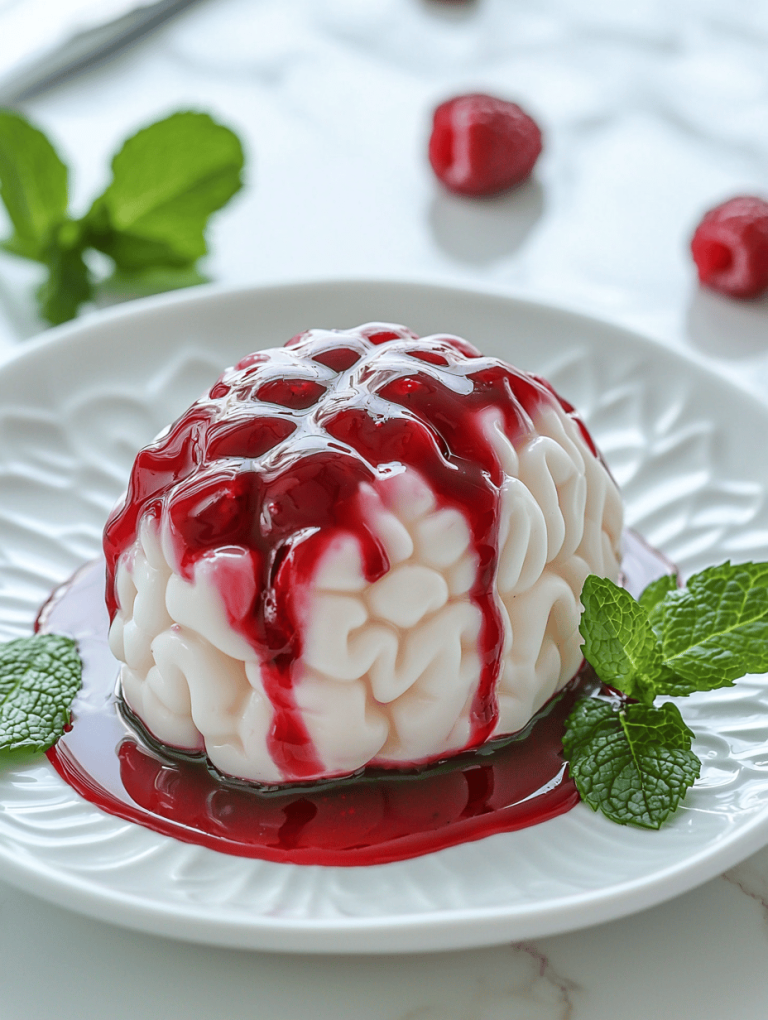
The Spookiest and Funkiest Halloween Brain Jello Mold
Desserts
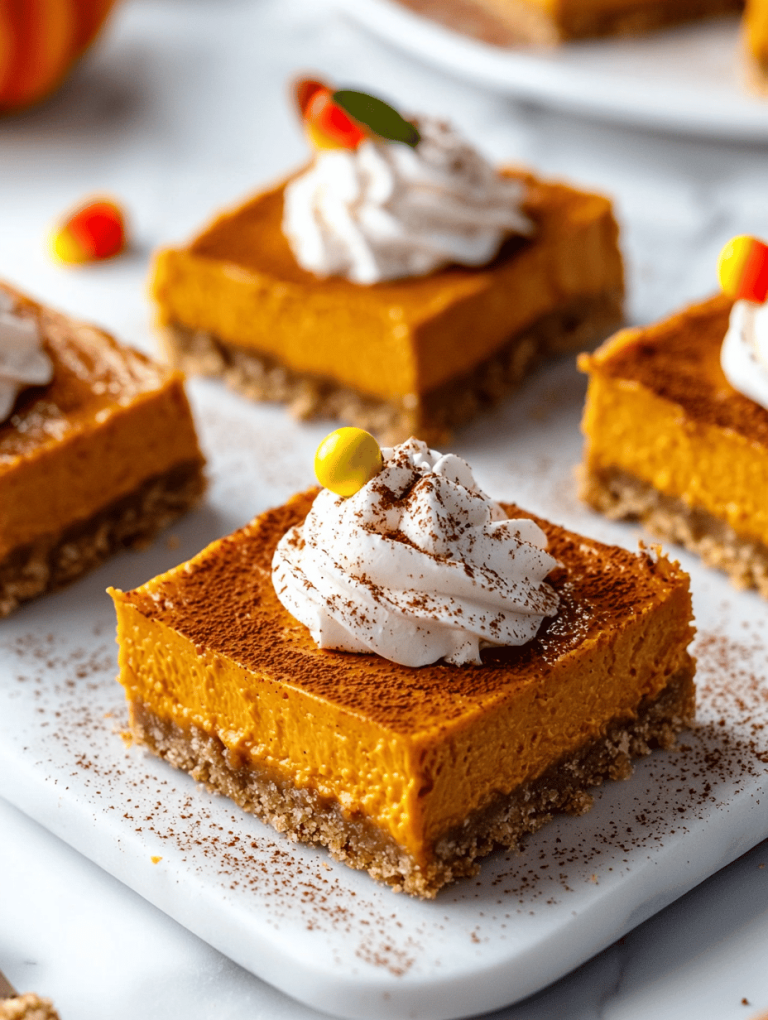
Spooky Sweetness: Halloween Pumpkin Cheesecake Bars You Won’t Forget
Desserts
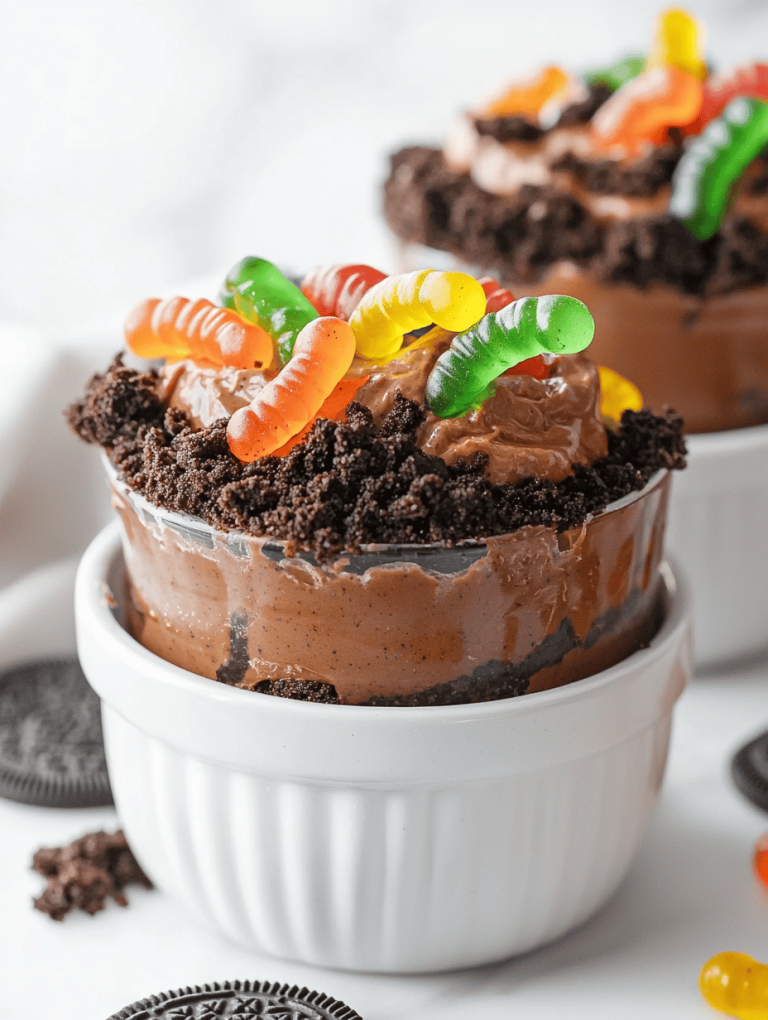
Halloween Dirt Cake: The Gummy Worm Twist You Never Knew You Needed
Desserts
The Secret Ingredient That Turns Peach Crisp Into Pure Nostalgia
Page navigation
Previous Page
Previous
1
…
3
4
5
6
Next Page
Next
Scroll to top
Scroll to top
Breakfast
Main Course
Beverages
Desserts
Side Dishes
Appetizers
Toggle Menu Close
Search for:
Search