Skip to content
Trying Something Crazy
Breakfast
Main Course
Beverages
Desserts
Side Dishes
Appetizers
Pinterest
Search
Toggle Menu
Main Course
Main Course
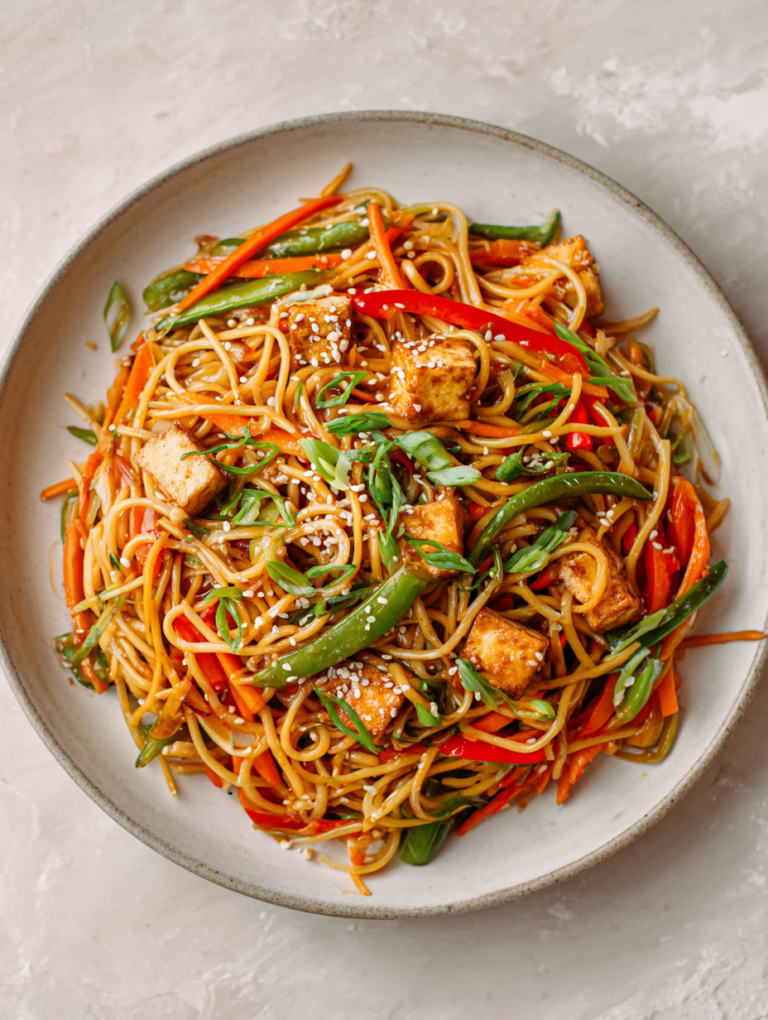
Vegan Chow Mein Recipe
Main Course
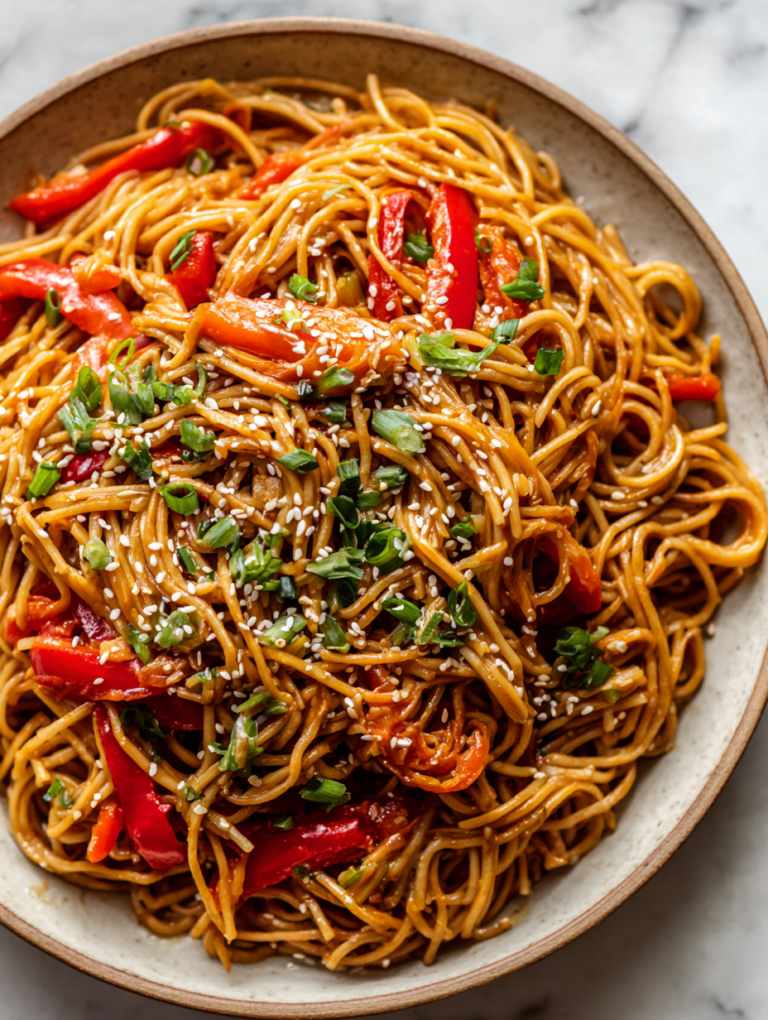
Vegan Sesame Noodles Recipe
Main Course
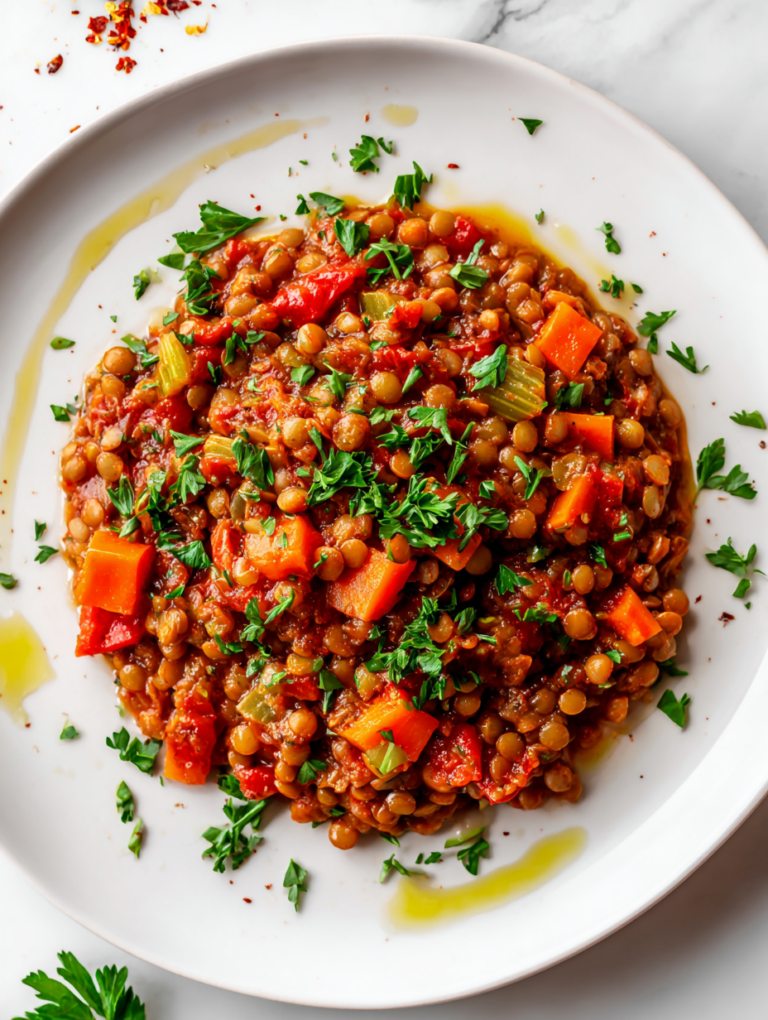
Vegan Lentil Ragu Recipe
Main Course
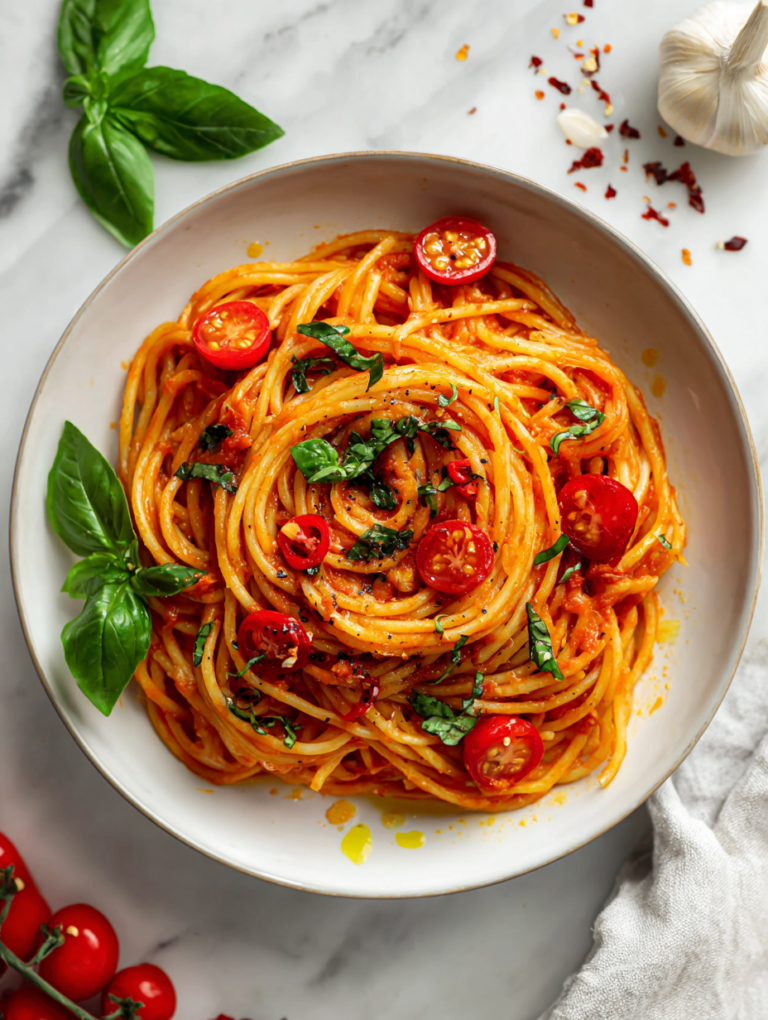
Vegan Arrabbiata Recipe
Main Course
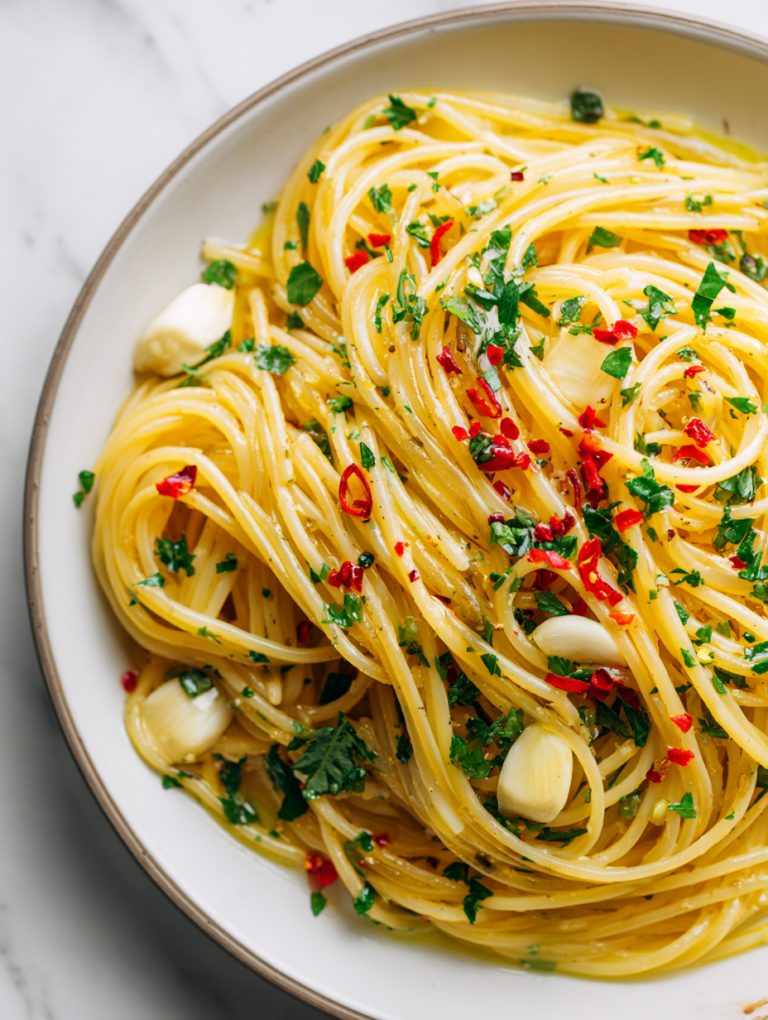
Vegan Spaghetti Aglio E Olio Recipe
Main Course
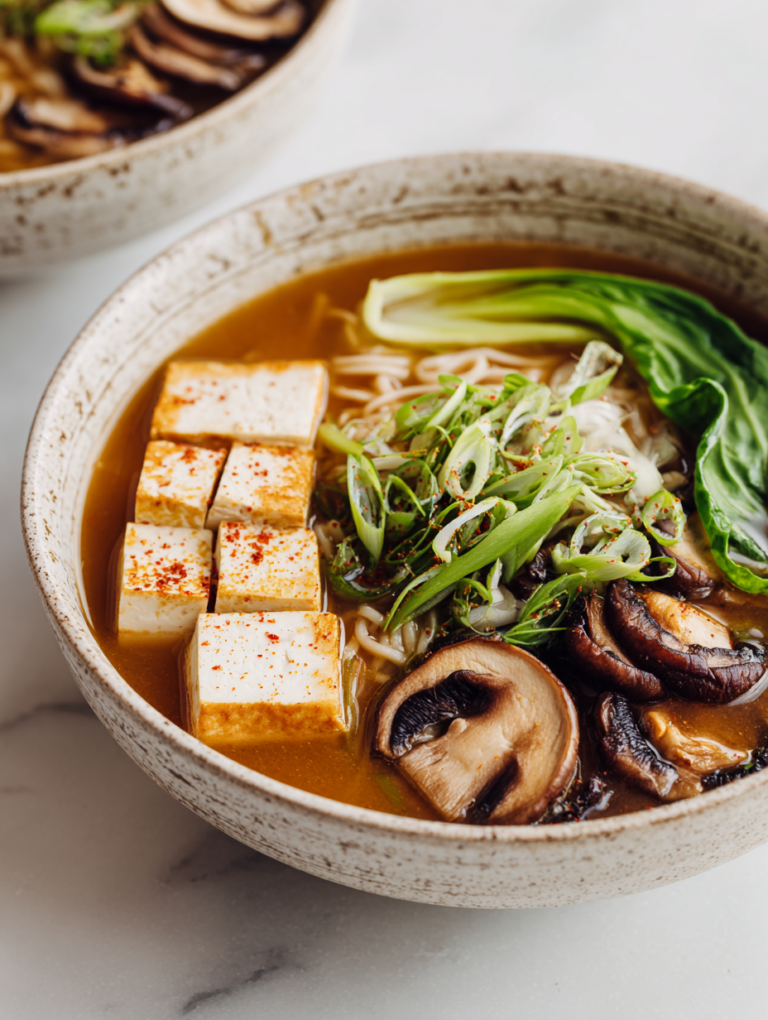
Vegan Ramen Recipe
Main Course
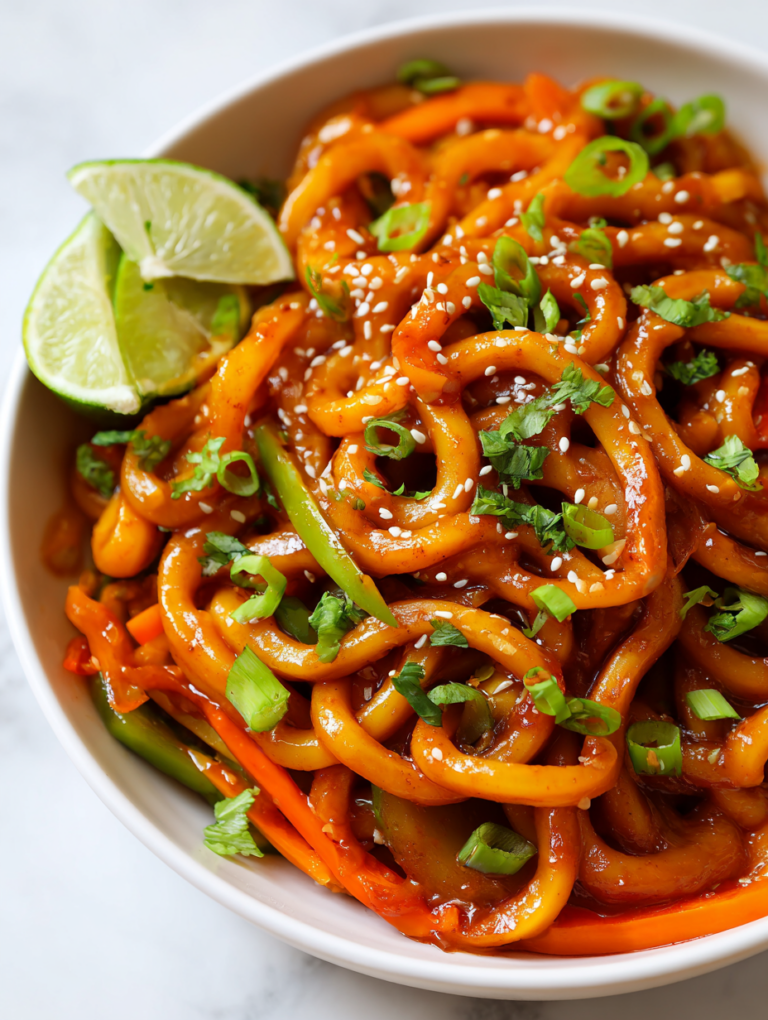
Vegan Udon Noodles Recipe
Main Course
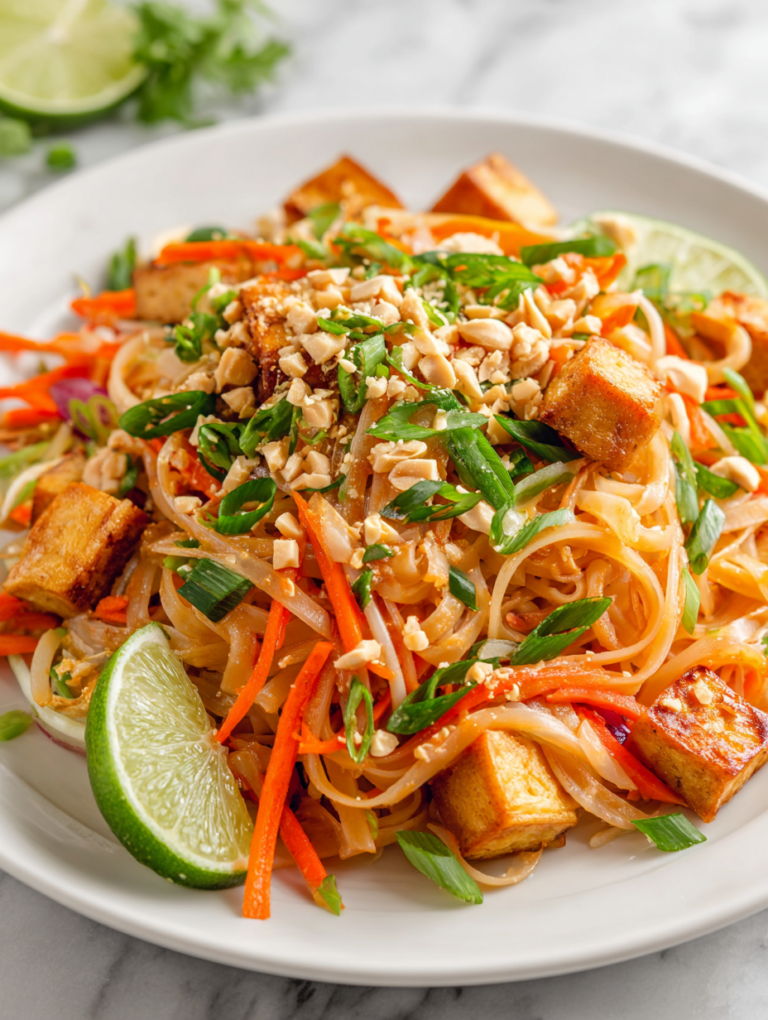
Vegan Pad Thai Recipe
Main Course
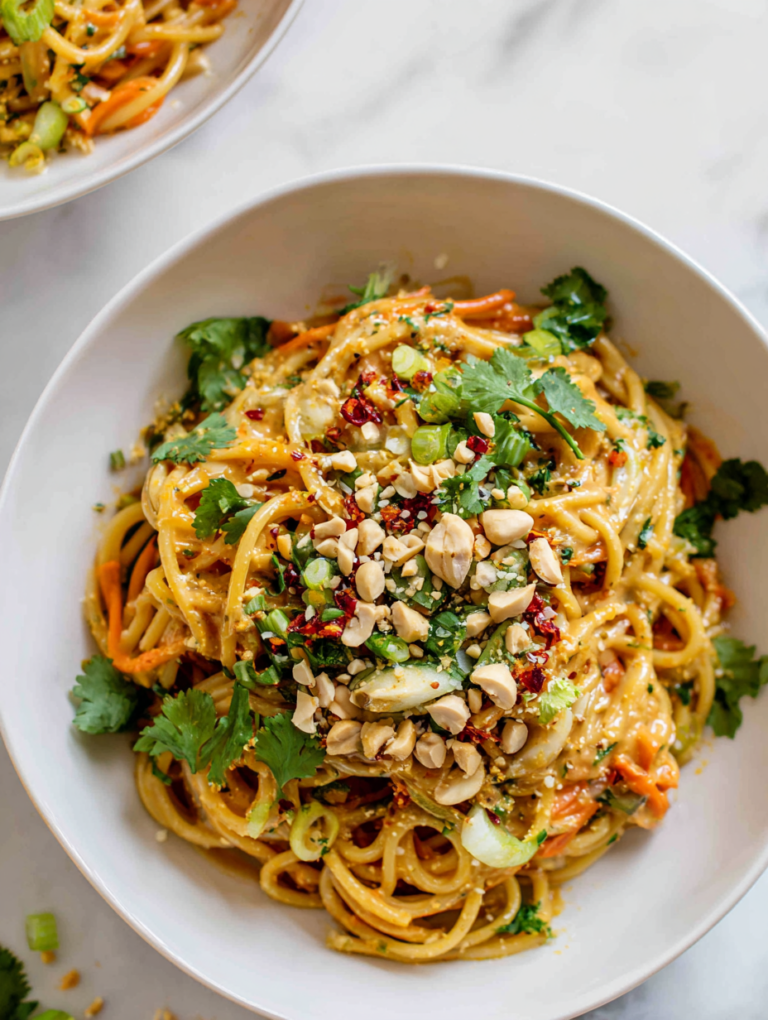
Vegan Peanut Noodles Recipe
Main Course
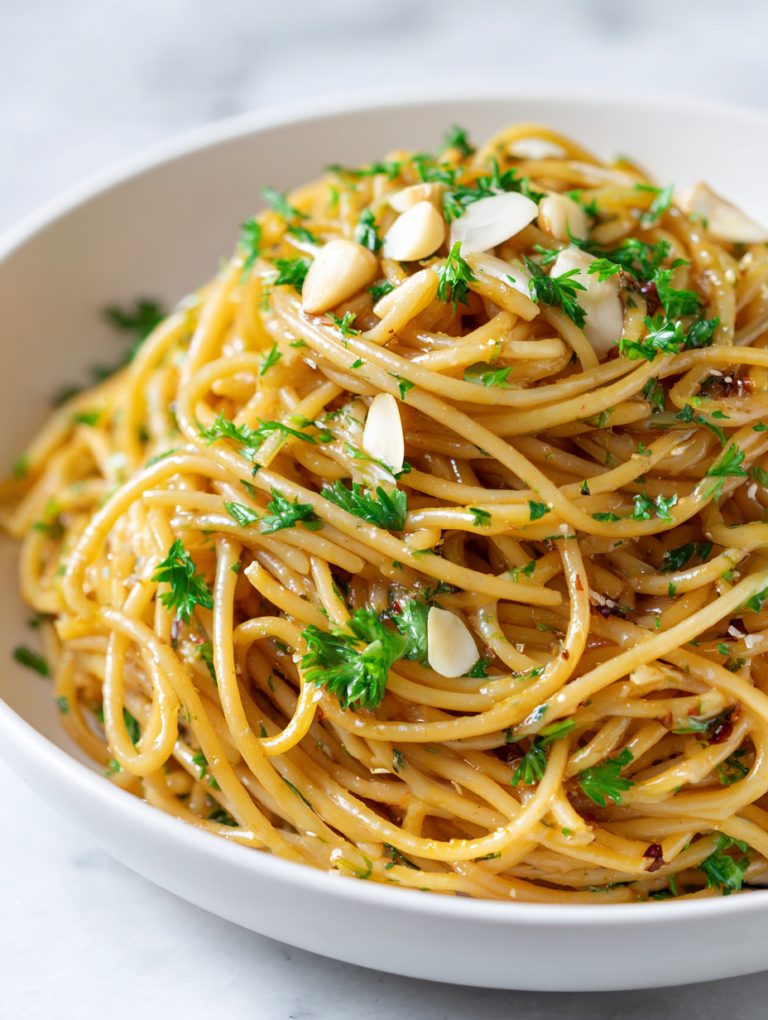
Vegan Garlic Noodles Recipe
Page navigation
1
2
3
…
11
Next Page
Next
Scroll to top
Scroll to top
Breakfast
Main Course
Beverages
Desserts
Side Dishes
Appetizers
Toggle Menu Close
Search for:
Search