Skip to content
Trying Something Crazy
Breakfast
Main Course
Beverages
Desserts
Side Dishes
Appetizers
Pinterest
Search
Toggle Menu
Main Course
Main Course
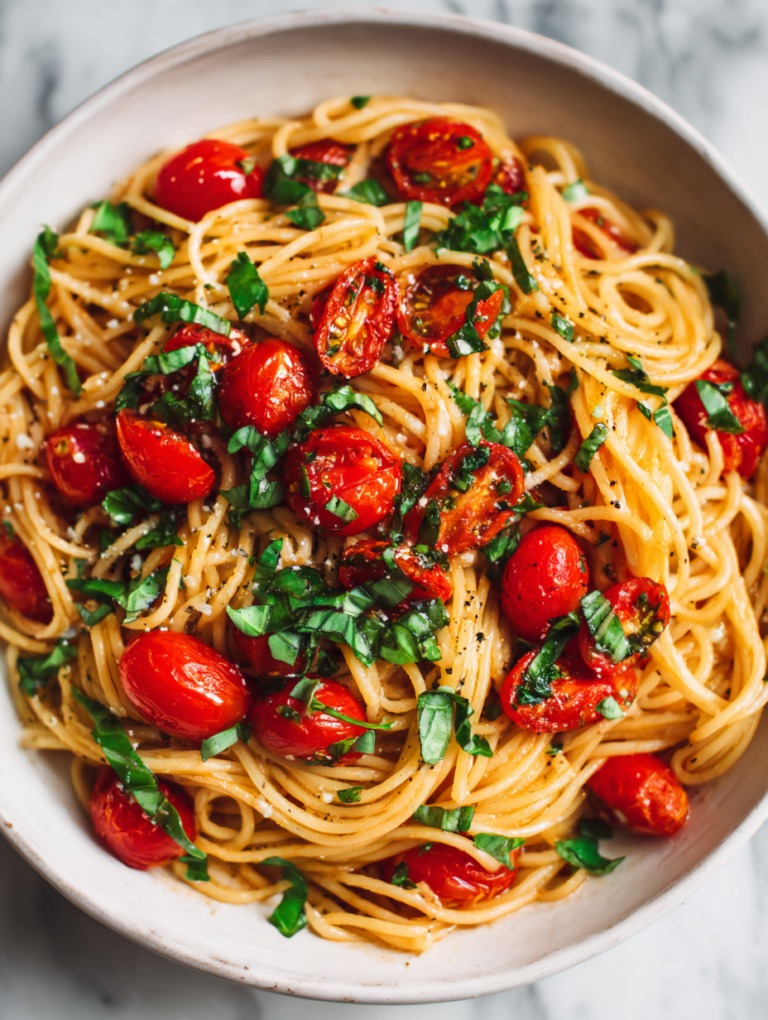
Vegan Tomato Basil Pasta Recipe
Main Course
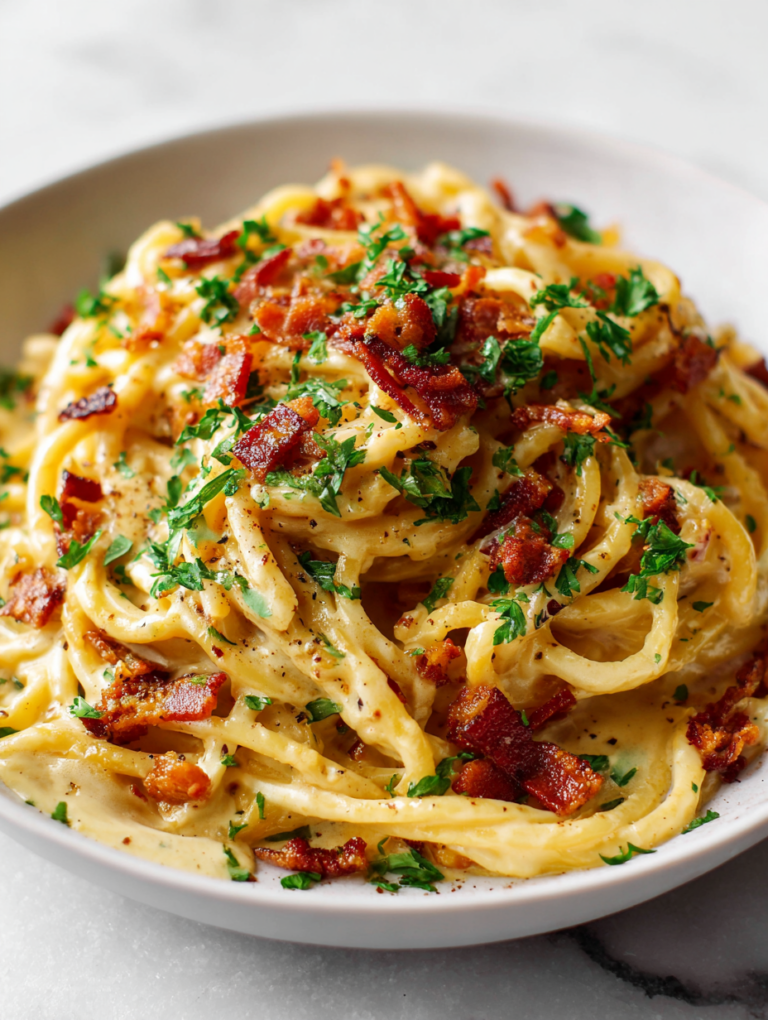
Vegan Carbonara Recipe
Main Course
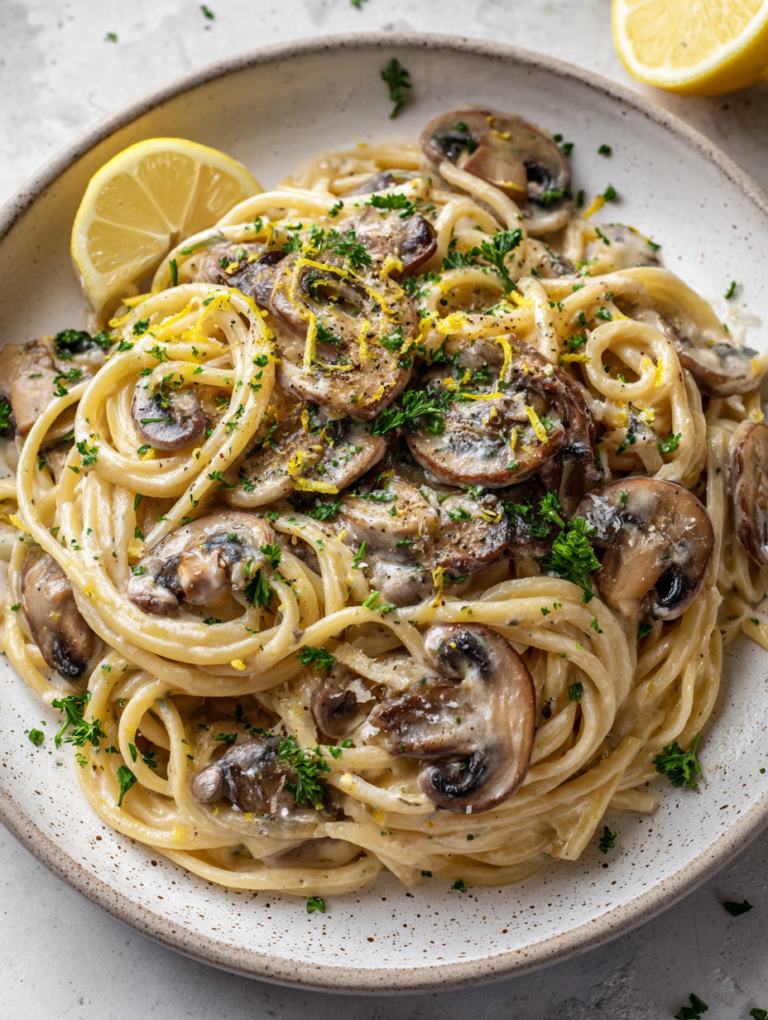
Vegan Mushroom Stroganoff Pasta Recipe
Main Course
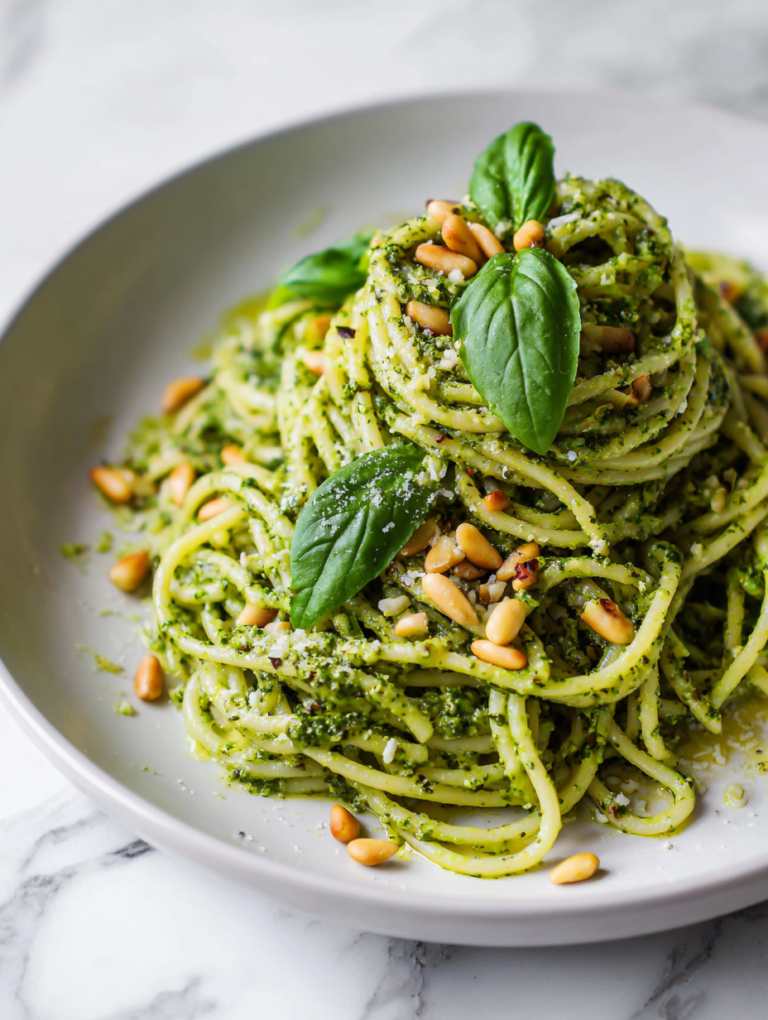
Vegan Pesto Pasta Recipe
Main Course
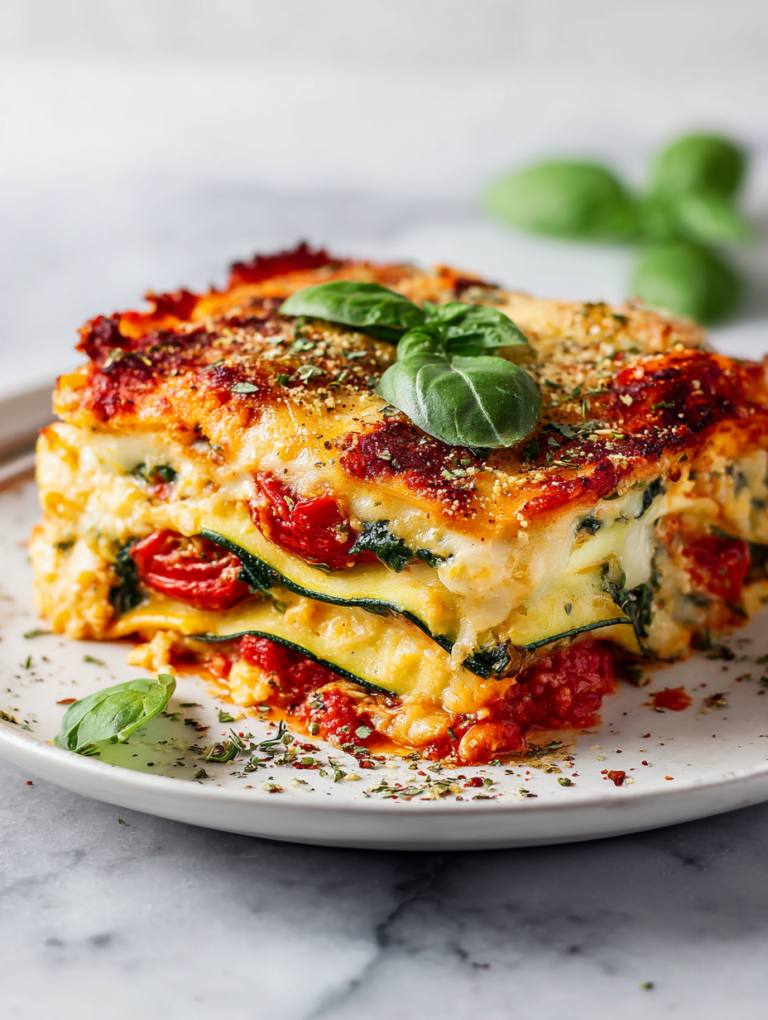
Vegan Lasagna Recipe
Main Course
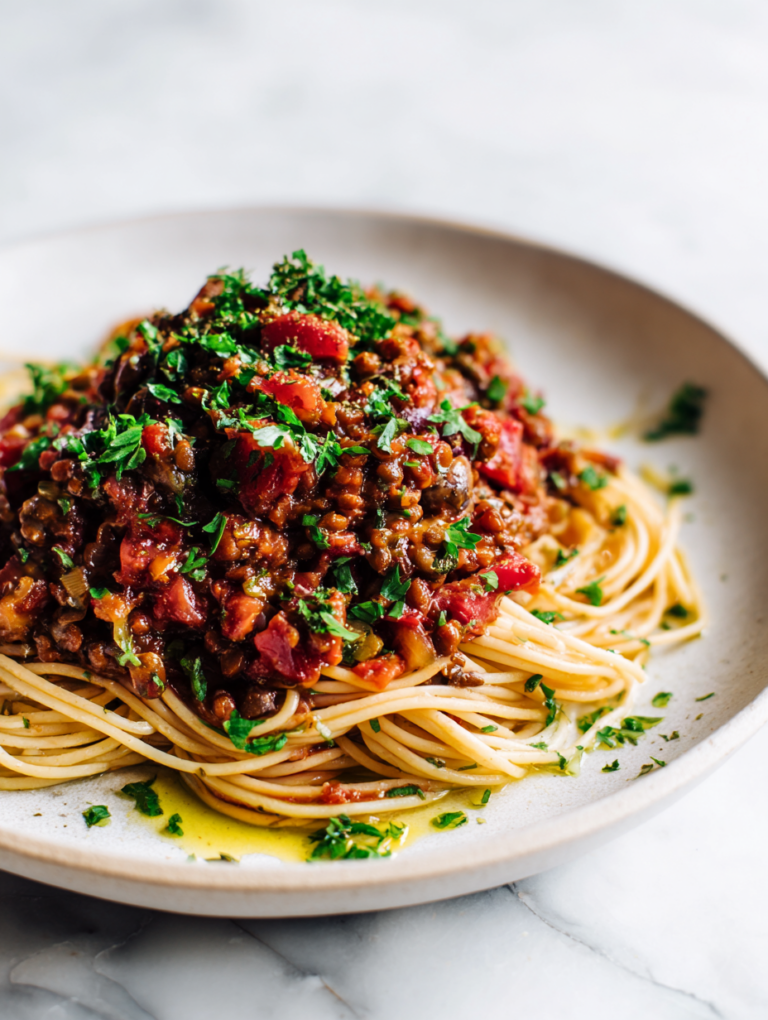
Vegan Bolognese Recipe
Main Course
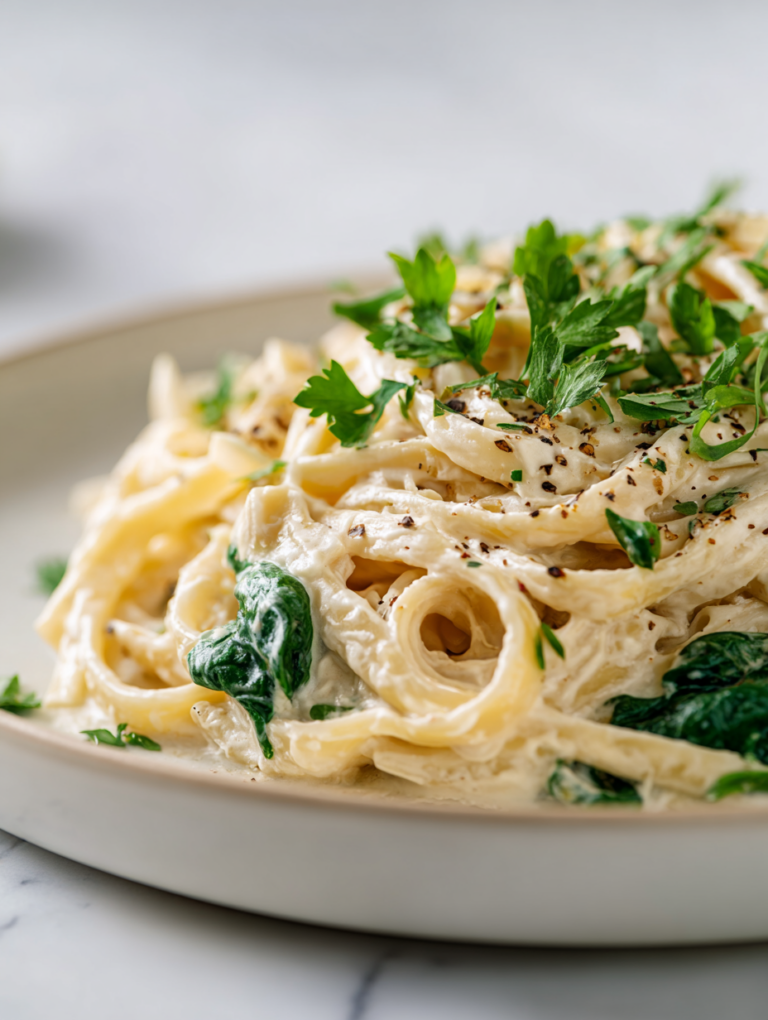
Vegan Alfredo Recipe
Main Course
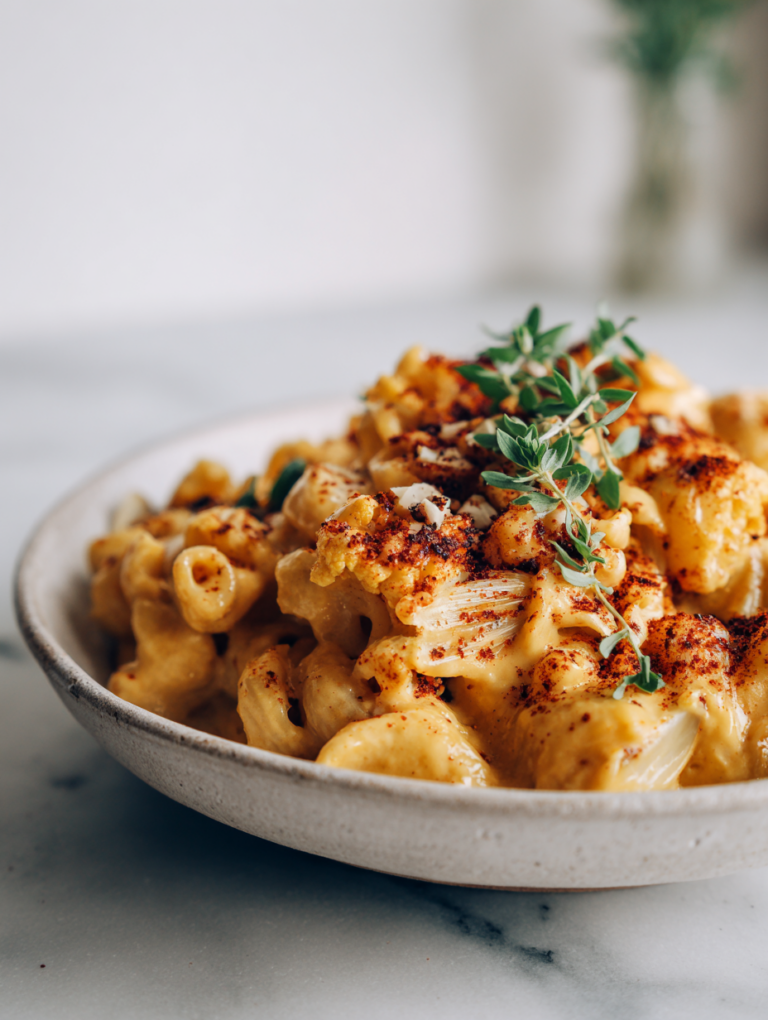
Vegan Mac And Cheese Recipe
Main Course
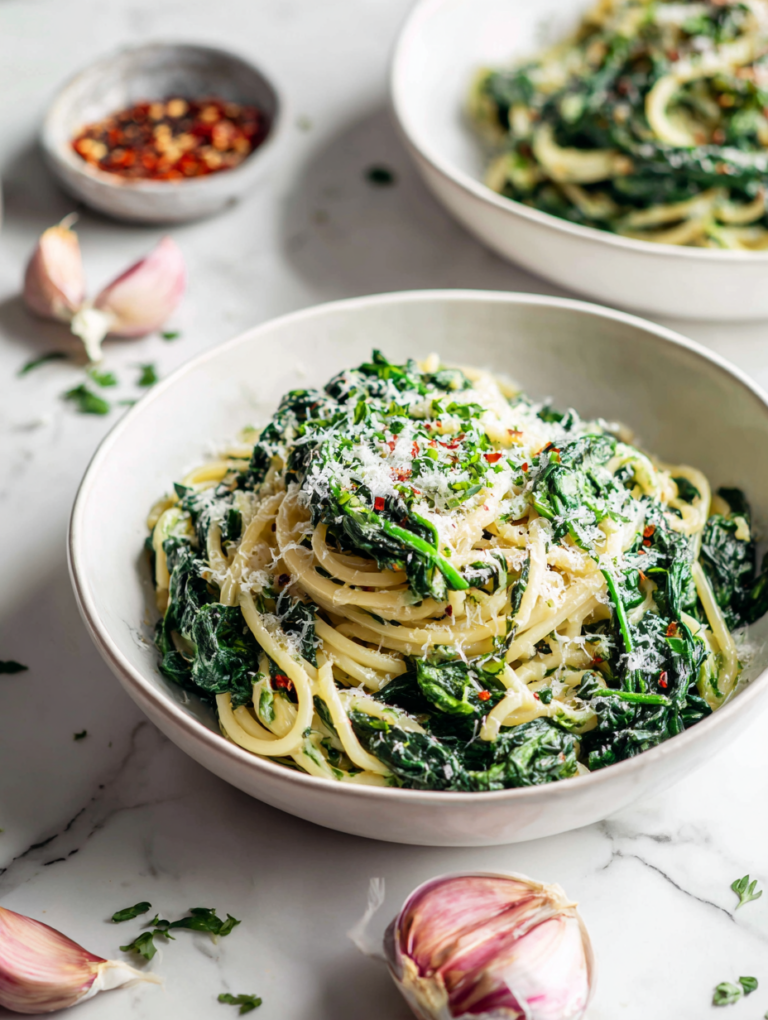
Vegan Spinach Pasta Recipe
Main Course
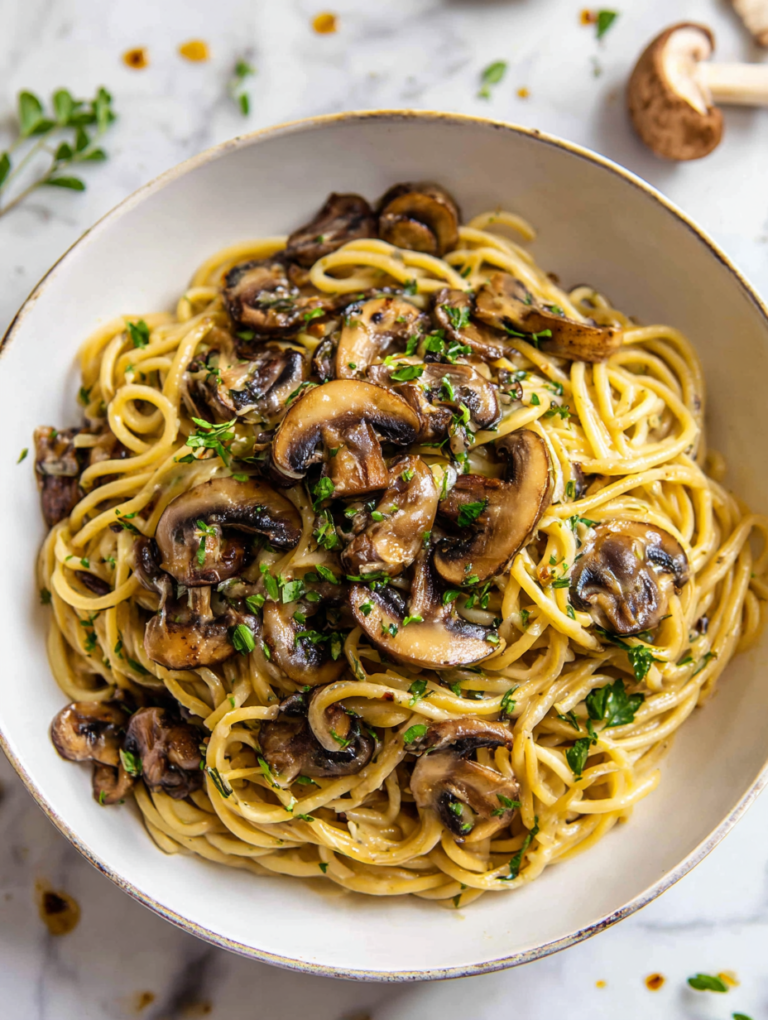
Vegan Creamy Mushroom Pasta Recipe
Page navigation
Previous Page
Previous
1
2
3
4
…
11
Next Page
Next
Scroll to top
Scroll to top
Breakfast
Main Course
Beverages
Desserts
Side Dishes
Appetizers
Toggle Menu Close
Search for:
Search