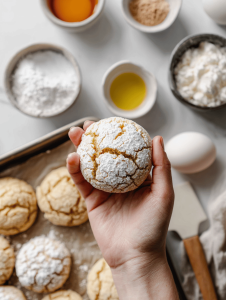
Baking these haunted house cookies is a lot like capturing a fleeting ghost—elusive, fun, and a little mysterious. I started making them years ago just for Halloween, but now they’re a year-round craving. The secret is in the unexpected gooey center that stays soft, even after cooling, creating a hauntingly good texture.
Why these haunted house cookies keep calling me back
Every batch feels like a small adventure, a mix of chaos and charm. Their perfect imperfect look mirrors my kitchen’s wild energy. Plus, the secret gooey center never fails to surprise—like a hidden ghost waiting to be discovered. Making them is a ritual now, a reminder of how baking can be both a mess and a masterpiece.
Inside the haunted ingredients
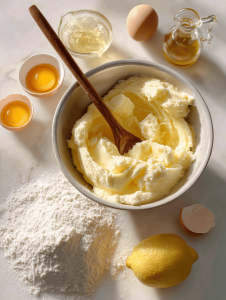
- Butter: I use unsalted, softened butter for richness—swap with margarine if needed.: Creates a tender, melt-in-your-mouth texture that’s essential for the chewy core.
- Sugar: Granulated sugar gives crisp edges—try brown sugar for a deeper, caramel flavor.: Sweetens and helps with browning, adding a smoky note.
- Eggs: Bind everything together, keep the dough moist—use a flax egg for a vegan version.: Adds structure and a slight richness to the cookies.
- Flour: All-purpose is perfect—gluten-free flour can be a good swap for a different texture.: Provides structure, but too much can make them dense.
- Lemon juice: Brightens the flavor—skip if you prefer a more subdued taste.: Adds a zing that balances the sweetness and enhances the overall flavor.
- Vanilla extract: Classic, but a splash of almond extract could add a spooky depth.: Flavor enhancer that makes everything more inviting.
- Baking powder: Helps with rise—avoid too much, or cookies get puffy.: Gives a slight lift and airiness to the cookies.
Tools of the trade for spooky sweet success
- Mixing bowls: Combine ingredients smoothly and efficiently.
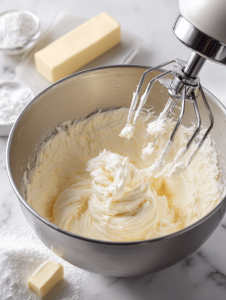
- Electric mixer: Cream butter and sugar evenly.
- Baking sheet: Provide a flat surface for baking.
- Parchment paper: Prevent sticking and promote even baking.
- Spatula: Fold ingredients and transfer dough.
Step-by-step: Crafting the Spooky Goodness
Step 1: Preheat your oven to 180°C (350°F).
Step 2: Line a baking sheet with parchment paper.
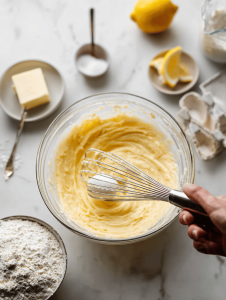
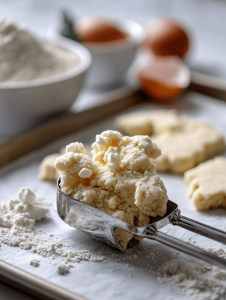
Step 3: Cream together butter and sugar until light and fluffy, about 3 minutes.
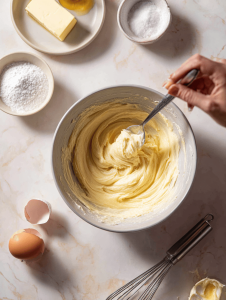
Step 4: Add eggs one at a time, mixing well after each.
Step 5: Stir in vanilla extract and a splash of lemon juice for brightness.
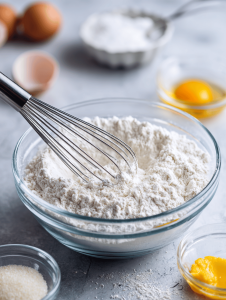
Step 6: In a separate bowl, whisk together flour, baking powder, and a pinch of salt.
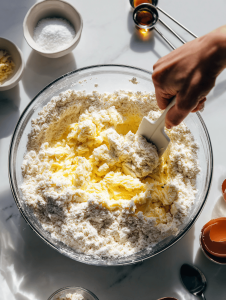
Step 7: Gradually add dry ingredients to the wet, mixing until just combined.
Step 8: Scoop dough onto the prepared sheet, shaping into small, uneven mounds.
Baking checkpoints and tips for haunted perfection
- Cookies should be golden around the edges but still soft in the middle.
- The tops should crack slightly but not burn—keep an eye at the 10-minute mark.
- The edges should lift easily from the parchment when done—use a spatula if needed.
- If cookies spread too much, chill the dough for 15 minutes before baking.
Common baking mistakes and how to fix them
- Dough was uneven and spread too much.? OVERSPOONED THE DOUGH, resulting in flat cookies. Use a small ice cream scoop for uniform size.
- Cookies burned edges before cooked through.? BAKED AT 200°C (390°F) instead of 180°C. Dial down the oven for even, golden cookies.
- Cookies expanded too much during baking.? FORGOT TO chill the dough. Chill for at least 15 minutes to prevent spreading.
- Cookies turned out dense and tough.? OVERBEAT THE BUTTER AND SUGAR. Mix just until combined to keep cookies tender.
Haunted House Cookies
Ingredients
Equipment
Method
- Preheat your oven to 180°C (350°F) and line a baking sheet with parchment paper.
- In a large mixing bowl, use an electric mixer to cream together the softened butter and sugar until the mixture is light, fluffy, and slightly pale, about 3 minutes. You’ll hear a gentle whir and see the mixture turn creamy.
- Add the eggs one at a time, beating well after each addition. The mixture will become smoother and more cohesive, with a slight sheen.
- Stir in the vanilla extract and a splash of lemon juice, mixing until combined. The aroma will become fragrant and inviting.
- In a separate bowl, whisk together the flour, baking powder, and a pinch of salt. This helps distribute the leavening evenly.
- Gradually add the dry ingredients to the wet mixture, mixing on low speed or folding gently with a spatula until just combined. The dough will be slightly crumbly but sticky enough to hold together.
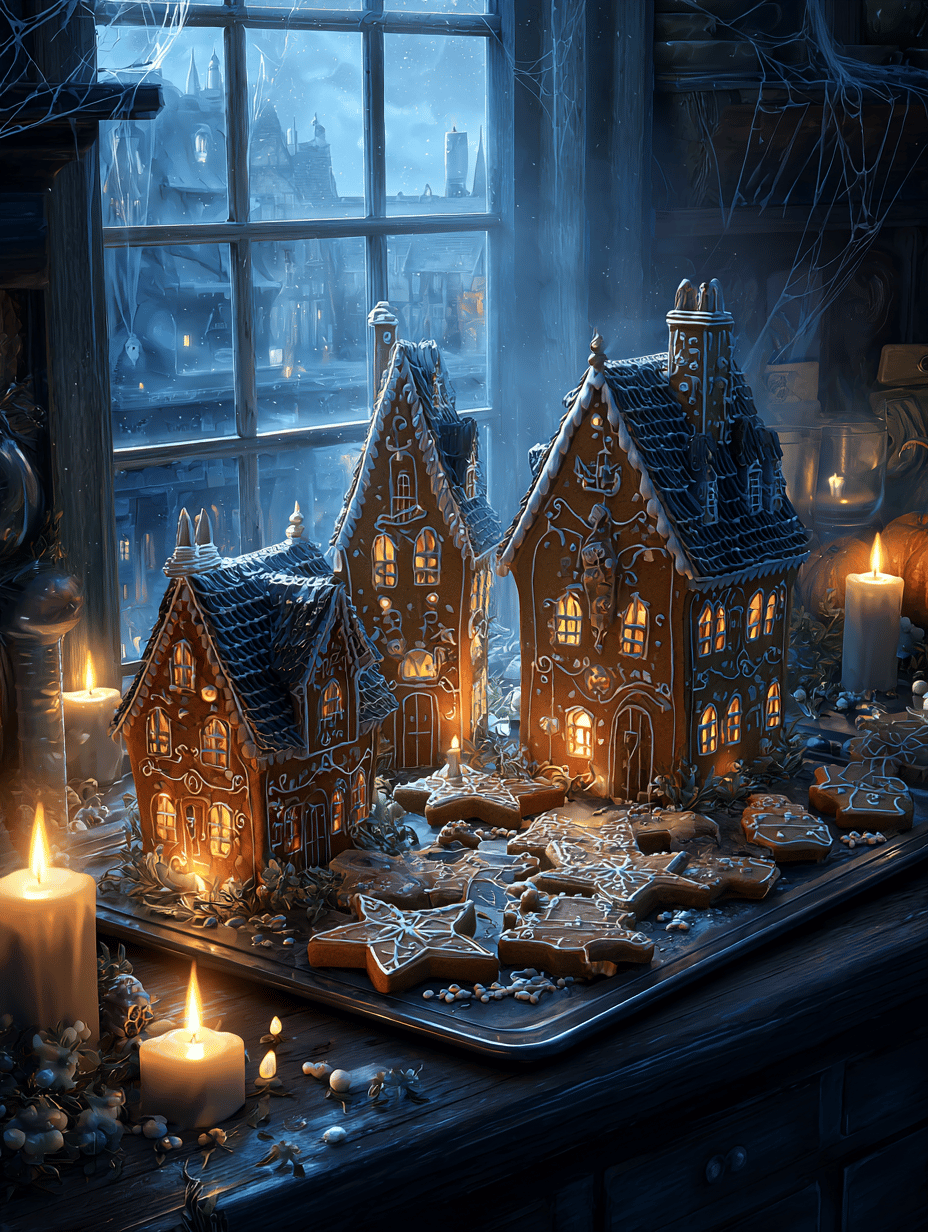
- Scoop spoonfuls of dough onto the prepared baking sheet, shaping them into uneven, slightly irregular mounds that resemble haunted house silhouettes. Leave space between each cookie to allow for spreading.
- Bake in the preheated oven for about 10-12 minutes, or until the edges are golden brown and slightly cracked, but the centers remain soft and gooey. You'll notice the tops develop light cracks as they bake.
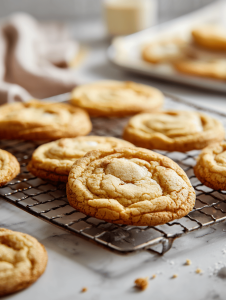
- Remove the cookies from the oven and let them cool on the baking sheet for a few minutes until they firm up slightly, then transfer to a wire rack if desired. The cookies will be crispy on the edges but still soft and gooey in the middle.
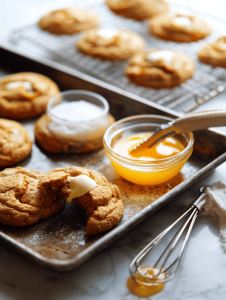
- Enjoy these spooky, delightful cookies with their hauntingly soft centers and charmingly imperfect shapes. Perfect for Halloween or any time you want a little spooky sweetness!