Pumpkin Alfredo Pasta: A Cozy Fall Twist That Surprises
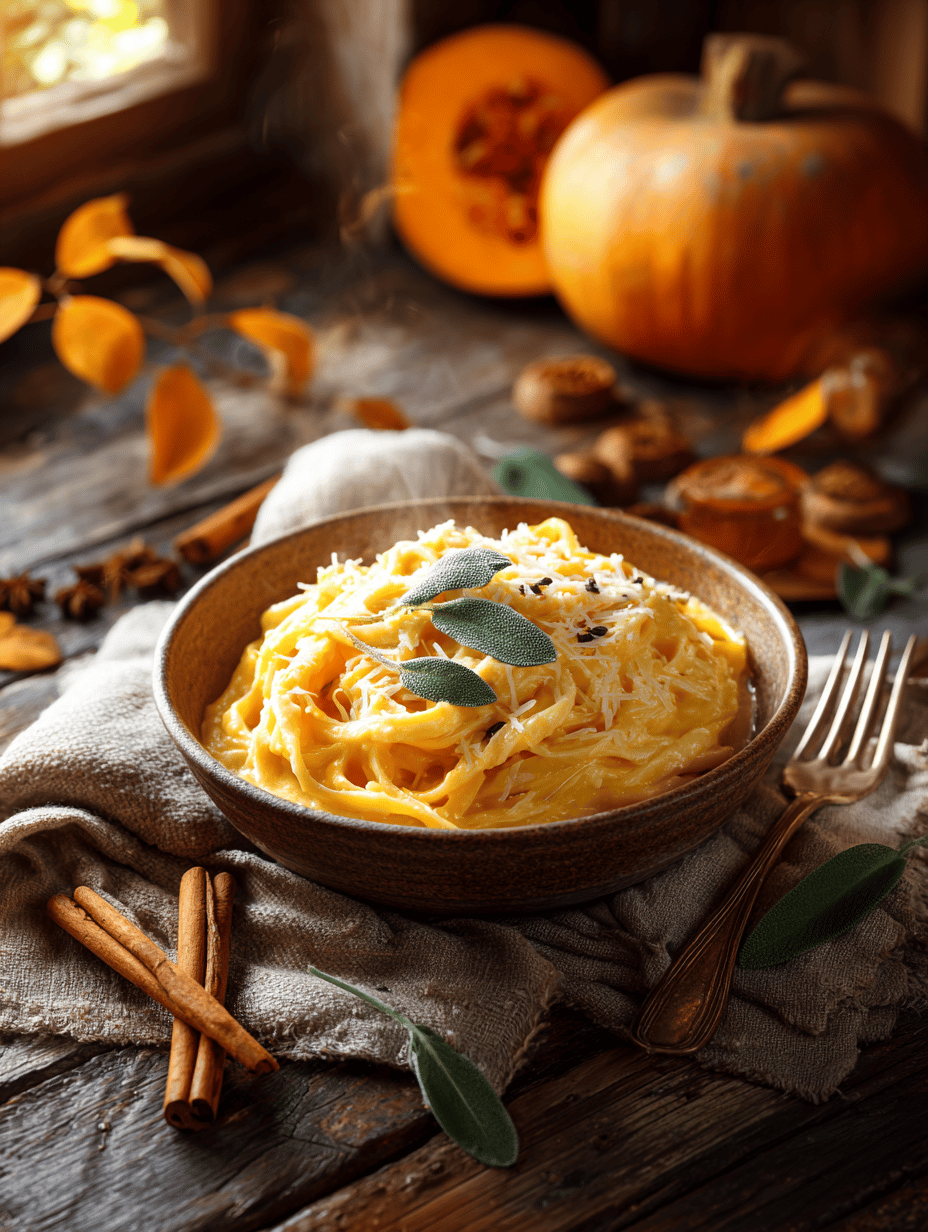
I’ve always been drawn to pumpkin’s versatility. This recipe came from wanting to marry the cozy sweetness of roasted pumpkin with the richness of a classic Alfredo. It’s a bit unconventional, but that’s where the fun lies—embracing the fall produce in a new way. Why This Pumpkin Alfredo Keeps Calling Me Back It’s the perfect … Read more