Blood-Red Beet Gnocchi: A Rustic Twist on Classic Comforts
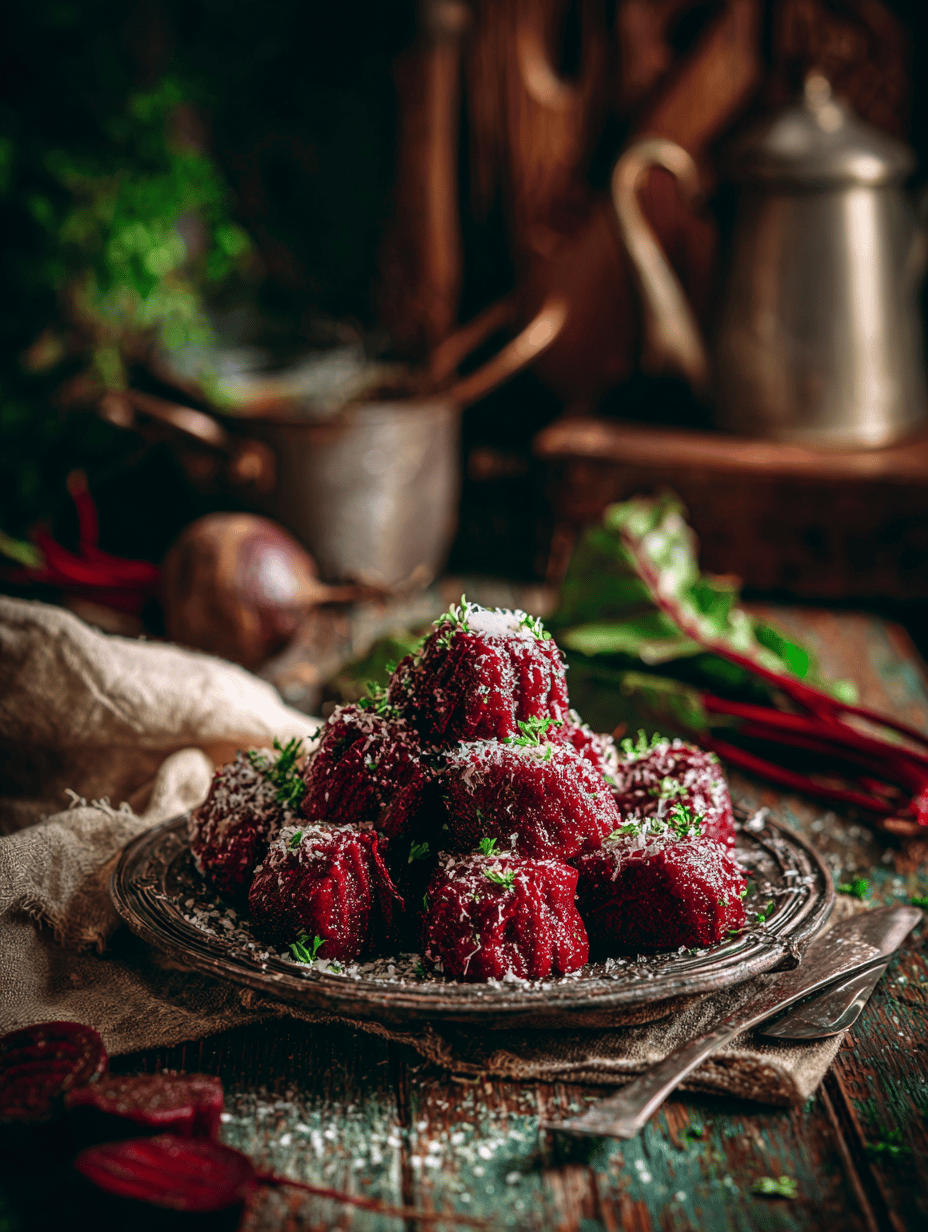
Blood-red beets aren’t just for salads—they transform into a stunning, vibrant gnocchi that’s as satisfying to make as it is to eat. There’s something about working with their earthy scent and vivid hue that sparks a kind of kitchen joy. It’s a reminder that even the simplest roots can carry a bit of magic, especially … Read more