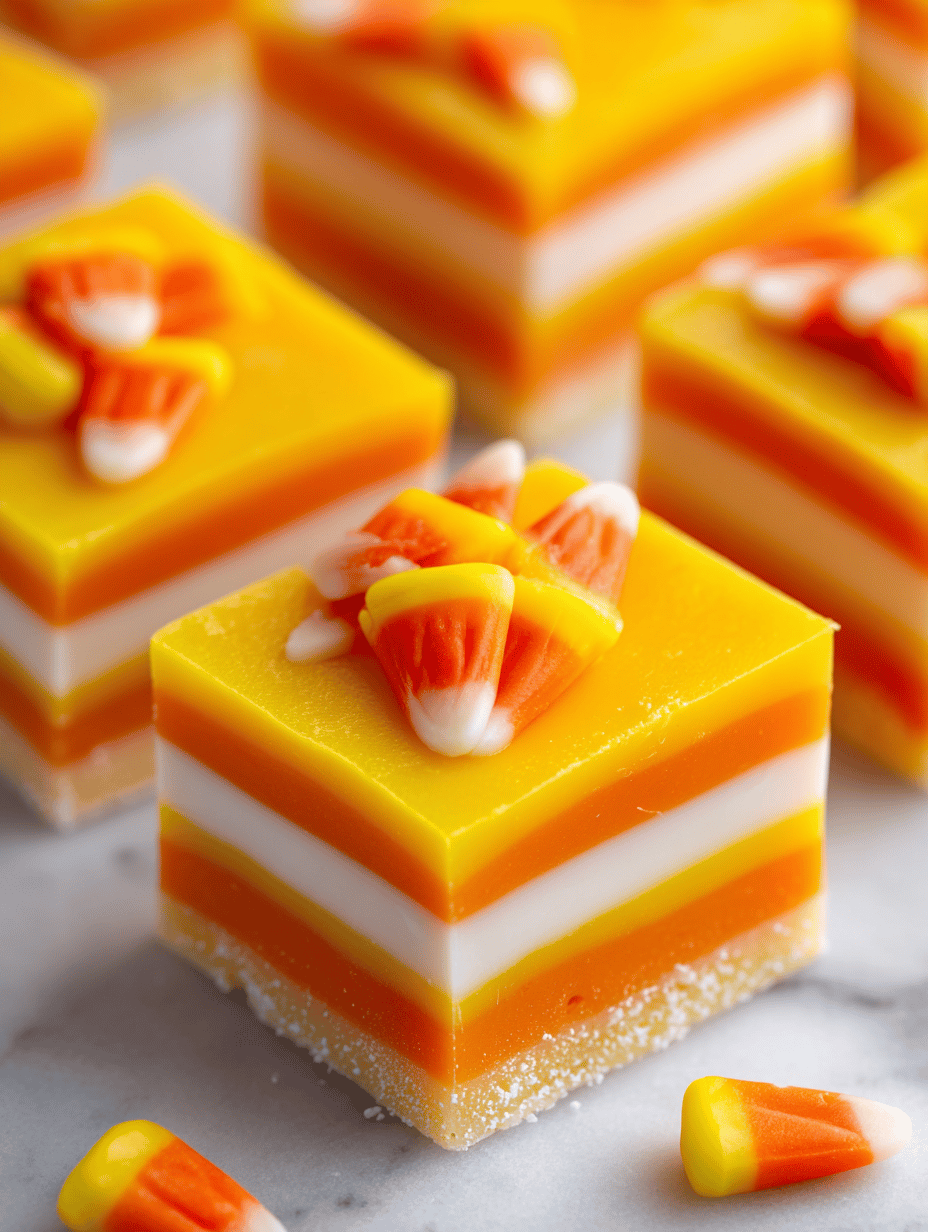
Candy Corn Fudge: A Nostalgic Twist for Fall Gatherings
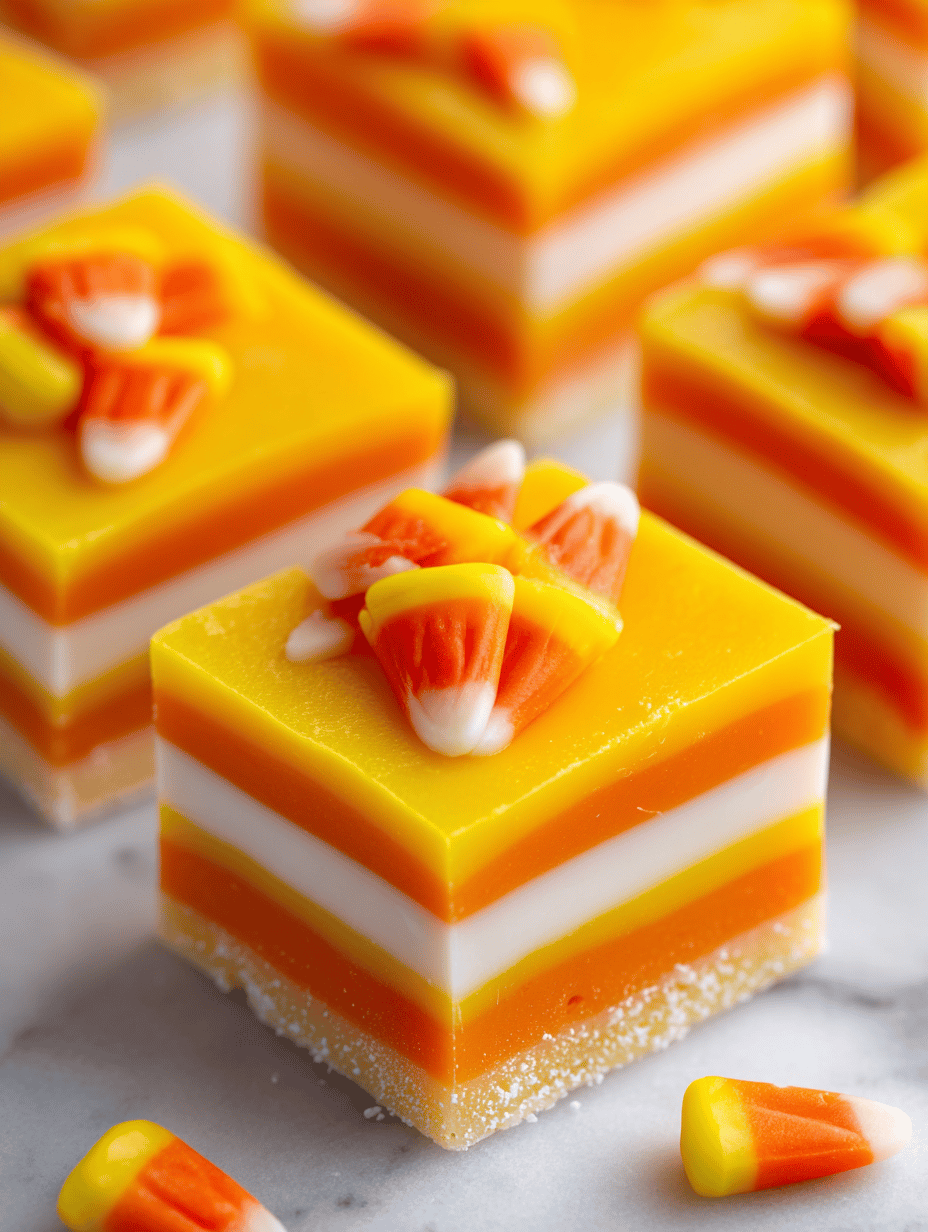
Candy corn fudge is a little bit of chaos and a lot of nostalgia. It’s one of those recipes that feels like a quick fix for a seasonally sweet craving, but with a twist that makes it special. I’ve made it dozens of times, each batch a little different, depending on how much candy corn … Read more