Black Velvet Cupcakes: A Deep, Rich Take on a Classic
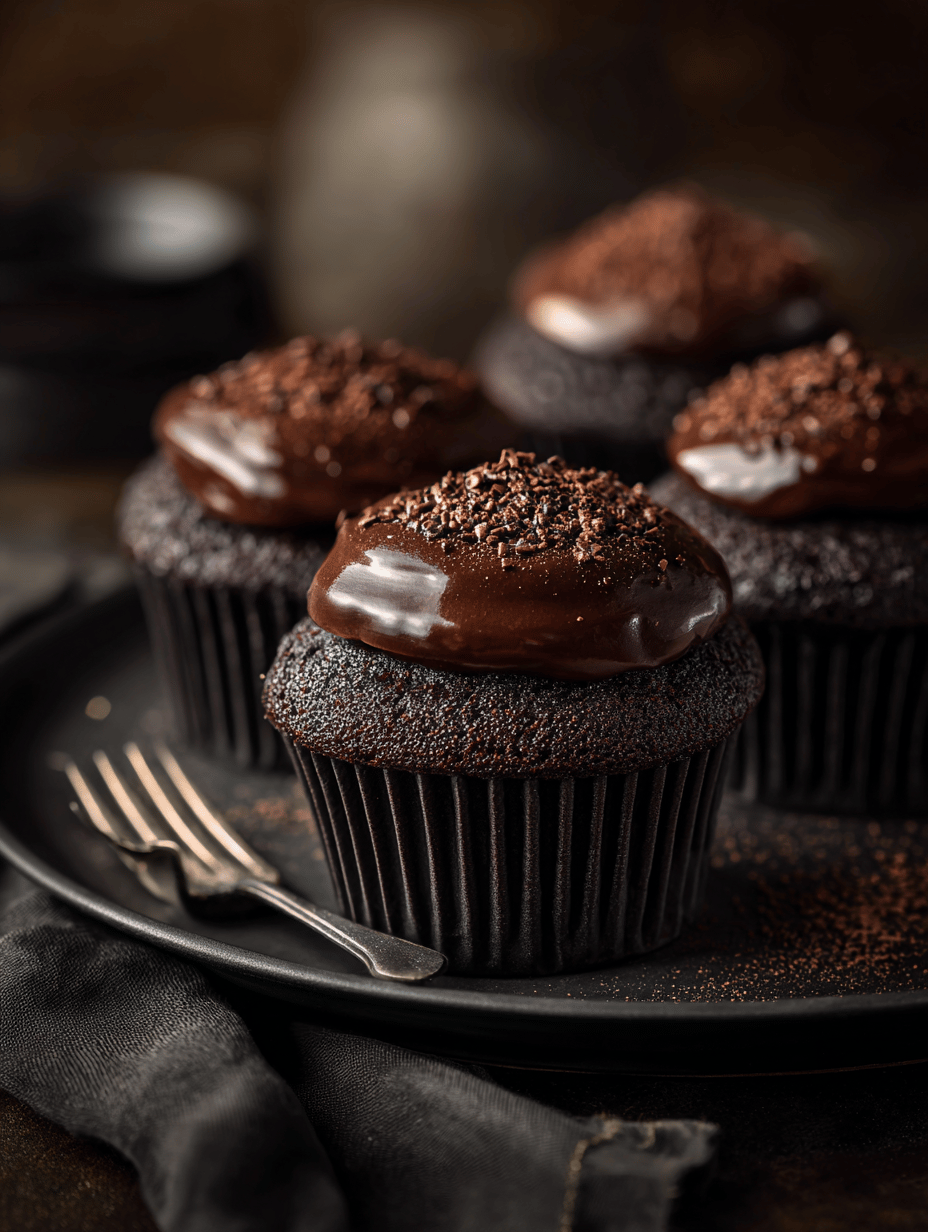
Black velvet cupcakes are my go-to for when I want something dark and decadent but still light enough to eat a couple. The deep cocoa flavor paired with a tender crumb makes them feel like a special treat that doesn’t overdo it on sweetness. I love how their velvety texture invites you to slow down … Read more