I’ve always loved the mix of chaos and charm that comes with making Halloween treats. Cake pops are a perfect canvas for spooky designs, but they’re also surprisingly forgiving. This year, I wanted to elevate them with a touch of unexpected flavor and a dash of creepy fun. It’s a messy process, but that’s part of the charm.
Why I Keep Coming Back to These
They’re chaotic fun that makes decorating feel like a small act of rebellion. Plus, seeing all the tiny, creepy faces come together is oddly satisfying. They remind me of childhood Halloweens, messy and full of surprises, with a sweet reward at the end. I never get tired of their cheeky little smiles.
What’s Inside the Spooky Goodness?
- Chocolate (dark or white): Melts into a glossy, spooky shell. Use good quality for smooth coating.
- Cake (any flavor): The base—moist, tender, perfect for crumbling and shaping.
- Cream cheese: Adds richness and aids binding, making the mixture velvety and easy to form.
- Lollipop sticks: Turns each cake ball into a handheld treat, perfect for decorating.
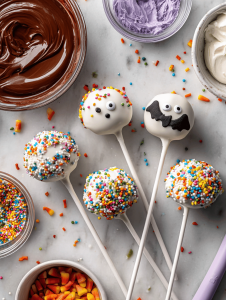
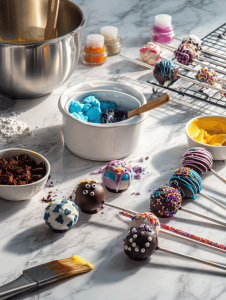
- Food coloring and sprinkles: Add vibrant, creepy effects that make every pop unique.
- Decorations (eyes, ghosts, bats): Use edible markers, fondant, or candies for spooky accents.
- Optional flavorings: vanilla, peppermint, or orange zest: Elevate your cake pops with a hint of seasonal flavor.
Tools of the Trade for Spooky Cake Pops
- Double boiler or microwave: Melts chocolate smoothly without burning.
- Mixing bowls: Combining cake crumbs and cream cheese.
- Spoons and hands: Forming and shaping the cake balls.
- Parchment paper: Preventing sticking during chilling.
- Lollipop sticks: Turning cake balls into pops.
Crafting the Perfect Halloween Cake Pops: A Step-by-Step Guide
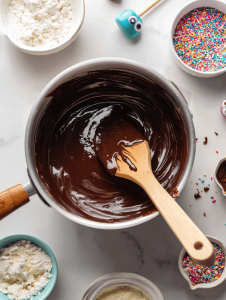
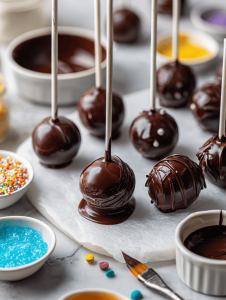
Step 1: Start by melting your chocolate in a double boiler or microwave in 30-second bursts, stirring until smooth.
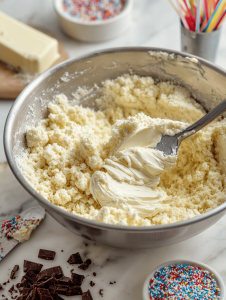
Step 2: In a large bowl, crumble the cake into fine crumbs, then mix in cream cheese until the mixture sticks together.
Step 3: Roll the mixture into 1-inch balls, then insert a lollipop stick into each, about halfway.
Step 4: Place the cake pops on a baking sheet lined with parchment, then chill in the fridge for at least 2 hours.
Key Tips for Halloween Cake Pop Success
- Ensure the cake mixture is firm enough to hold shape before rolling.
- Dip the sticks in chocolate before inserting to prevent cracking or falling out.
- Keep the cake pops cold to prevent melting when coating.
- Watch the chocolate temperature carefully to avoid burning or seizing.
Common Pitfalls and How to Fix Them
- Chocolate gets grainy or thickens too much.? MELTED CHOCOLATE SEIZES — Add a teaspoon of vegetable oil and stir gently.
- Cake mixture is too sticky or falling apart.? CAKE BALLS ARE TOO SOFT — Chill longer or add more crumbs.
- Cake pops break or slide off sticks.? STICKS BREAK OFF — Dip sticks in chocolate first, then insert.
- Coating looks streaky or dull.? CANDY COATING IS DULL — Use fresh, properly melted chocolate.
Spooky Halloween Cake Pops
Ingredients
Equipment
Method
- Start by melting your chocolate in a double boiler or microwave in 30-second bursts, stirring until smooth and glossy. This will be your coating for the cake pops.
- In a large mixing bowl, crumble the cooled cake into fine crumbs, breaking up any large pieces for a uniform texture.
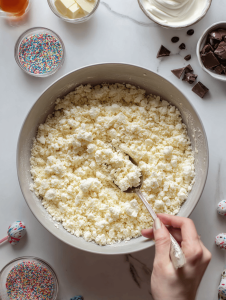
- Add softened cream cheese to the cake crumbs and mix together until the mixture is cohesive and sticks when pressed. This creates a rich, velvety binding base.
- Roll the mixture into approximately 1-inch balls, then insert a lollipop stick into the center of each, about halfway through the ball.
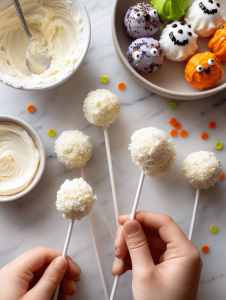
- Place the cake pops on a parchment-lined baking sheet and chill in the fridge for at least 2 hours to firm up.

- Once chilled, dip each cake pop into the melted chocolate, ensuring full coverage. Gently tap off any excess and place back on parchment paper to set.
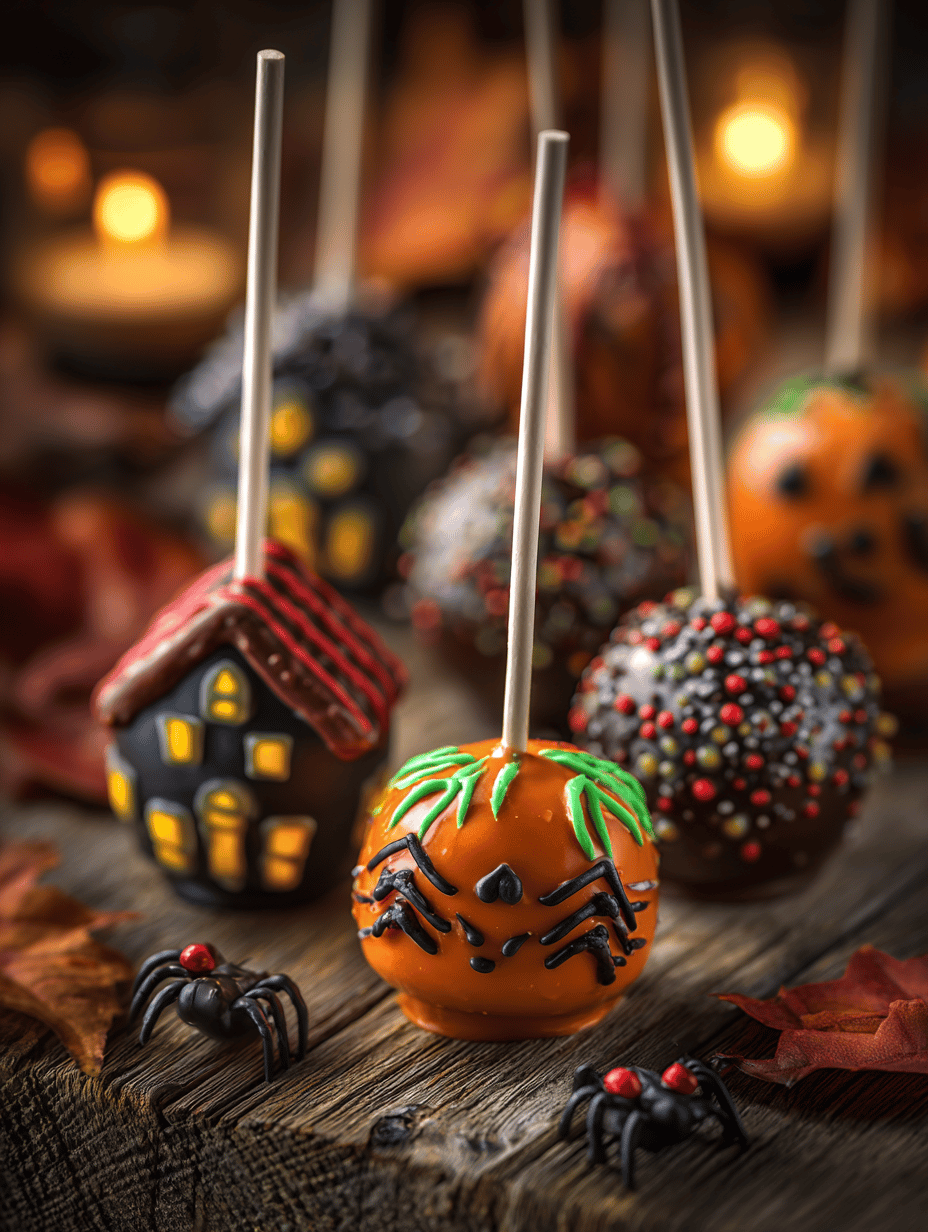
- Decorate your spooky cake pops with food coloring, sprinkles, edible markers, or fondant to create creepy faces, eyes, or other Halloween motifs. Use small brushes or candies for detailed features.
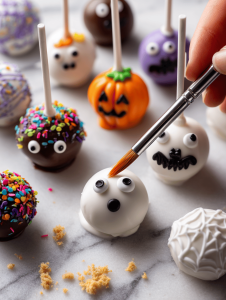
- Allow the decorated cake pops to set completely at room temperature or in the fridge for about 30 minutes.
- Once set, enjoy your charming, creepy Halloween treats that are perfect for parties or festive snacking!