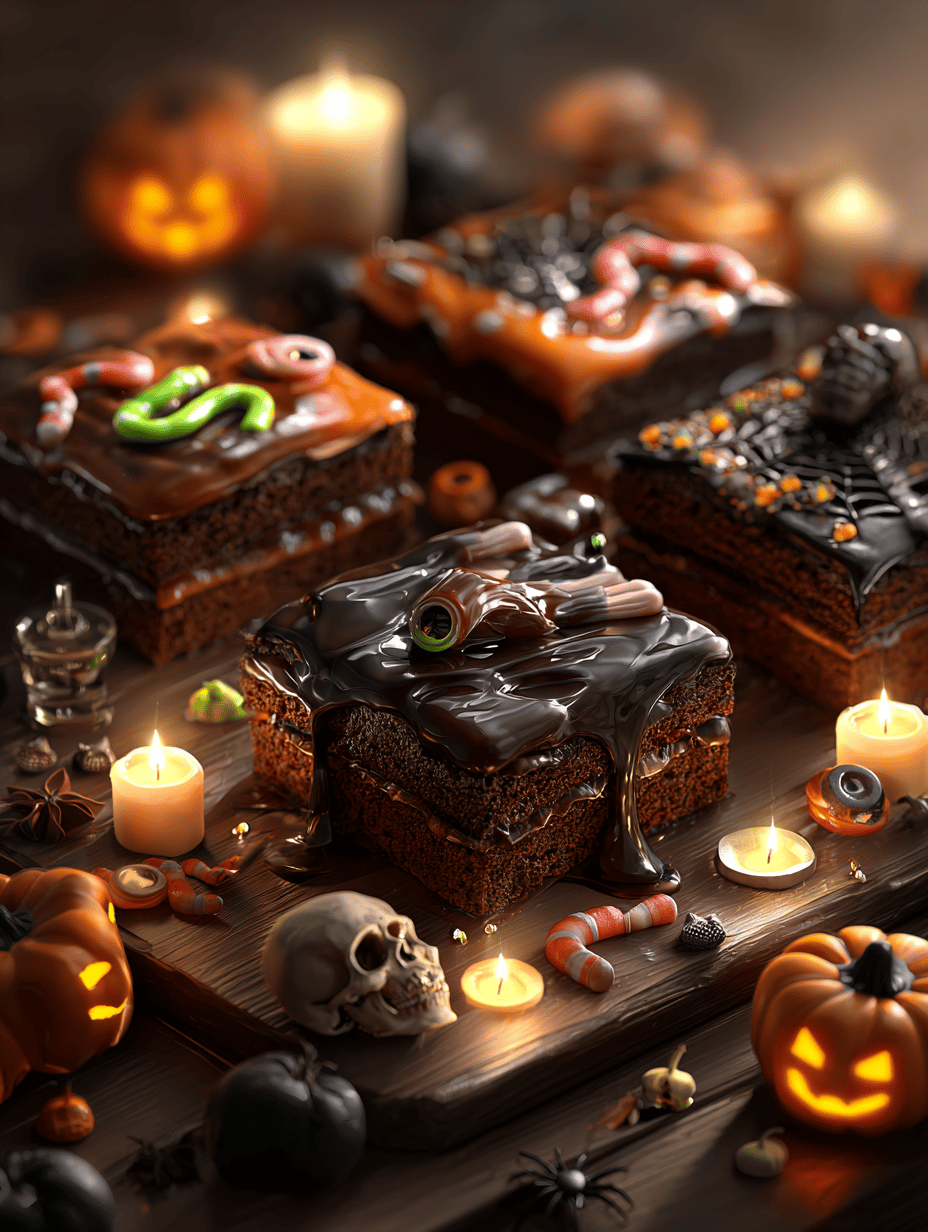
Halloween isn’t just about costumes and tricks; it’s about embracing the creepy, the sweet, and the slightly bizarre. These brownies are my go-to when I want something festive that’s easy to customize and downright delicious. They remind me of childhood chaos, but with a grown-up richness that keeps me coming back.
Why These Brownies Keep Coming Back
They’re deeply chocolatey, flexible for decorations, and perfect for spontaneous spooky gatherings. The rich, fudgy texture makes every bite a little moment of chaos—just enough sweetness and edge to keep me reaching for another square. Plus, they’re simple enough to whip up last minute, making them a reliable fall-back for any occasion.
Ingredients & Why They Matter
- Dark chocolate: Rich, slightly bitter, melts into a gooey, intense base.
- Butter: Adds moisture and a tender crumb, enhances chocolate flavor.
- Eggs: Bind the batter, create structure, and add richness.
- Sugar: Sweetens and balances the bitterness of dark chocolate.
- Flour: Gives structure, keep it light; can swap with almond flour for nuttiness.
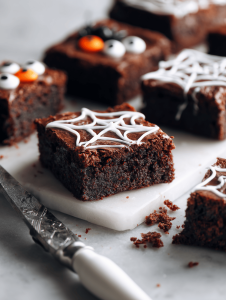
- Decorative icing or edible decor: Brings the spooky vibe—think eyes, ghosts, or cobwebs.
- Salt pinch: Enhances overall flavor, balances sweetness.
Tools & Equipment for Making Halloween Brownies
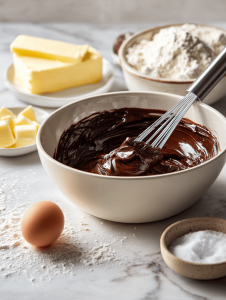
- Mixing bowls: For combining your wet and dry ingredients.
- Whisk: To beat eggs and sugar until frothy.
- Rubber spatula: For folding the batter smoothly.
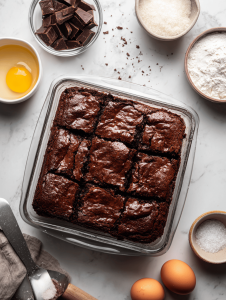
- 20x20cm (8-inch) baking pan: Shape and bake the brownies.
- Parchment paper: Prevent sticking and make cleanup easier.
- Cooling rack: Cool the brownies evenly after baking.
Step-by-Step Guide to Spooky Brownies
Step 1: Preheat your oven to 180°C (350°F).
Step 2: Line a 20x20cm (8-inch) square baking pan with parchment paper.
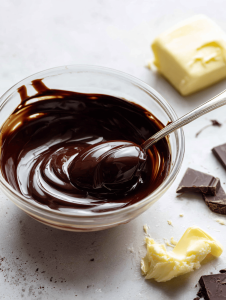
Step 3: Melt 200g (7 oz) of dark chocolate and 125g (1/2 cup) of butter together until smooth.
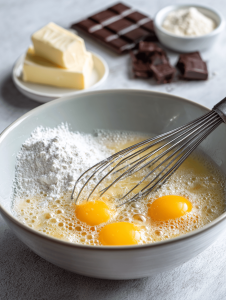
Step 4: In a separate bowl, whisk 3 eggs with 150g (3/4 cup) of sugar until well combined.
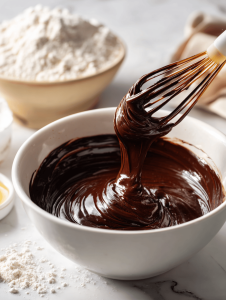
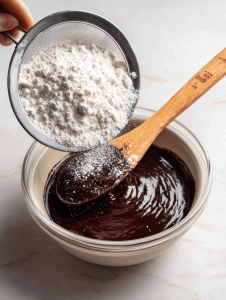
Step 5: Fold the melted chocolate mixture into the eggs and sugar, then add 100g (3/4 cup) of flour and a pinch of salt.
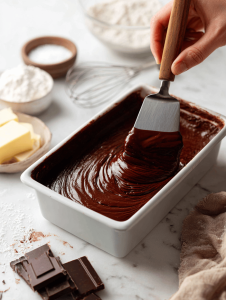
Step 6: Pour the batter into your prepared pan, smoothing the top with a spatula.
Step 7: Bake for 20-25 minutes, until the edges are set but the center still jiggles slightly.
Step 8: Let the brownies cool in the pan for 15 minutes, then transfer to a wire rack to cool completely.
Step 9: Once cool, cut into squares and decorate with spooky icing or edible decorations.
Cooking Checkpoints & Tips for Perfect Halloween Brownies
- Brownies should be fudgy and moist, not dry or crumbly.
- The edges will pull away slightly from the pan when done.
- A toothpick inserted in the center should come out with moist crumbs.
- Ensure your decorations are applied after the brownies are completely cooled to prevent melting.
Common Mistakes & How to Fix Them
- Leaving brownies in the oven too long.? OVERBAKED, brownies turn dry. → Reduce baking time or check earlier.
- Lumpy batter or uneven texture.? DIDN’T mix ingredients properly. → Mix thoroughly but don’t overbeat.
- Applying icing on warm brownies.? DECORATIONS melting off. → Decorate only when brownies are fully cooled.
- Inconsistent batter consistency.? Batter too thick or thin. → Adjust with a splash of milk or extra flour.
Spooky Halloween Brownies
Ingredients
Equipment
Method
- Preheat your oven to 180°C (350°F) and line your baking pan with parchment paper for easy removal.
- Place the dark chocolate and butter in a heatproof bowl and melt them together, either over a double boiler or in short bursts in the microwave, until smooth and glossy—this fills the kitchen with a rich chocolate aroma.
- In a separate large bowl, whisk the eggs and sugar vigorously until the mixture becomes frothy and slightly paler, and you can see a gentle rippling when you lift the whisk—this aerates the eggs for a tender crumb.
- Pour the melted chocolate and butter into the egg mixture, folding gently with a spatula until well combined and smooth, with a shiny, thick consistency that drapes off the spatula.
- Sift the flour and a pinch of salt into the wet mixture, then gently fold until just incorporated, taking care not to overmix—the batter should be thick and glossy.
- Pour the batter into your prepared pan, spreading evenly with a spatula to ensure a level surface, and notice how the batter is dense yet smooth to the touch.
- Bake the brownies in the preheated oven for 20 to 25 minutes, until the edges are set and slightly pull away from the pan, while the center remains moist and fudgy—your kitchen will smell irresistibly chocolaty.
- Remove the pan from the oven and let the brownies cool in the pan for about 15 minutes, which helps them set and makes cutting easier—listen for the gentle cracking as they cool.
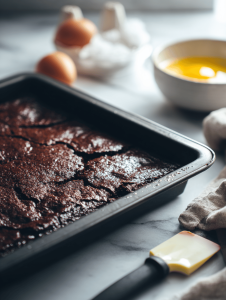
- Transfer the brownies to a wire rack to cool completely, observing their rich, dark surface and dense texture—this is the perfect moment to prepare spooky decorations or icing.

- Cut the brownies into squares, then decorate with spooky icing, edible eyes, or cobwebs to create your Halloween masterpiece—have fun bringing your creepy creations to life!