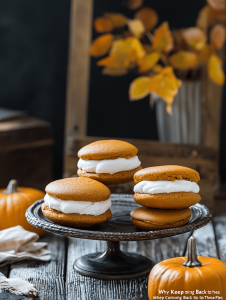
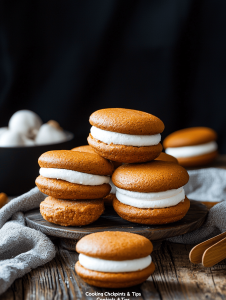
Pumpkin whoopie pies are a bit like a cozy secret—moist, spicy, and a little nostalgic. I love how simple ingredients turn into something special with just a little effort. They remind me of crisp autumn days and baked goods shared over a crackling fire.
Why I Keep Coming Back to These Pies
They’re imperfectly perfect, filling the kitchen with warm spices and sweet pumpkin aroma. Each bite unlocks a cozy memory, and they never fail to surprise with their soft, spicy punch. They’re quick to assemble but taste like a holiday in every bite, making them my go-to for comfort and celebration alike.
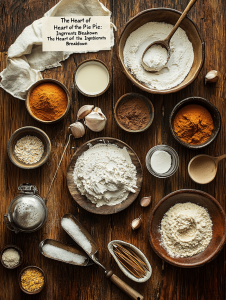
The Heart of the Pie: Ingredients Breakdown
- Pumpkin puree: Gives moistness and deep flavor, like a whisper of earthiness.
- Brown sugar: Adds warmth and slight molasses notes, perfect for fall vibes.
- Spices (cinnamon, ginger): Layered warmth that makes the palate dance, just enough to wake up your senses.
- Butter: Creates richness and tender crumb, melting softly in your mouth.
- Cream cheese or mascarpone: For the filling, smooth and tangy, balances sweetness with a bit of zing.
- Eggs: Bind everything together, giving structure to the cookies.
- All-purpose flour: The backbone of the cookie, sturdy yet tender when measured right.
Tools of the Trade for Pumpkin Whoopie Pies
- Mixing bowls: For combining wet and dry ingredients.
- Electric mixer or whisk: To cream butter and sugar evenly.
- Baking sheets: To hold the cookies during baking.
- Parchment paper: Prevent sticking and ensure even baking.
- Cooling rack: To cool cookies without sogginess.
Step-by-step to Pumpkin Perfection
Step 1: Preheat your oven to 180°C (350°F).
Step 2: Line baking sheets with parchment paper.
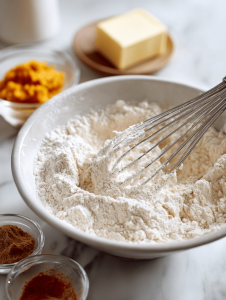
Step 3: In a large bowl, whisk together flour, baking soda, cinnamon, ginger, and salt.
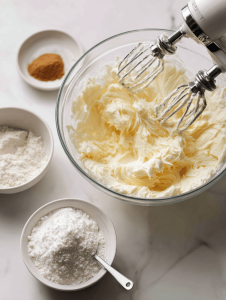
Step 4: In another bowl, cream softened butter with brown sugar until fluffy, about 2 minutes.
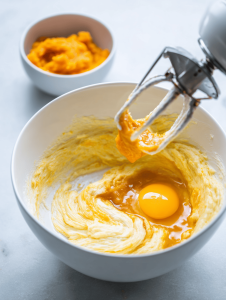
Step 5: Add eggs one at a time, then stir in pumpkin puree and vanilla. Mix until smooth.
Step 6: Gradually add dry ingredients, mixing just until combined.
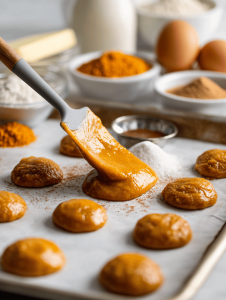
Step 7: Drop spoonfuls of batter onto prepared sheets, spacing them about 2 inches apart.
Step 8: Bake for 12-14 minutes, until edges are golden and tops are set.
Step 9: Let cool on sheets 5 minutes, then transfer to a wire rack to cool completely.
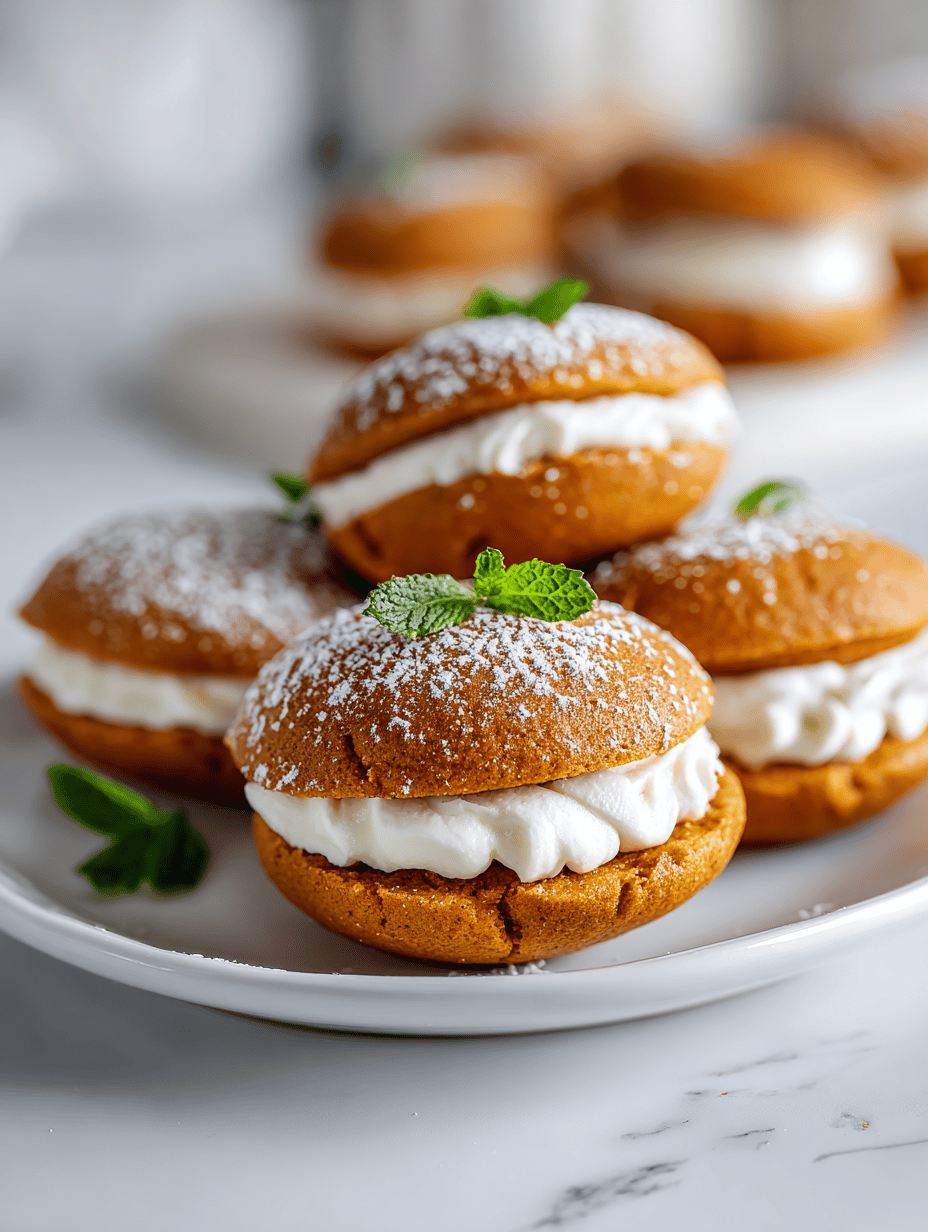
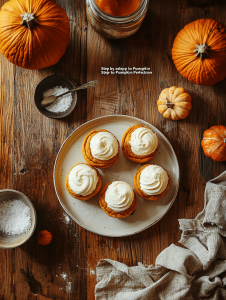
Step 10: Once cooled, spread filling between two cookies to make sandwiches.
Cooking Checkpoints & Tips
- Edges should be golden, not burnt.
- Cookies should be firm but not hard to the touch.
- Filling should be creamy and spreadable, not runny.
- Oven temperature must be accurate for even baking.
Common Mistakes & How to Fix Them
- Tough, dense cookies.? Over-mixing batter → Mix just until ingredients are combined.
- Cookies turning dark or burning.? Baking at too high a temp → Lower oven to 160°C (320°F).
- Flat, spread-out cookies.? Not measuring flour properly → Use spoon and level for accuracy.
- Filling oozing out when assembled.? Filling too runny → Chill filling before spreading.
Pumpkin Whoopie Pies
Ingredients
Equipment
Method
- Preheat your oven to 180°C (350°F) and line baking sheets with parchment paper.

- In a large bowl, whisk together the flour, baking soda, cinnamon, ginger, and salt until well combined and aerated.
- In another bowl, cream the softened butter and brown sugar with an electric mixer until the mixture is fluffy and pale, about 2 minutes, and you can see it lightening in color.
- Add the egg to the butter mixture and beat until fully incorporated, then mix in the pumpkin puree and vanilla until smooth and evenly combined.
- Gradually add the dry ingredients to the wet mixture, mixing just until the flour is incorporated and the batter is smooth and slightly thick.
- Drop spoonfuls of batter onto the prepared baking sheets, spacing them about 2 inches apart to allow for spreading.

- Bake for 12-14 minutes, until the edges are golden and the tops are set but still soft to the touch.
- Remove the sheets from the oven and let the cookies cool on the sheets for about 5 minutes before transferring them to a wire rack to cool completely.
- In a bowl, beat the cream cheese or mascarpone with powdered sugar until creamy and smooth, adjusting sweetness to taste. Chill the filling if needed to thicken.

- Once the cookies are cool, spread a generous dollop of filling on the flat side of one cookie, then gently press another cookie on top to form a sandwich.
- Repeat with remaining cookies and filling, then serve your cozy pumpkin whoopie pies and enjoy their soft, spicy goodness.