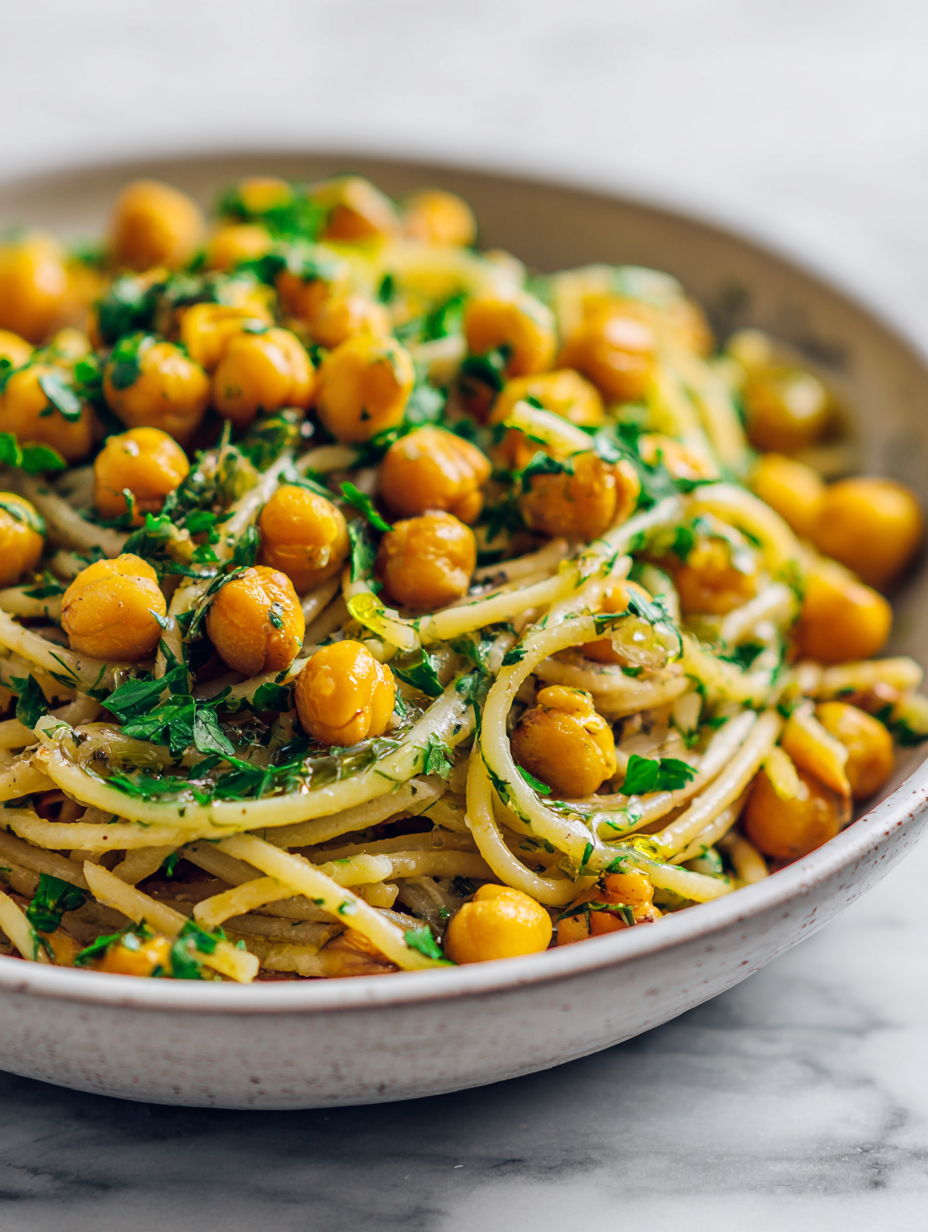
This vegan chickpea pasta is my secret weapon for those days when I want something hearty but don’t want to fuss. It’s all about turning pantry staples—canned chickpeas and good pasta—into a creamy, satisfying meal in less than half an hour. No fancy ingredients, just honest cooking that surprises with its depth.
What I love most is how versatile it is. A splash of lemon brightens it up, a handful of greens adds freshness, and it’s endlessly forgiving—adjust spices, swap herbs, and make it your own. It’s the kind of dish that makes you feel like you’ve cracked a cozy code, even after a long day.
Focusing on transforming humble canned chickpeas into a creamy, comforting pasta dish that surprises with its richness and depth, all in under 30 minutes, proving that pantry staples can become a satisfying main.
The story behind this recipe
- This dish was born out of a lazy Sunday craving for something cozy but quick. I had a can of chickpeas and a half-used bag of pasta sitting in the pantry, both feeling a little neglected. Stirring those humble ingredients together, I realized how much comfort can come from simple, everyday things, transformed with just a few tweaks.
- It’s a reminder that even the most unassuming pantry staples can become the star of a meal. I wanted something that felt nourishing, without fuss or fancy ingredients—just honest, straightforward cooking that hits the spot. Now, it’s my go-to when I need a meal that’s warm, satisfying, and doesn’t demand too much effort.
- heading
- The story behind this recipe
Ingredient breakdown: key components
- Chickpeas: I use canned, well-drained chickpeas that are soft and slightly oozy—look for ones with a smooth, plump appearance. If yours are dry or firmer, give them a quick mash or blend for creaminess.
- Pasta: I prefer a hearty, slightly chewy whole wheat or chickpea pasta that holds up well. For a lighter touch, try rice pasta—just keep an eye on the cooking time to avoid mush.
- Garlic: I love garlic that’s fragrant and slightly toasted, bringing out its sweet, nutty aroma. Don’t rush the sauté; golden bits add depth, but burnt garlic turns bitter fast.
- Lemon juice: Fresh lemon brightens everything, so squeeze in just enough for a zing without overpowering. For extra zing, zest the lemon before juicing.
- Olive oil: Use a good-quality extra virgin oil that’s rich and slightly peppery. It coats the pasta with a silky sheen and amplifies the flavors, so don’t skimp.
- Herbs: Fresh parsley or basil adds a lively burst. Chop just before serving to keep their vibrant aroma and color—frozen herbs work in a pinch if fresh isn’t available.
- Spices: A pinch of smoked paprika or red pepper flakes adds a smoky or spicy kick. Adjust to your heat tolerance, but don’t forget to taste and tweak at the end.
Spotlight on key ingredients
Garlic and Pasta:
- Chickpeas: I use canned, well-drained chickpeas that are soft and slightly oozy—look for ones with a smooth, plump appearance. If yours are dry or firmer, give them a quick mash or blend for creaminess.
- Pasta: I prefer a hearty, slightly chewy whole wheat or chickpea pasta that holds up well. For a lighter touch, try rice pasta—just keep an eye on the cooking time to avoid mush.
- Garlic: I love garlic that’s fragrant and slightly toasted, bringing out its sweet, nutty aroma. Don’t rush the sauté; golden bits add depth, but burnt garlic turns bitter fast.
Notes for ingredient swaps
- Dairy-Free: Use coconut cream or cashew-based sauces instead of dairy, which adds creaminess but with a subtly nutty or coconut flavor.
- Gluten-Free: Swap traditional pasta for rice or corn-based pasta; it cooks a bit quicker and has a different chew, but still satisfying.
- Oil: Replace olive oil with avocado or sesame oil for a different aroma and richer flavor, especially if you want a nuttier note.
- Lemon Juice: Swap with lime juice for a slightly different citrus brightness, or use a splash of vinegar for tang without citrus.
- Herbs: Fresh cilantro or dill can replace parsley or basil, adding unique brightness and a different herbal note.
- Spices: Instead of smoked paprika, try cumin or turmeric for warm, earthy undertones that deepen the dish.
- Chickpeas: If canned aren’t available, cooked dried chickpeas work well but need longer prep; mash more for extra creaminess.
Equipment & Tools
- Large pot: Boil pasta efficiently in salted water.
- Skillet or frying pan: Sauté garlic and heat chickpea sauce.
- Blender or immersion blender: Puree chickpeas into a smooth, creamy sauce.
- Colander: Drain cooked pasta.
- Measuring spoons: Accurately measure lemon juice and spices.
Step-by-step guide to chickpea pasta
- Gather your equipment: a large pot for boiling pasta, a skillet for sauce, a blender or immersion stick for creamy chickpeas. Keep a colander handy to drain the pasta.
- Bring a large pot of salted water to a boil, about 100°C (212°F). Add pasta and cook until just al dente, following package instructions (usually 8-10 minutes).
- While pasta cooks, drain and rinse chickpeas, then transfer to a blender or use an immersion blender. Blend until smooth, adding a splash of water or vegetable broth if needed, to achieve a creamy consistency.
- Heat a tablespoon of olive oil in the skillet over medium heat (about 160°C/320°F). Add minced garlic, sauté for 1-2 minutes until fragrant and golden. Avoid burning—reduce heat if garlic starts to brown too quickly.
- Stir in the chickpea purée, lemon juice, and a pinch of smoked paprika or red pepper flakes. Warm the mixture for 2-3 minutes, stirring often. It should smell smoky and be bubbling gently.
- Drain the pasta, reserving a little pasta water. Add the pasta to the skillet with the chickpea sauce. Toss to coat evenly, adding reserved water if needed for looseness. Cook for 1 minute until heated through.
- Taste and adjust seasoning: add more lemon, salt, or spices as needed. Remove from heat and stir in chopped herbs for freshness.
- Rest the pasta for 1-2 minutes to allow flavors to meld. Plate generously, garnishing with extra herbs or a drizzle of olive oil if desired.
Toss pasta with sauce immediately. Let rest 1-2 minutes to settle flavors. Serve hot, garnished with herbs or a drizzle of olive oil for extra shine.
How to Know It’s Done
- Pasta is al dente, with a slight firmness when bitten.
- Chickpea purée is smooth, creamy, and hot without lumps.
- Sauce is fragrant, smoky, and coats the pasta evenly with a slight sheen.
Vegan Chickpea Pasta
Ingredients
Equipment
Method
- Bring a large pot of salted water to a rolling boil, then add the pasta. Cook until just al dente, about 8-10 minutes, until it has a slight chew and is tender but not mushy. Drain and set aside.
- While the pasta cooks, drain and rinse the canned chickpeas thoroughly. Transfer them to a blender or use an immersion blender to process until smooth and creamy. Add a splash of water or vegetable broth if needed to help blend into a silky purée.
- Heat the olive oil in a skillet over medium heat, about 160°C (320°F). Add the minced garlic and sauté for 1-2 minutes until fragrant, golden, and slightly toasted. Keep an eye on it to prevent burning, which can turn bitter.
- Stir the chickpea purée into the skillet with garlic. Add lemon juice and smoked paprika or red pepper flakes. Warm the mixture gently for 2-3 minutes, stirring constantly, until it smells fragrant and starts to bubble slightly.
- Drain the cooked pasta, reserving a small cup of pasta water. Add the drained pasta to the skillet with the chickpea sauce, tossing quickly to coat each strand evenly. If the sauce seems too thick, splash in a little reserved pasta water to loosen and help the sauce cling beautifully.
- Taste the pasta and adjust seasoning with salt, more lemon juice, or spices if needed. Remove from heat, then stir in the chopped fresh herbs for a burst of freshness and color.
- Serve the pasta immediately in bowls, garnished with extra herbs or a drizzle of olive oil for added shine. Enjoy the creamy, hearty texture with a bright citrus finish.
Pro tips for perfect vegan chickpea pasta
- Bolded mini-head: Use the pasta water → Add a splash to loosen the sauce, it adds body and helps coat.
- Bolded mini-head: Watch garlic carefully → Toast until fragrant and golden, but don’t let it burn or it turns bitter.
- Bolded mini-head: Blend chickpeas smoothly → Use an immersion blender for a creamy texture, avoiding lumps.
- Bolded mini-head: Taste as you go → Adjust lemon and spices at the end for a balanced, bright flavor.
- Bolded mini-head: Reserve pasta water → Add a little if the sauce feels too thick or sticky, for seamless coating.
- Bolded mini-head: Cook pasta al dente → Slight chew ensures it won’t turn mush when mixed with sauce.
- Bolded mini-head: Use fresh herbs last → Chop and stir in just before serving to keep their aroma vibrant.
Common mistakes and how to fix them
- FORGOT to drain chickpeas → Rinse well for a smoother sauce and less saltiness.
- DUMPED the pasta water early → Save some for adjusting sauce consistency if needed.
- OVER-TORCHED garlic → Lower heat immediately to prevent bitterness and burn smell.
- MISSED the seasoning check → Taste and adjust lemon, salt, or spice before serving.
Quick fixes and pantry swaps
- When sauce is too thick, splash in hot pasta water to loosen and shimmer.
- If garlic burns and turns bitter, immediately lower heat and add a splash of water.
- Splash olive oil on chickpeas before blending for extra creaminess and flavor.
- Patch over-salted sauce with a squeeze of fresh lemon or a pinch of sugar.
- Shield overcooked pasta by draining early and tossing with a drizzle of oil or sauce.
Prep and storage tips
- Cook the pasta and chickpea purée ahead of time; store separately in airtight containers for up to 3 days, keeping them chilled. The pasta will absorb flavors and may thicken, so add a splash of water when reheating to loosen.
- Reheat gently in a skillet over low heat, stirring often until warmed through and fragrant—expect the aroma of garlic and lemon to re-emerge vividly. Avoid high heat to prevent sticking or burning.
- The chickpea sauce can be frozen in a freezer-safe container for up to 2 months. Thaw overnight in the fridge, then reheat slowly, stirring to reincorporate any separation or solidification.
- Flavor intensifies after a day or two in the fridge, developing a richer, slightly more concentrated taste. Fresh herbs should be added just before serving to maintain their brightness and aroma.
- For best sensory results, reheat until the dish is hot and the sauce is bubbling gently—look for a silky, glossy appearance and smell the toasted garlic and lemon brightness.
Top questions about chickpea pasta
1. Can I use dried chickpeas instead of canned?
Use canned chickpeas for convenience; drain and rinse well to remove excess salt and canning liquid, which can affect flavor and texture.
2. Can I make this dish with dried chickpeas?
Absolutely. Soak dried chickpeas overnight, then cook until tender—this adds time but offers more control over texture.
3. Is this recipe gluten-free?
Yes. Use gluten-free pasta options like rice or corn-based pasta; they cook faster and give a different bite but work well with the sauce.
4. How can I brighten up leftovers?
Add a splash more lemon juice or a pinch of vinegar if you want extra brightness or if the dish tastes a bit flat after reheating.
5. What if the sauce is too thick?
If the sauce is too thick, stir in a little reserved pasta water or vegetable broth until it reaches your preferred consistency and shimmers appealingly.
6. How do I prevent garlic from burning?
Overcooked garlic turns bitter and pungent. Keep a close eye, and as soon as it’s fragrant and golden, remove from heat.
7. Can I substitute olive oil?
Use a good-quality olive oil to enrich the sauce, adding a slight peppery note that complements the chickpeas’ earthiness.
8. Can I use frozen herbs instead of fresh?
Frozen herbs work fine in a pinch. Just chop and stir in at the end to preserve their aroma and vibrant color.
9. Can I prepare this ahead of time?
Yes, the flavor deepens after a day in the fridge, but the texture of the pasta might soften slightly. Reheat gently to preserve the integrity.
10. How do I fix bland pasta?
Adjust seasoning by tasting the dish before serving. Add more lemon, salt, or spice to suit your preference and enhance flavors.
This dish is a reminder that simple ingredients can come together in comforting ways, even on busy nights. The aroma of toasted garlic and lemon brightening the creamy chickpeas makes the kitchen feel warm and inviting.
It’s a meal that feels spontaneous yet satisfying, perfect for those moments when you want quick nourishment. No matter how many times I make it, I’m always surprised how humble staples turn into something special—no fuss, just honest, tasty food.