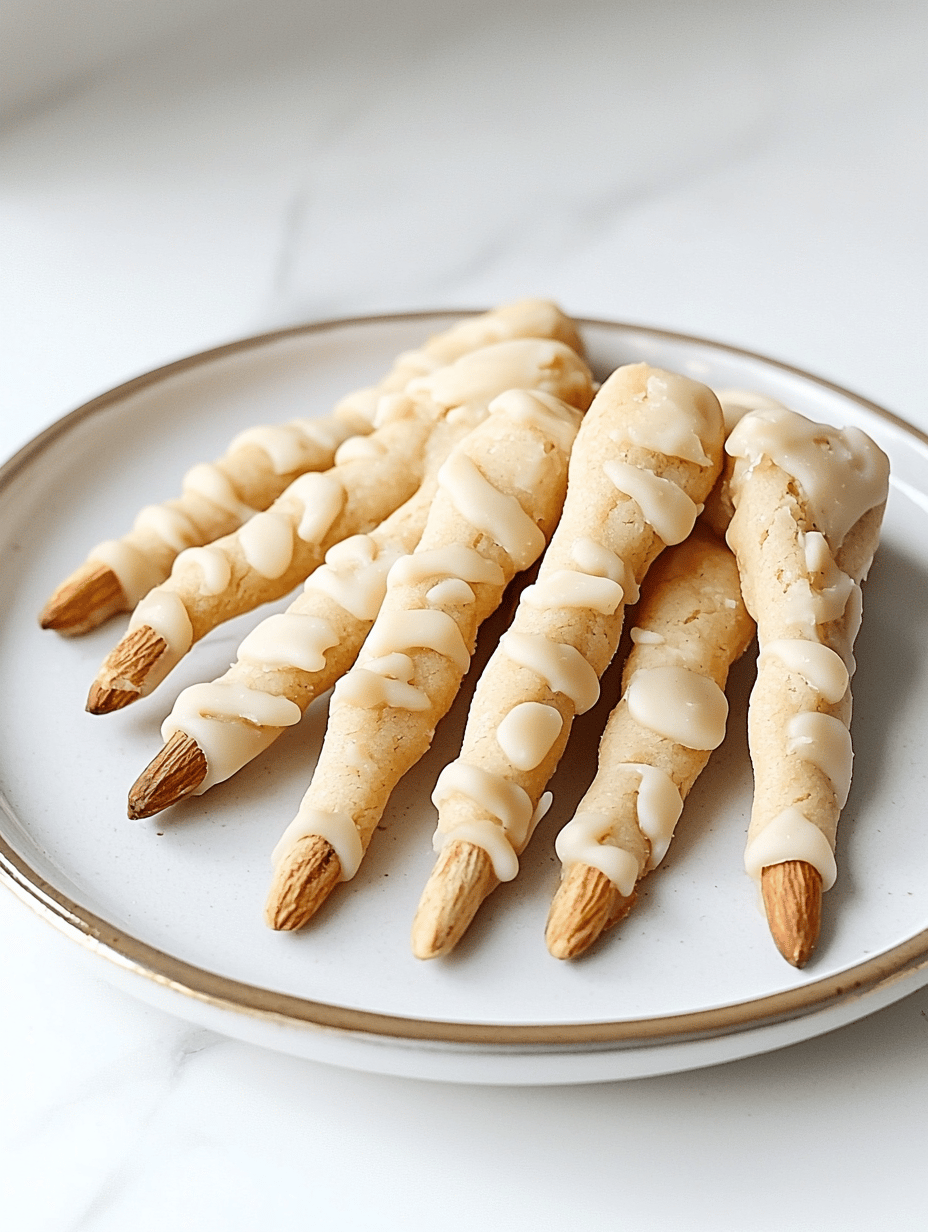
Halloween baking often embraces the spooky and the grotesque, but these Witch Finger Cookies take creepy to a whole new level. They look just like devious little fingers, complete with knuckles and gnarly nails, making them the perfect mischievous snack for the season.
What makes this recipe stand out is the playful effort involved—customizing nails with bits of almond or pepper for a horror touch. The aroma of buttery dough mixed with a hint of almond essence will fill your kitchen with a delightfully eerie scent. These cookies aren’t just for looks—they taste as good as they look, with a tender, buttery crumb.
Witch Finger Cookies
Ingredients
Equipment
Method
- In a large mixing bowl, beat the softened butter and granulated sugar together until the mixture is light and fluffy, with a pale color and creamy consistency.
- Mix in the egg, vanilla extract, and almond extract, one at a time, until fully incorporated. The dough will begin to come together and smell fragrant.
- In a separate bowl, whisk together the all-purpose flour, baking powder, and salt. Gradually add these dry ingredients to the wet mixture, stirring until a stiff dough forms.
- Transfer the dough onto a lightly floured surface and knead gently until smooth. Wrap in plastic wrap and chill in the refrigerator for at least 30 minutes to relax the gluten and make shaping easier.
- Preheat your oven to 350°F (180°C). Line a baking sheet with parchment paper. Remove the dough from the fridge and divide it into small portions for easier handling.
- Roll each portion of dough into a long, thin finger shape, about 4 inches in length. Slightly taper the ends for a more realistic finger look and add knuckles gently by pressing with a knife or the side of a small tool.
- Place the shaped fingers on the prepared baking sheet, spacing them apart. Use a knife to make small indentations near the top to resemble knuckles.
- Decorate each finger with an almond half or peppercorn at the tip to resemble a fingernail or a gnarly nail, pressing gently to secure.
- Bake in the preheated oven for 15 to 18 minutes, until the cookies turn golden brown and look slightly cracked or lumpy for a more realistic effect. Allow them to cool on the baking sheet for a few minutes before transferring to a wire rack.
- Once cooled, examine the cookies—add extra almond nails or peppercorns if desired, and adjust the knuckle indentations to enhance the creepy look. These cookies are ready to serve, equally spooky and delicious.
Notes
Plus, they’re surprisingly simple to make, even with all their spooky details. A batch of these creepy treats will transform your Halloween table into a playful, edible monster scene that guests will remember long after the night ends.