Baking these witch hat cupcakes feels like casting a sweet spell—fun, slightly chaotic, and undeniably charming. I love how they turn a simple chocolate cupcake into a mini costume with just a few extra steps, making the baking process feel like a craft project. Plus, the smell of melting chocolate and vanilla wafts through the kitchen, stirring up a batch of childhood memories.
Why these cupcakes keep drawing me in
They’re a perfect blend of creative fun and baking skill, turning simple ingredients into a showstopper. The process is satisfying—the melting chocolate, the piping, the final placement. Plus, they make any Halloween table feel special without extra fuss. Every time I bake them, I remember how playful baking can be, especially with a little spooky flair.
The magic ingredients, broken down
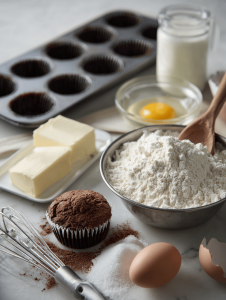
- Good quality cocoa powder: Gives the cupcakes that rich, deep chocolate flavor—don’t skimp here.
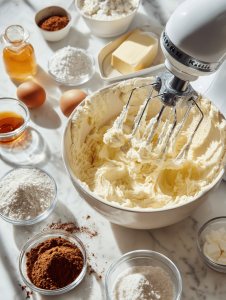
- Butter and sugar: Creamed together, they build the cupcake’s tender crumb and subtle sweetness.
- Chocolate (for hats): A good melting chocolate ensures a smooth, shiny hat—look for high cocoa content.
- Vanilla extract: Elevates everything with a warm, aromatic note—use pure vanilla.
- Food coloring (optional): A splash of color in frosting adds extra whimsy and personality.
- Cream cheese or butter for frosting: Base for the frosting—smooth, rich, and perfect for piping.
- Sugar cones: The mini hats—crisp, sweet, and perfect for decorating.
Tools of the enchanting trade
- Muffin tin with liners: To shape and bake the cupcakes evenly.
- Electric mixer: To whip butter and sugar smoothly.
- Silicone spatula: For folding ingredients without deflating the batter.
- Double boiler or microwave-safe bowl: To melt chocolate gently.
- Piping bag with star tip: To pipe decorative frosting.
- Chocolate-dipped sugar cones: To serve as the edible hats.
Step-by-step for spooky, edible magic
Step 1: Preheat your oven to 175°C (350°F).
Step 2: Line a muffin tin with paper liners.
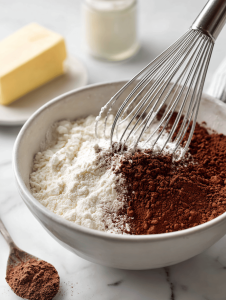
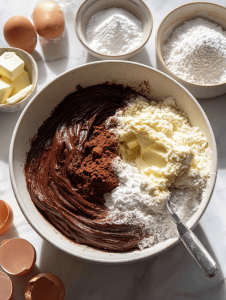
Step 3: Mix dry ingredients: flour, cocoa powder, baking powder, and salt.
Step 4: Cream butter and sugar until light and fluffy, about 3 minutes.
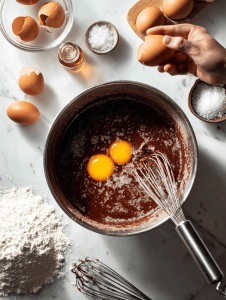
Step 5: Add eggs one at a time, then vanilla. Mix well.
Step 6: Alternate adding buttermilk and dry ingredients, starting and ending with dry.
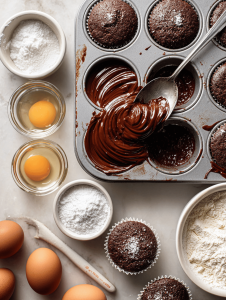
Step 7: Fill cupcake liners about 2/3 full with batter.
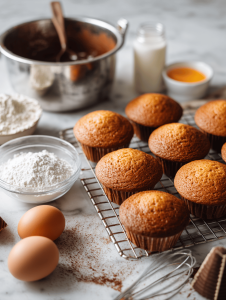
Step 8: Bake for 18-20 minutes, until a toothpick comes out clean.
Step 9: Cool cupcakes completely on a wire rack.
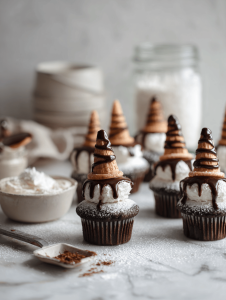
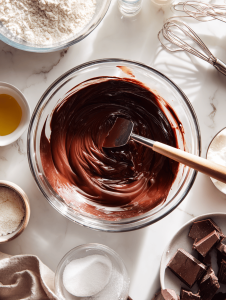
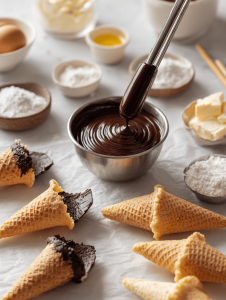
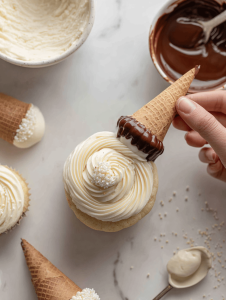
Step 10: Melt chocolate and coconut oil for the hats. Dip cones in chocolate, then let set.
Step 11: Decorate cupcakes with frosting, then attach the chocolate cone hats.
Cautionary checkpoints to keep your baking on track
- Cupcakes should be golden and spring back when lightly touched.
- Chocolate hats should be firm but not brittle—test by gently tapping.
- Frosting should hold stiff peaks but not be crumbly.
- Ensure the chocolate cones are completely set before handling to avoid cracks.
Avoid these common baking pitfalls
- Mixing batter too vigorously.? Overmixed batter can lead to dense cupcakes—fold ingredients gently.
- Dipping cones too hot or cooling too quickly.? Chocolate hats cracking—melt chocolate slowly and don’t rush cooling.
- Frosting being too runny or warm.? Frosting sliding off—use a firm, chilled frosting.
- Not securing the chocolate cones properly.? Hats falling off—use a dab of frosting as glue.
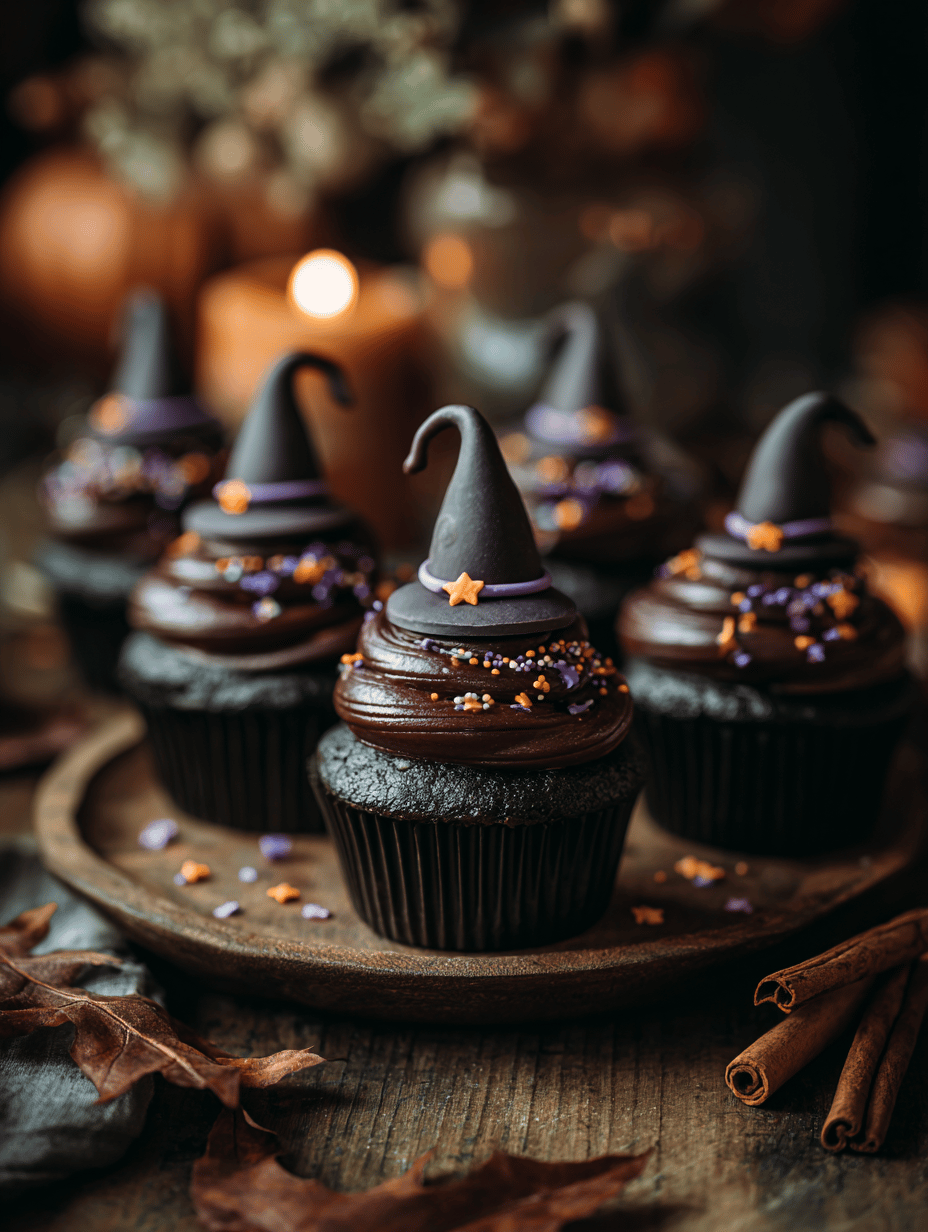
Witch Hat Cupcakes
Ingredients
Equipment
Method
- Preheat your oven to 175°C (350°F) and line your muffin tin with paper liners.
- In a bowl, whisk together the flour, cocoa powder, baking powder, and salt until well combined.
- Using an electric mixer, beat the softened butter and sugar on medium speed until the mixture is light, fluffy, and pale, about 3 minutes.
- One at a time, add eggs to the mixture, beating well after each addition. Mix in the vanilla extract.
- Alternately add the dry ingredients and buttermilk to the wet mixture, starting and ending with the dry ingredients. Fold gently with a spatula until just combined.
- Divide the batter evenly among the cupcake liners, filling each about two-thirds full.
- Bake for 18-20 minutes, until the cupcakes are golden and a toothpick inserted into the center comes out clean. Let them cool on a wire rack.
- While cupcakes cool, melt the chocolate and coconut oil together in a double boiler or microwave, stirring until smooth and shiny.
- Dip each sugar cone into the melted chocolate, then place on parchment to set. Repeat until all cones are coated and firm.
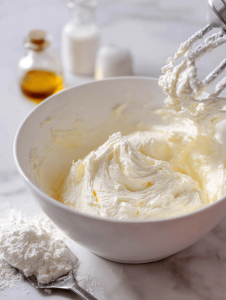
- Prepare frosting by beating powdered sugar with softened cream cheese and vanilla until smooth and stiff enough to pipe. Chill if necessary.
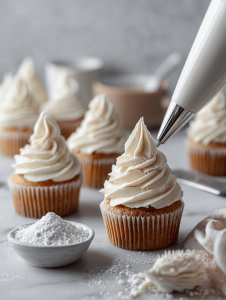
- Once cupcakes are completely cooled, pipe frosting onto each cupcake in decorative swirls.
- Attach a chocolate-dipped sugar cone onto each cupcake with a dab of frosting as glue, creating a mini witch hat.
- Serve the witch hat cupcakes immediately or store in an airtight container until ready to enjoy. They’re perfect for Halloween parties and look delightfully spooky!