Vegan Cabbage Rolls Recipe
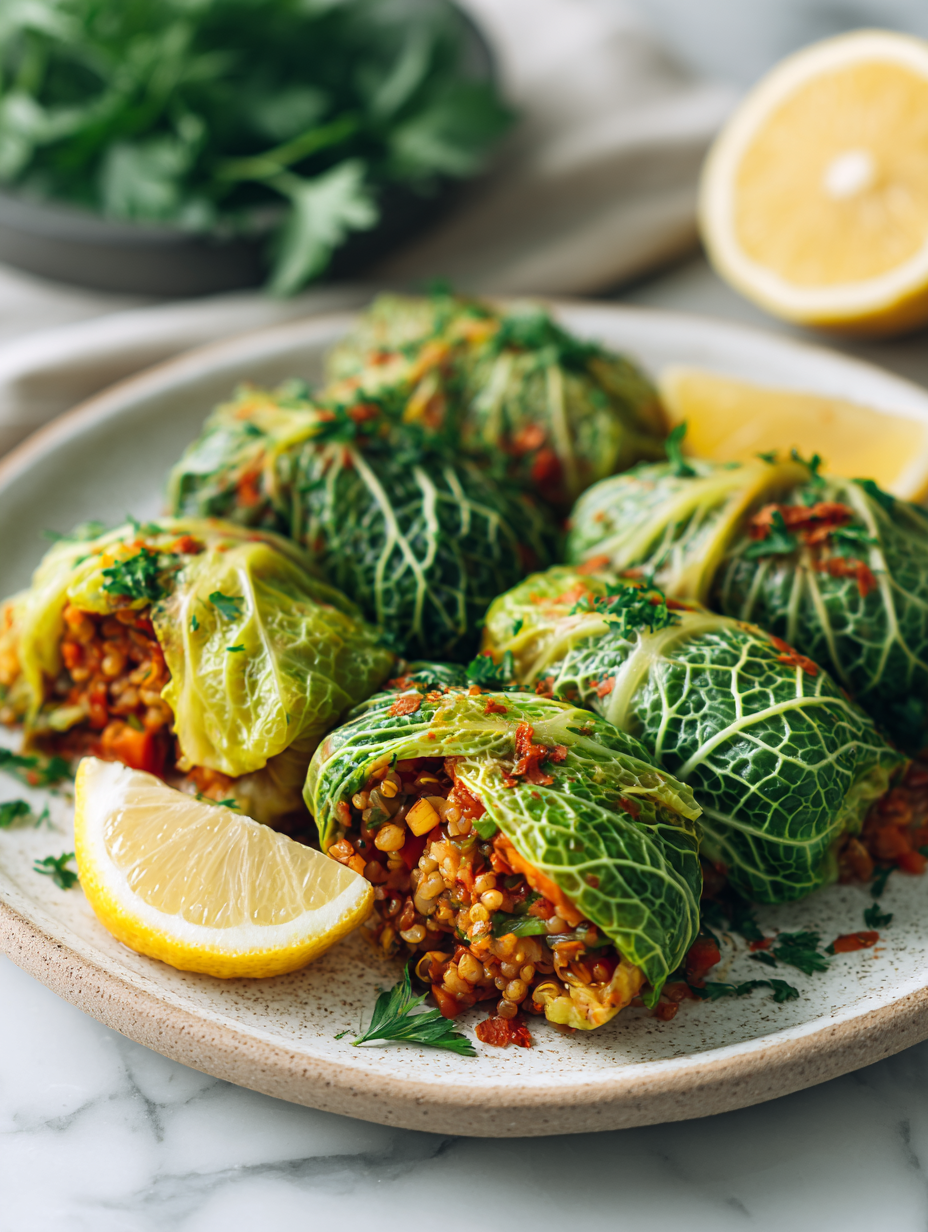
Traditional cabbage rolls often feel like a relic, heavy with meat and longing for a fresh twist. I started experimenting with vibrant plant-based fillings, inspired by the idea of turning comfort food into something lively and unexpected. The result? A dish that surprises even the staunchest skeptics of vegan cooking, with bright flavors and a … Read more