Ingredients
Equipment
Method
- Line an 8-inch square baking pan with parchment paper, leaving a slight overhang for easy removal.
- Combine the white chocolate chips and sweetened condensed milk in a heatproof bowl, preparing to melt them slowly for a smooth, glossy mixture.
- Gently melt the mixture using a double boiler or short bursts in the microwave, stirring frequently until it's completely smooth and shiny, with a creamy texture.
- Pour half of the melted mixture into the prepared pan and spread it evenly with a spatula, smoothing the surface for a uniform layer.
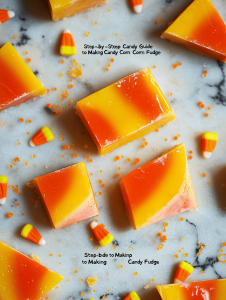
- Drop small dollops of orange and yellow candy melts over the surface, then use a toothpick to swirl them gently, creating a marbled effect.

- Sprinkle the mini candy corn evenly over the top, pressing them lightly into the surface for a festive look and crunch.
- Pour the remaining melted mixture over the top, spreading carefully to cover the candy and create a smooth surface.
- Chill the pan in the refrigerator for at least 2 hours, or until the fudge is fully set and firm to the touch.
- Once set, lift the fudge out of the pan using the parchment overhang and transfer to a cutting board.
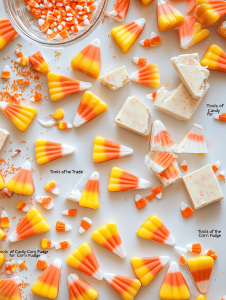
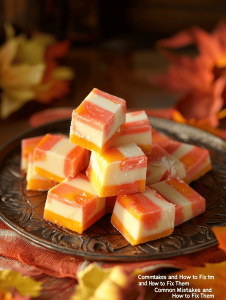
- Use a sharp knife to cut the fudge into small squares, pressing gently to avoid cracking and ensuring clean edges.
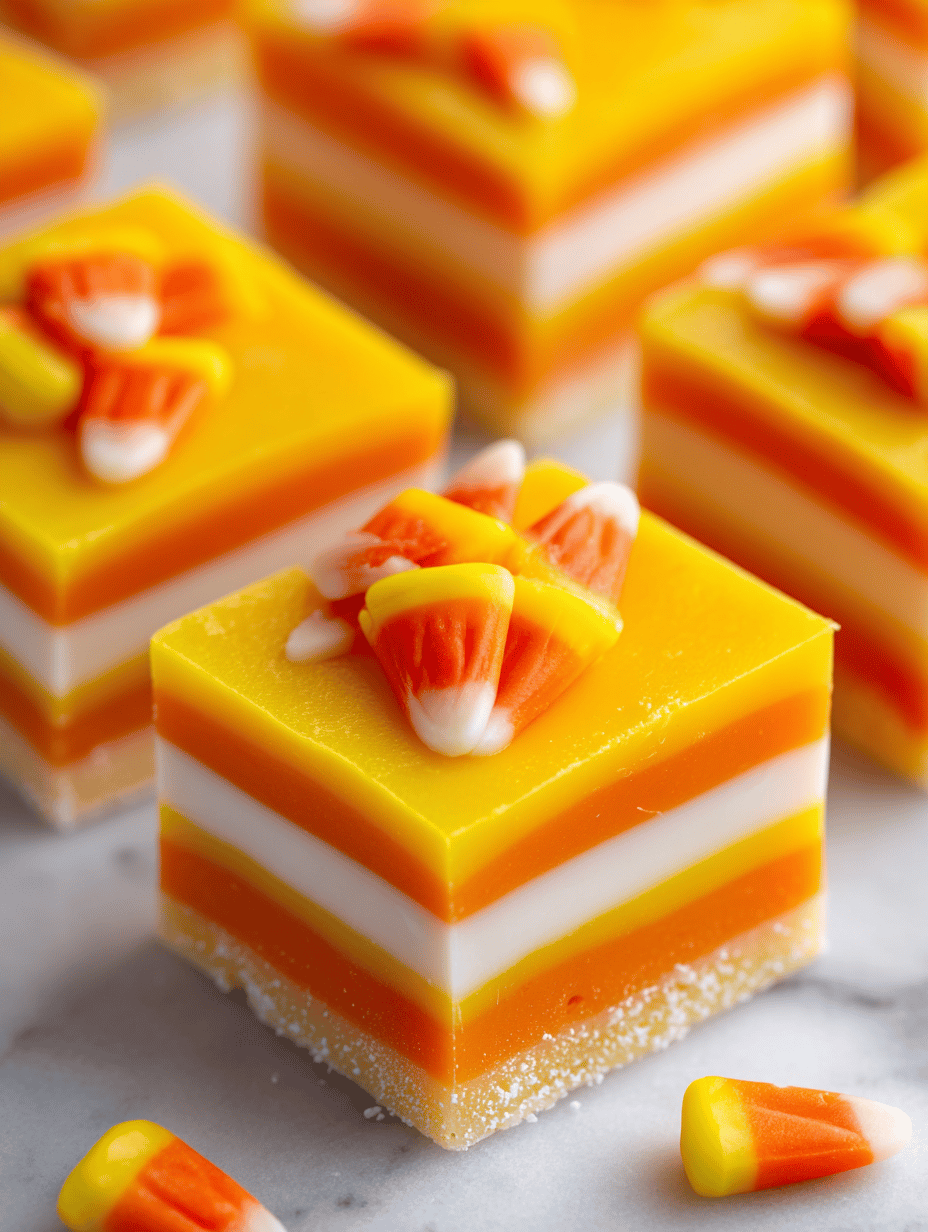
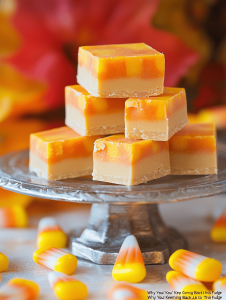
- Serve the colorful, chewy fudge on a platter and enjoy its nostalgic sweetness and vibrant appearance.
Notes
For extra flavor, consider adding a pinch of cinnamon or a handful of chopped nuts before chilling. Ensure the fudge is fully set before cutting to achieve clean slices. Feel free to customize the colors and toppings for different holidays or themes.