Ingredients
Equipment
Method
- Preheat your oven to 180°C (350°F) and line baking sheets with parchment paper. Gather your cookie cutters—think bats, ghosts, or pumpkins—and have your rolling pin ready.
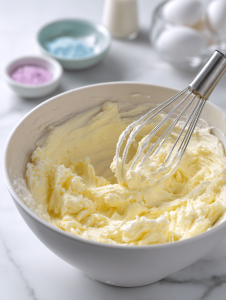
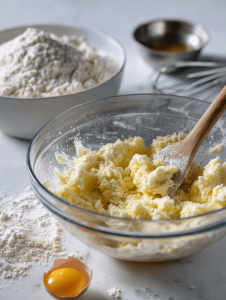
- In a large bowl, cream together the softened butter and sugar until the mixture is light, fluffy, and smells slightly sweet, about 3-4 minutes. This creates a smooth, pale mixture that forms the base of your dough.
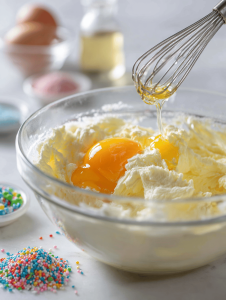
- Add the egg and vanilla extract to the creamed mixture, beating until fully combined. You'll notice the mixture becomes silky and slightly glossy.
- In a separate bowl, whisk together the flour, baking powder, and a pinch of salt. Gradually add this dry mixture to the wet ingredients, mixing just until the dough comes together and feels soft yet manageable.
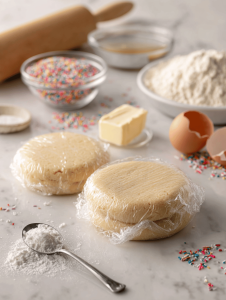
- Divide the dough into two equal disks, wrap each in plastic wrap, and chill in the refrigerator for at least 1 hour. Chilling helps the dough relax and makes it easier to roll out without sticking.
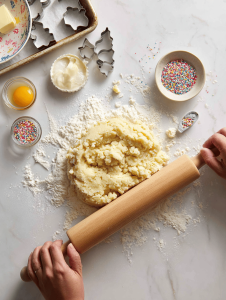
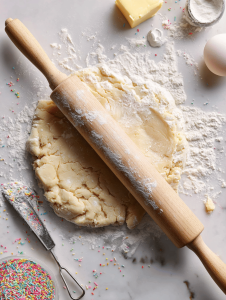
- Remove one disk from the fridge and place it on a lightly floured surface. Use a rolling pin to roll out the dough to about ¼ inch thickness, maintaining an even surface. The dough should feel firm but pliable as you roll.
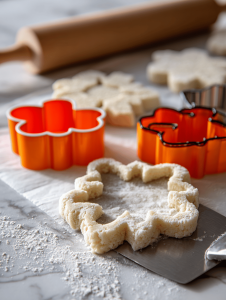
- Use your chosen cookie cutters to cut out spooky shapes from the dough. Gently transfer the shaped cookies onto the prepared baking sheet, spacing them about 2 inches apart to allow for slight spreading.
- Bake the cookies in the preheated oven for 8-10 minutes, or until their edges are just golden. Keep a close eye near the end to avoid overbaking, which can make them crisp and less tender. Let the cookies cool on the baking sheet for about 5 minutes before transferring them to a wire rack to cool completely.
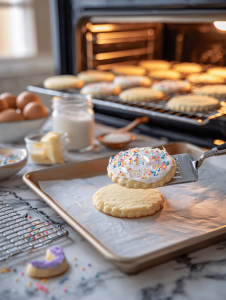
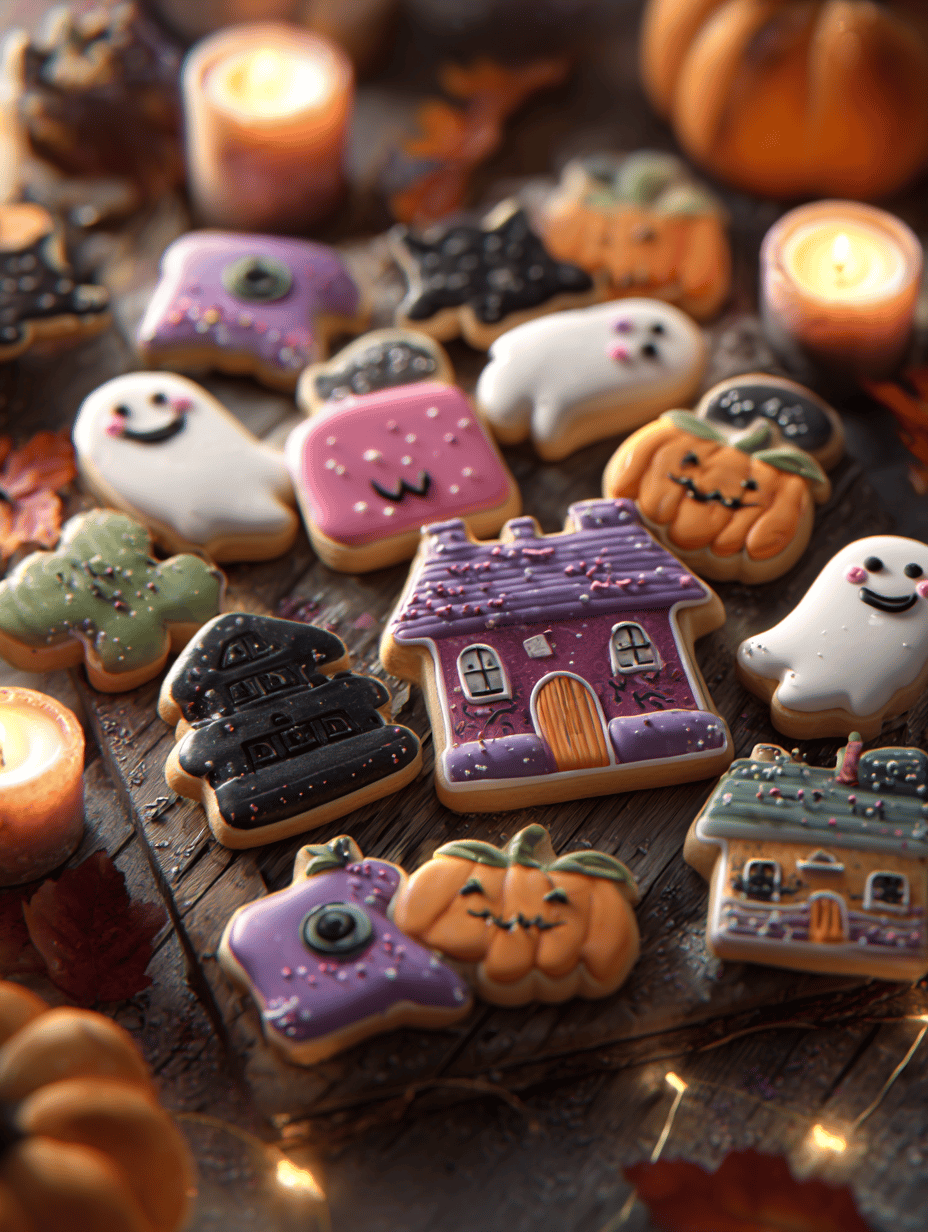
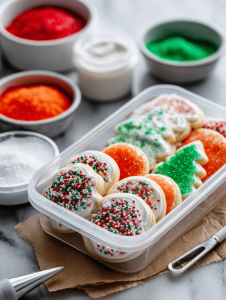
- Once cooled, decorate your cookies with royal icing, colored sugars, or edible glitter. Use piping bags and tips to add spooky details like eyes, smiles, or cobwebs. Allow the decorations to set before handling or stacking.

- Store the decorated cookies in an airtight container at room temperature for up to 3 days, or freeze them for longer storage. Enjoy your festive treats during your Halloween celebration!
Notes
Chilling the dough is crucial for maintaining shape. Use vibrant gel food colors for decorations to prevent bleeding. Decorate with firm icing for crisp details.